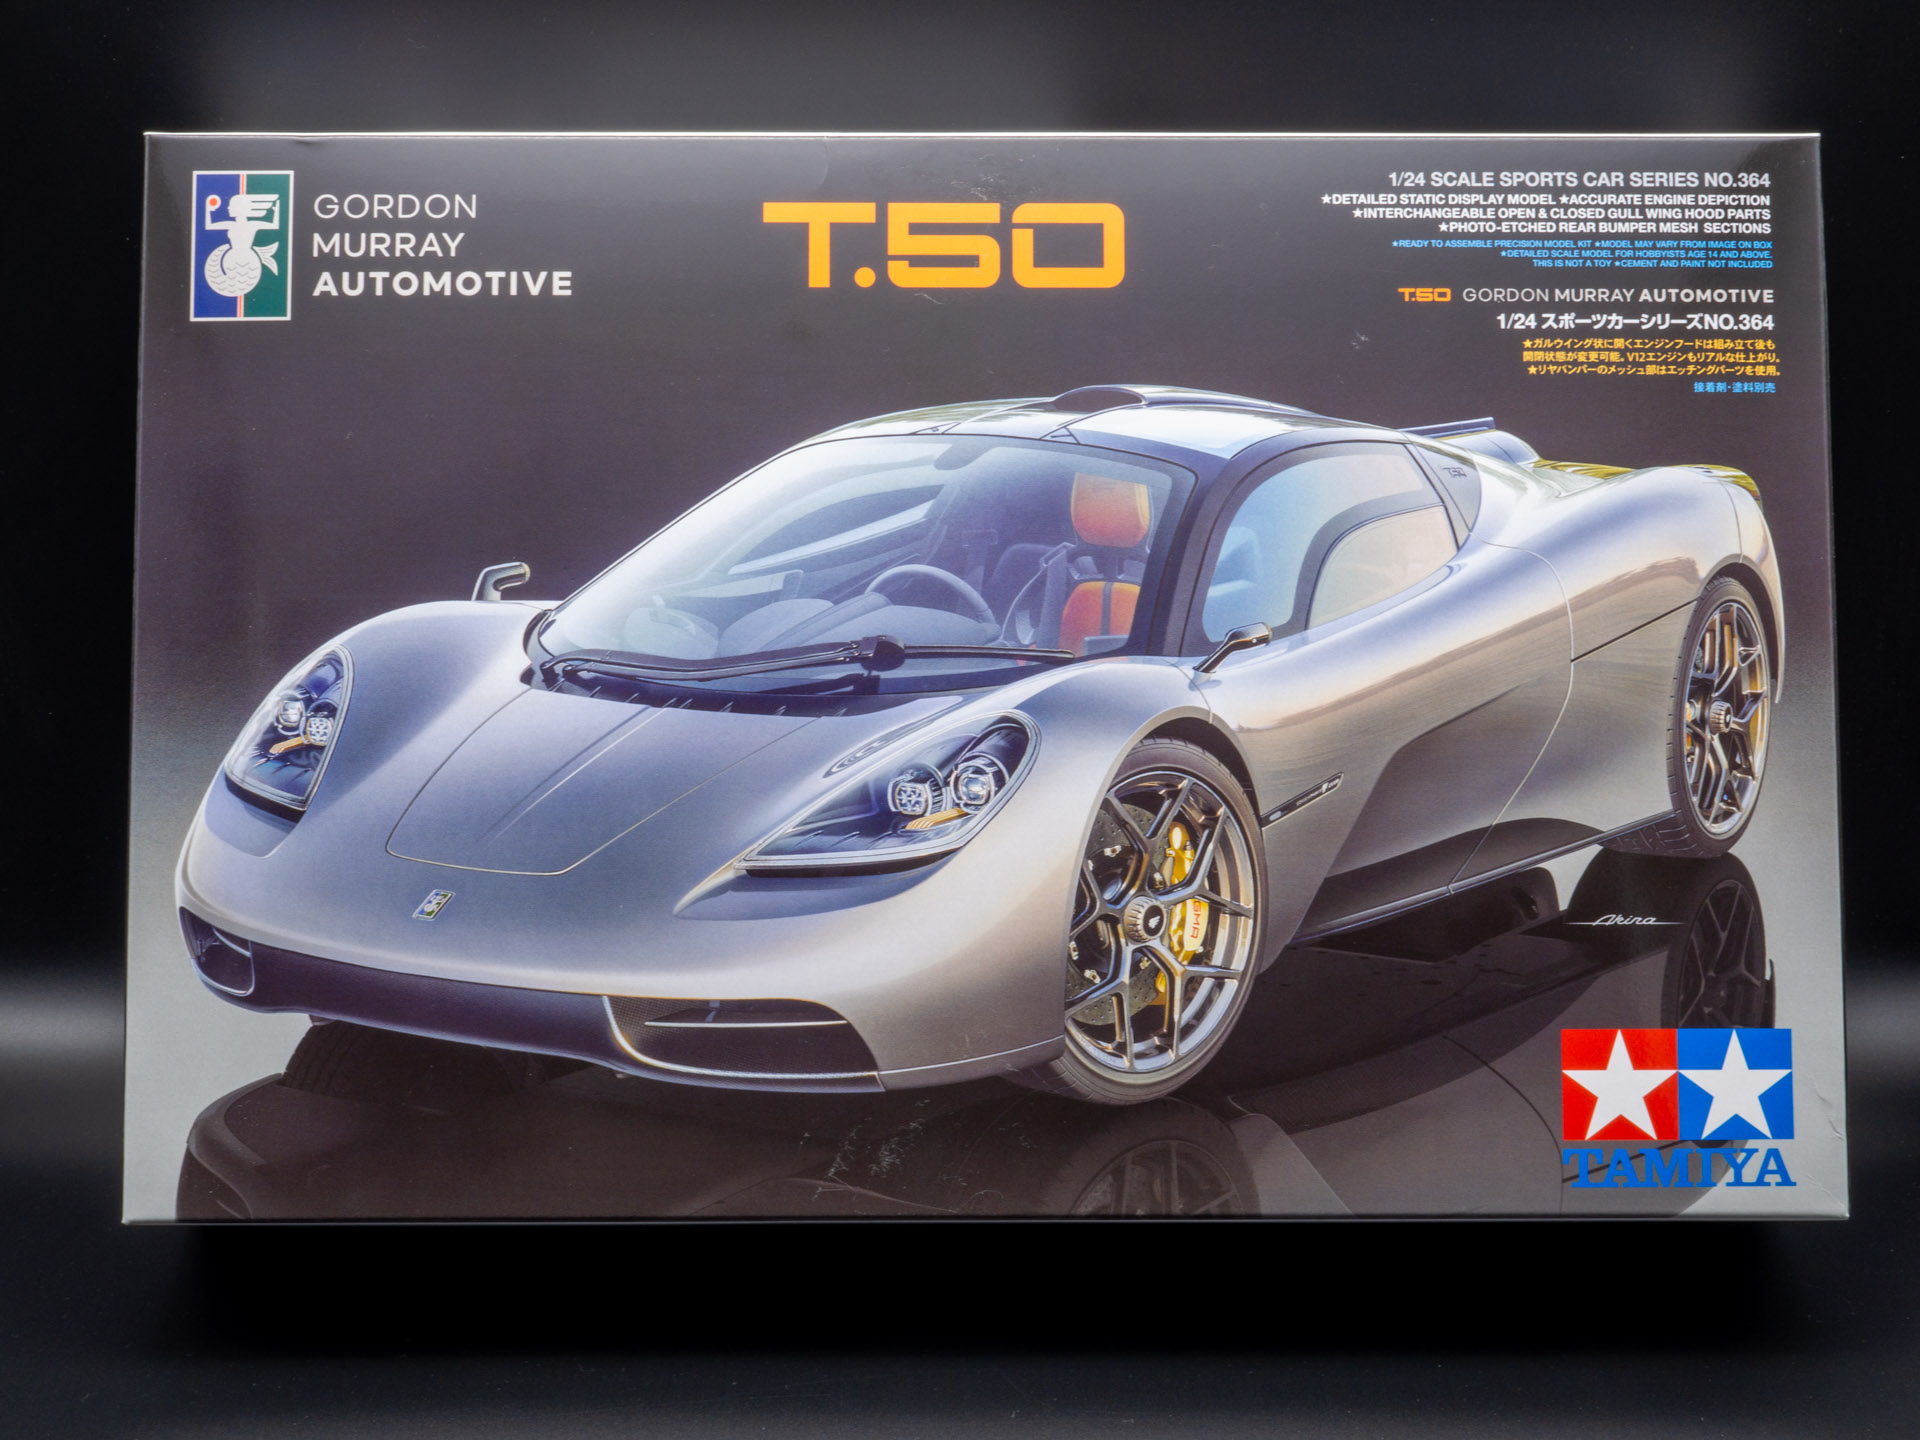
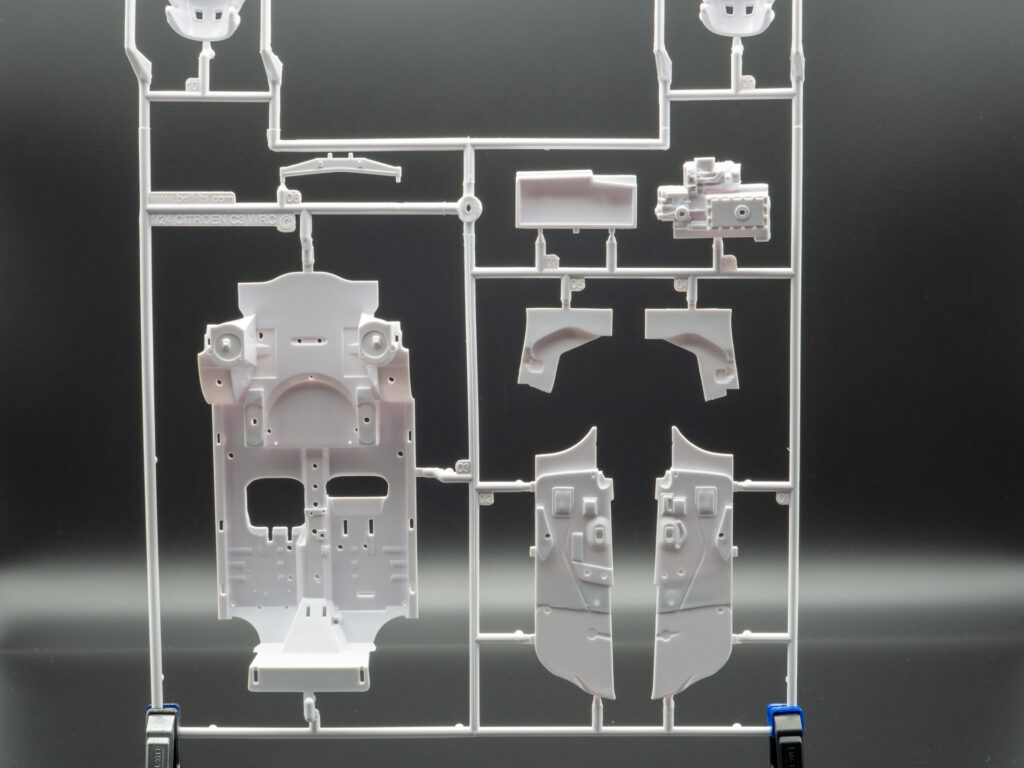
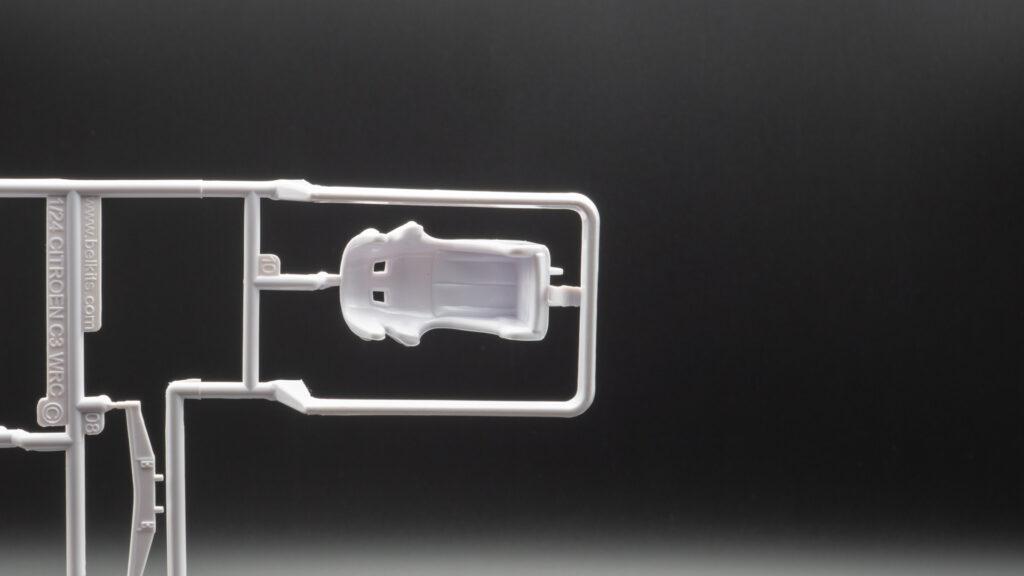
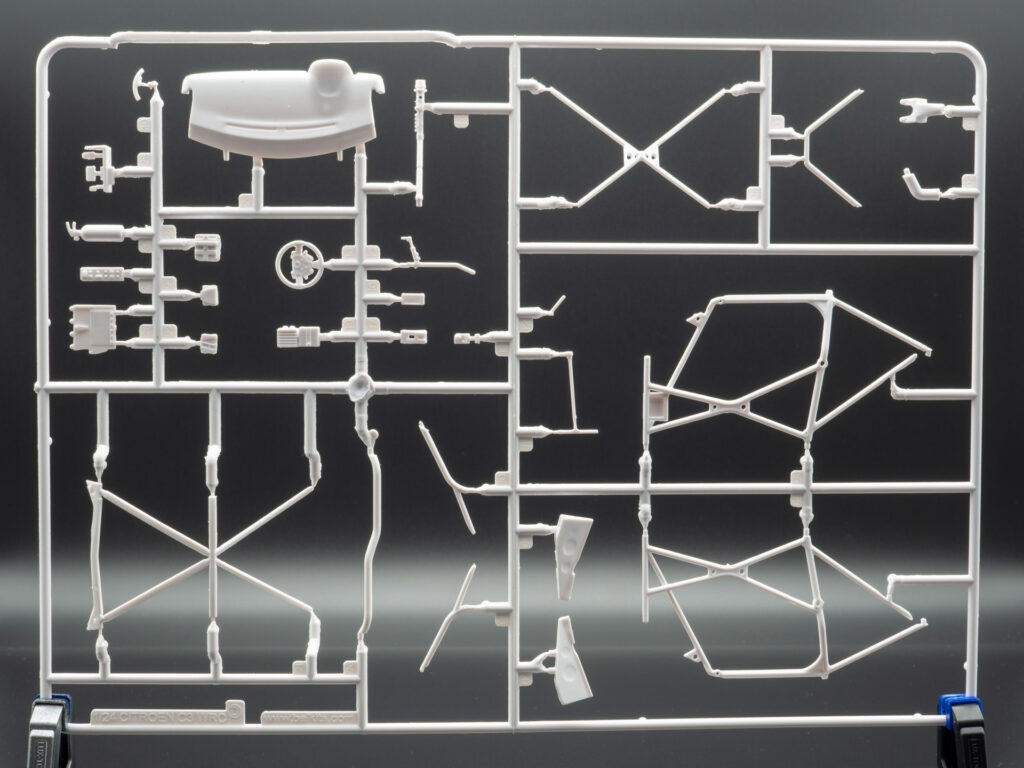
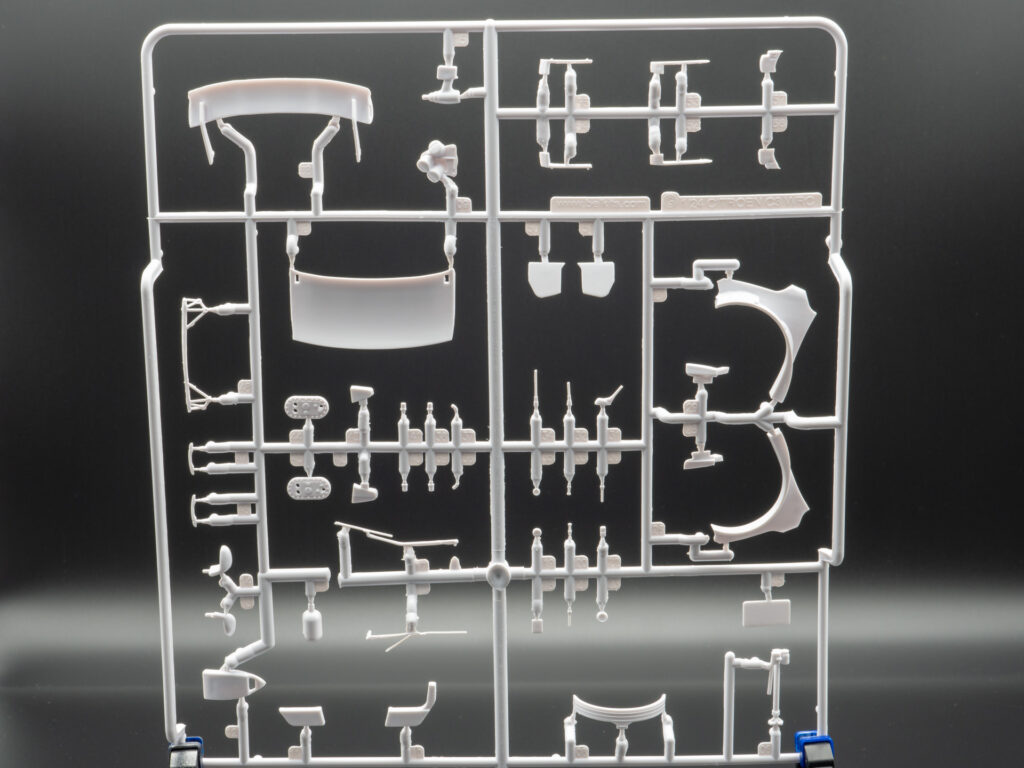
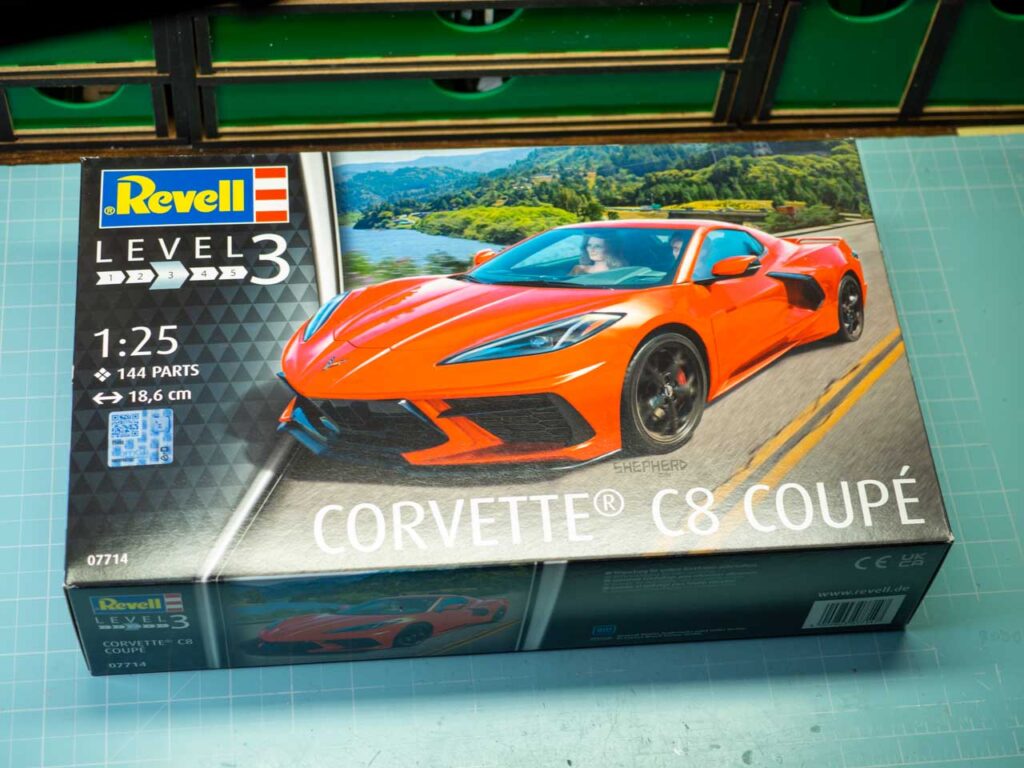
Some days ago got this box. This is a brand new kit from Revell with new molds, not a reissue or repack, new design and production. Scale 1:25, a lot of details, 144 is indicated on the box, but it feels like a lot more. I suggest you look at what’s inside and watch a quick dry assembly, check how the Revell kits looks in in 2024.
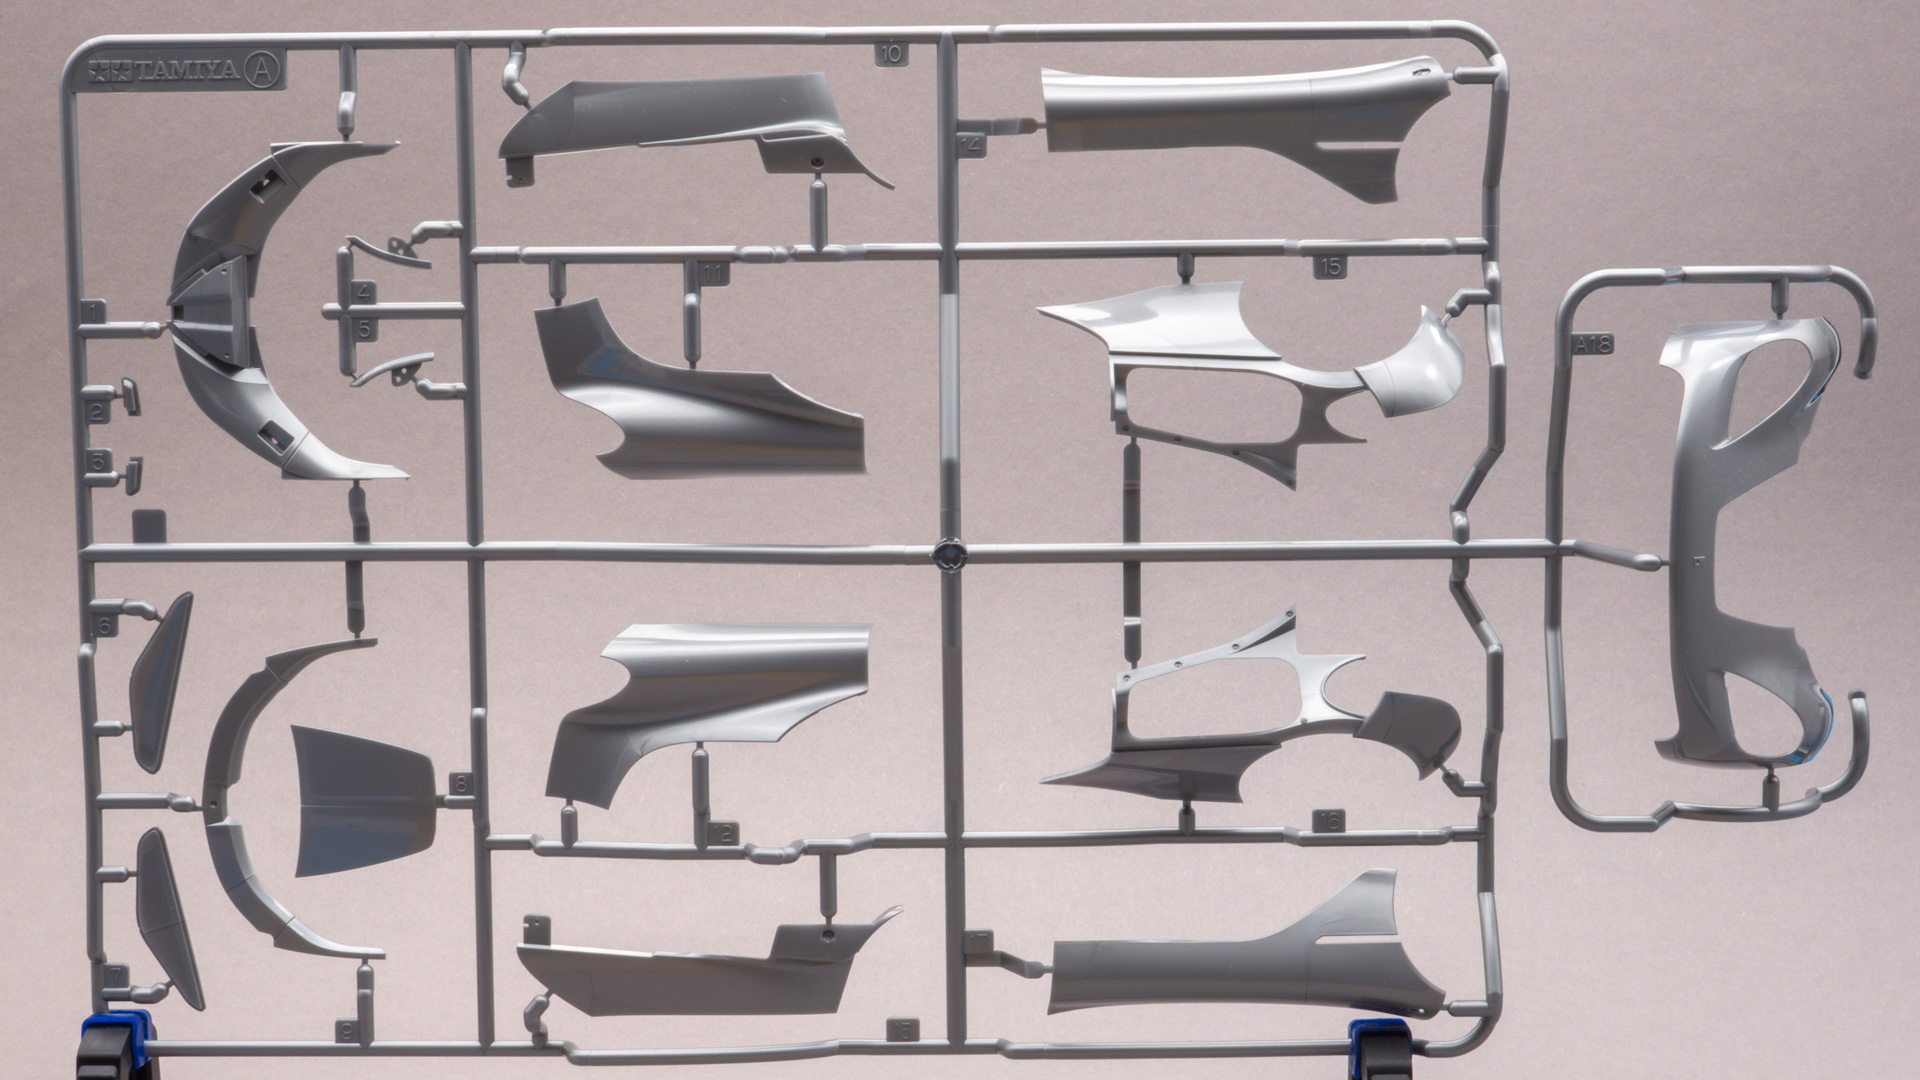
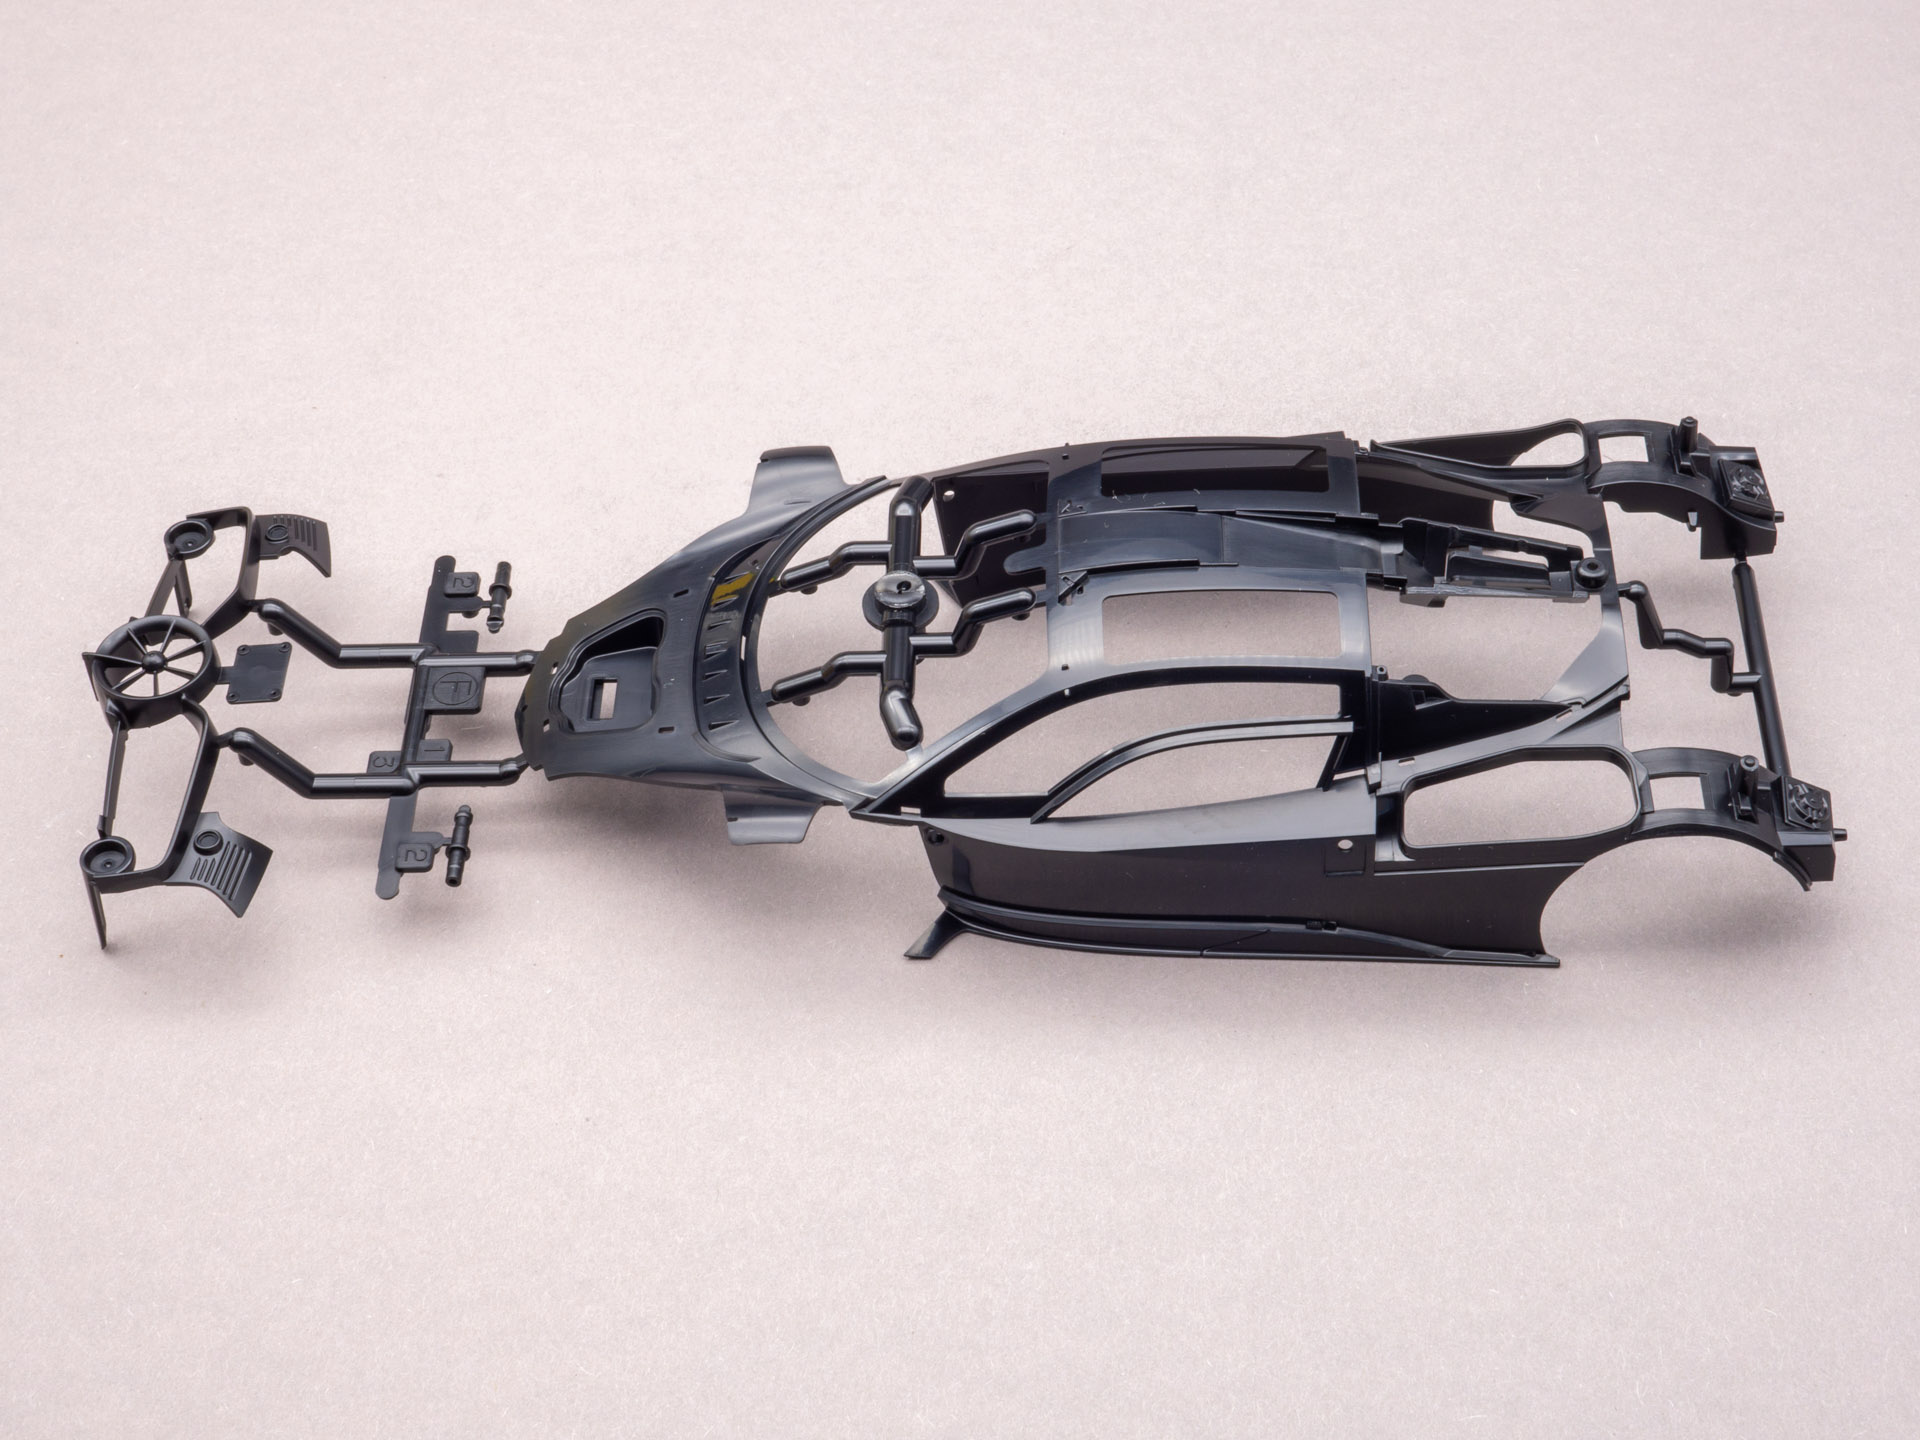
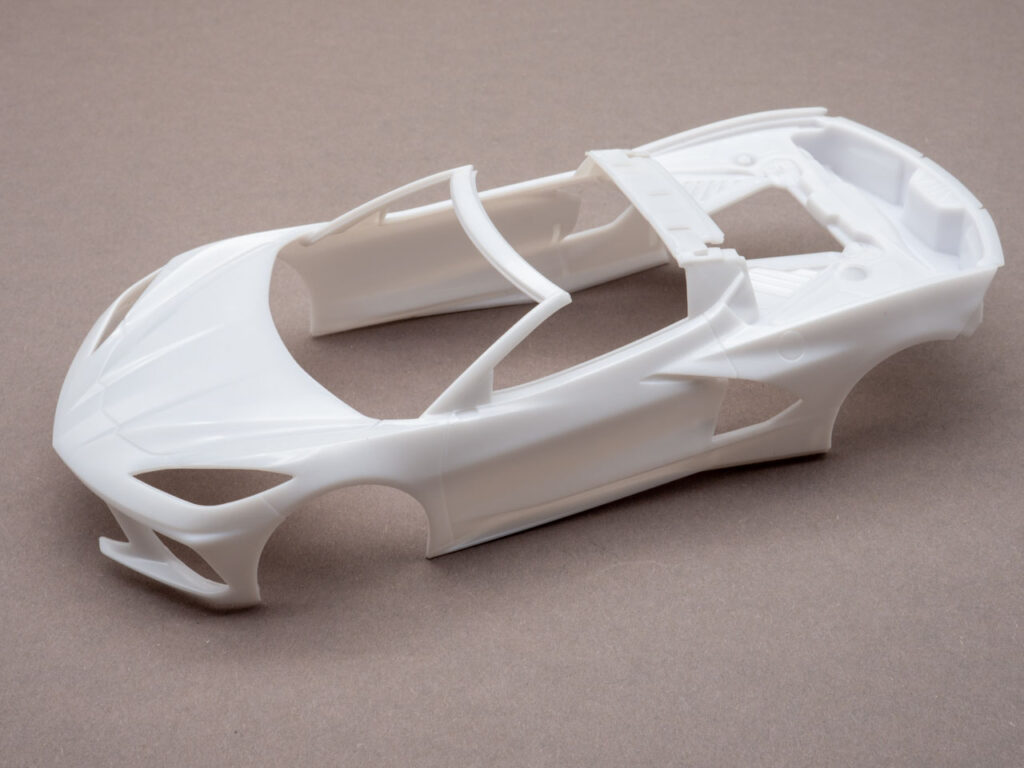
Body part. Plastic is standard for all Revell kits. I don’t really like it, it’s very soap-like. It is difficult to consider the quality of the surface; all the issues will be shown after the first layer of primer.
Example of hood panel lines. It’s wide, but that’s ok. It must be deepened and it will take all layers of paintwork.
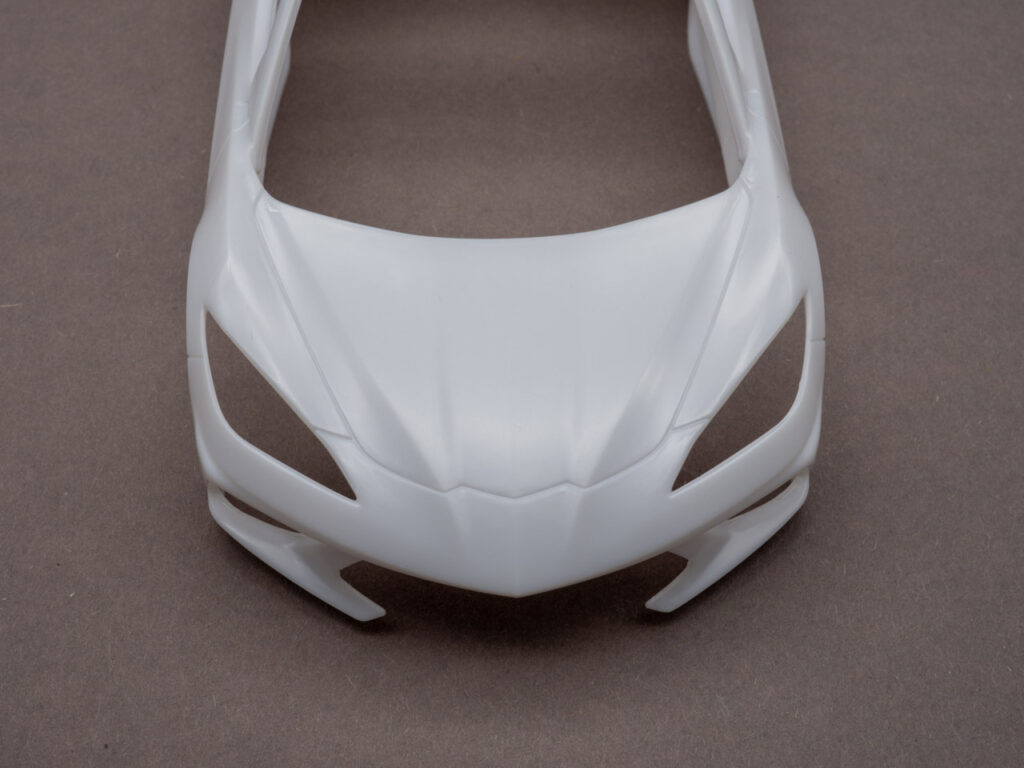
A little more panel lines at the door. I don’t see any visible flaws on the body, such as sink marks or waves.
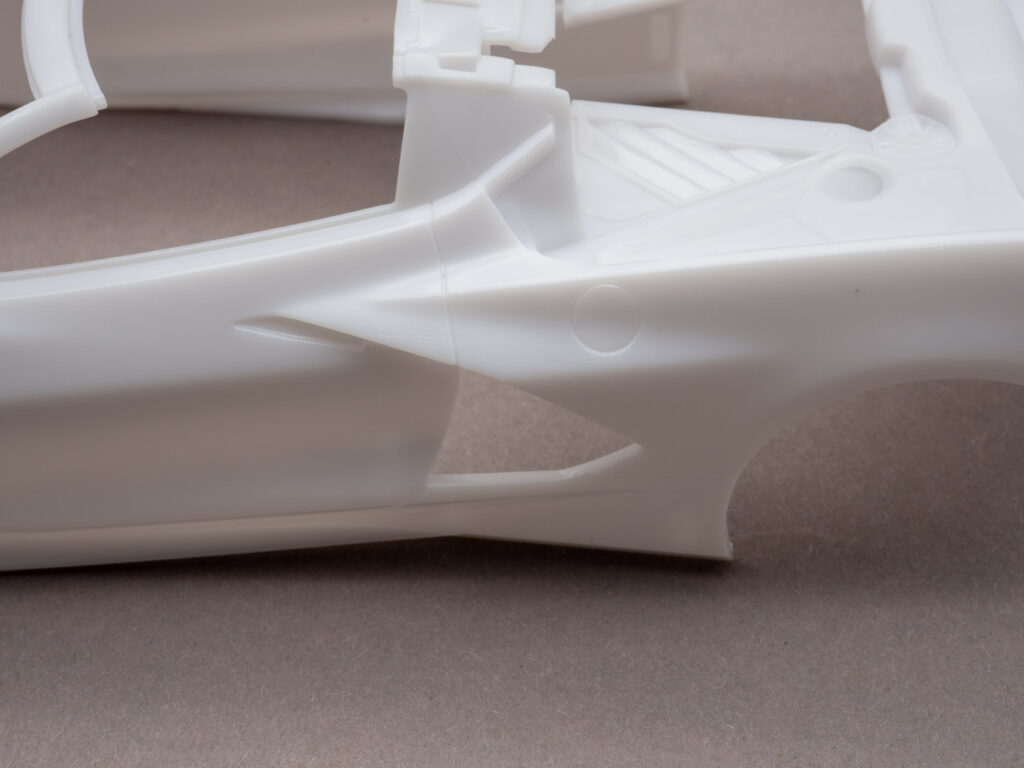
Engine and luggage compartment. Screw and other details are well and clearly molded.
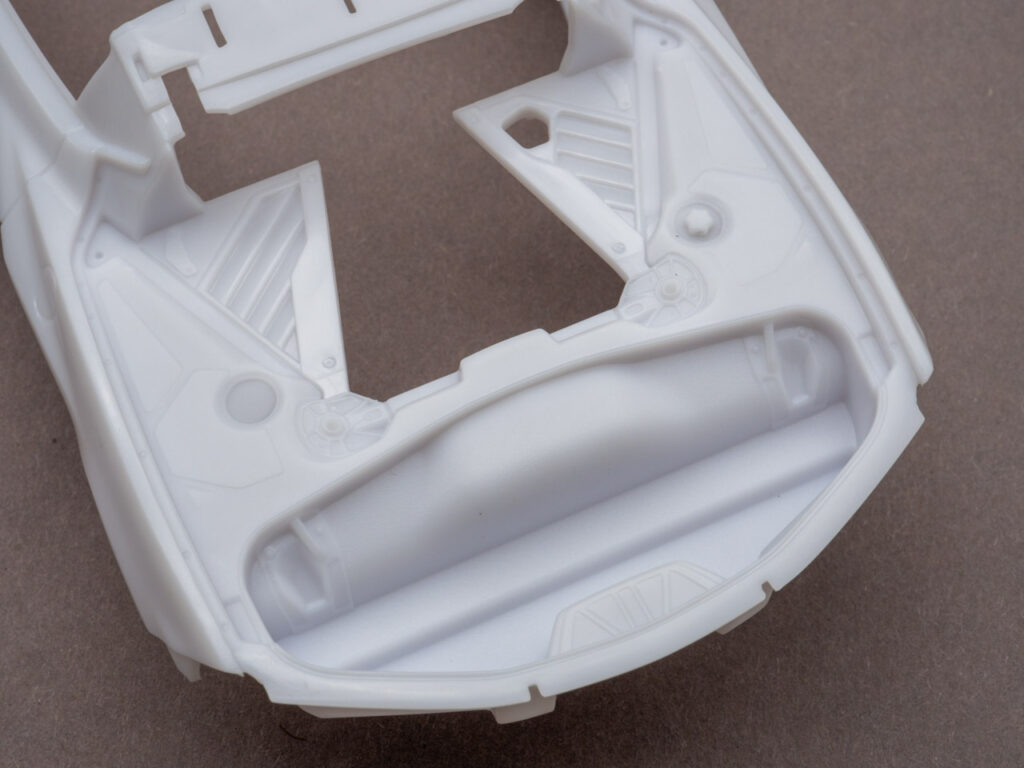
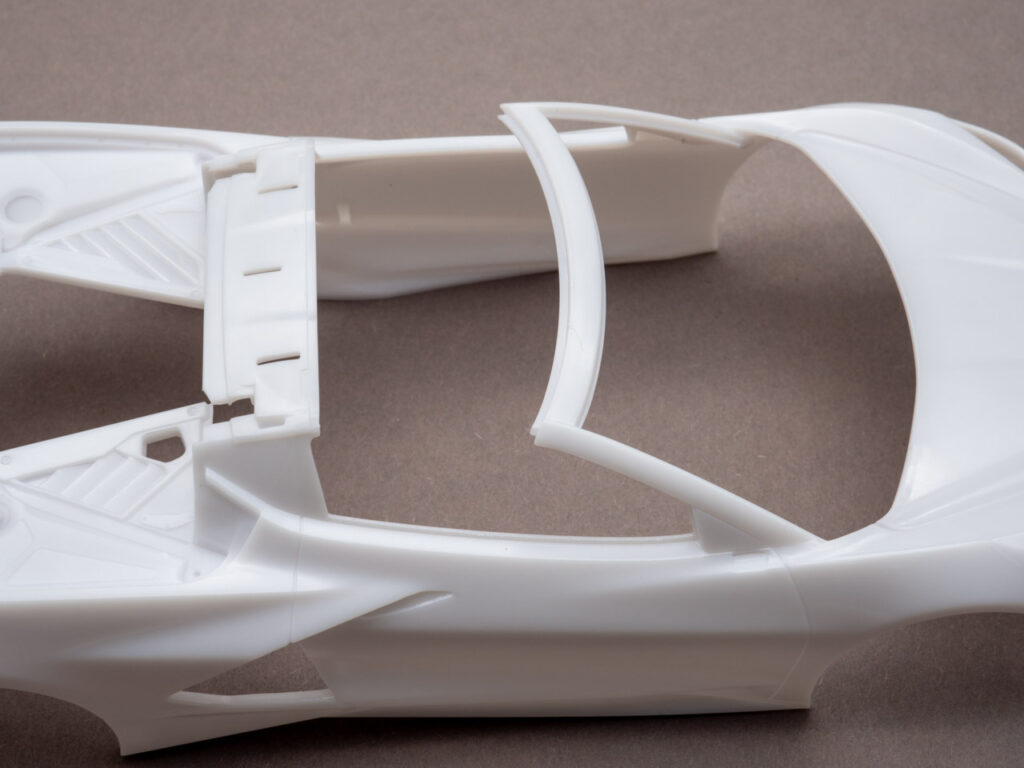
The roof should be removable, engine cover can be opened as well.
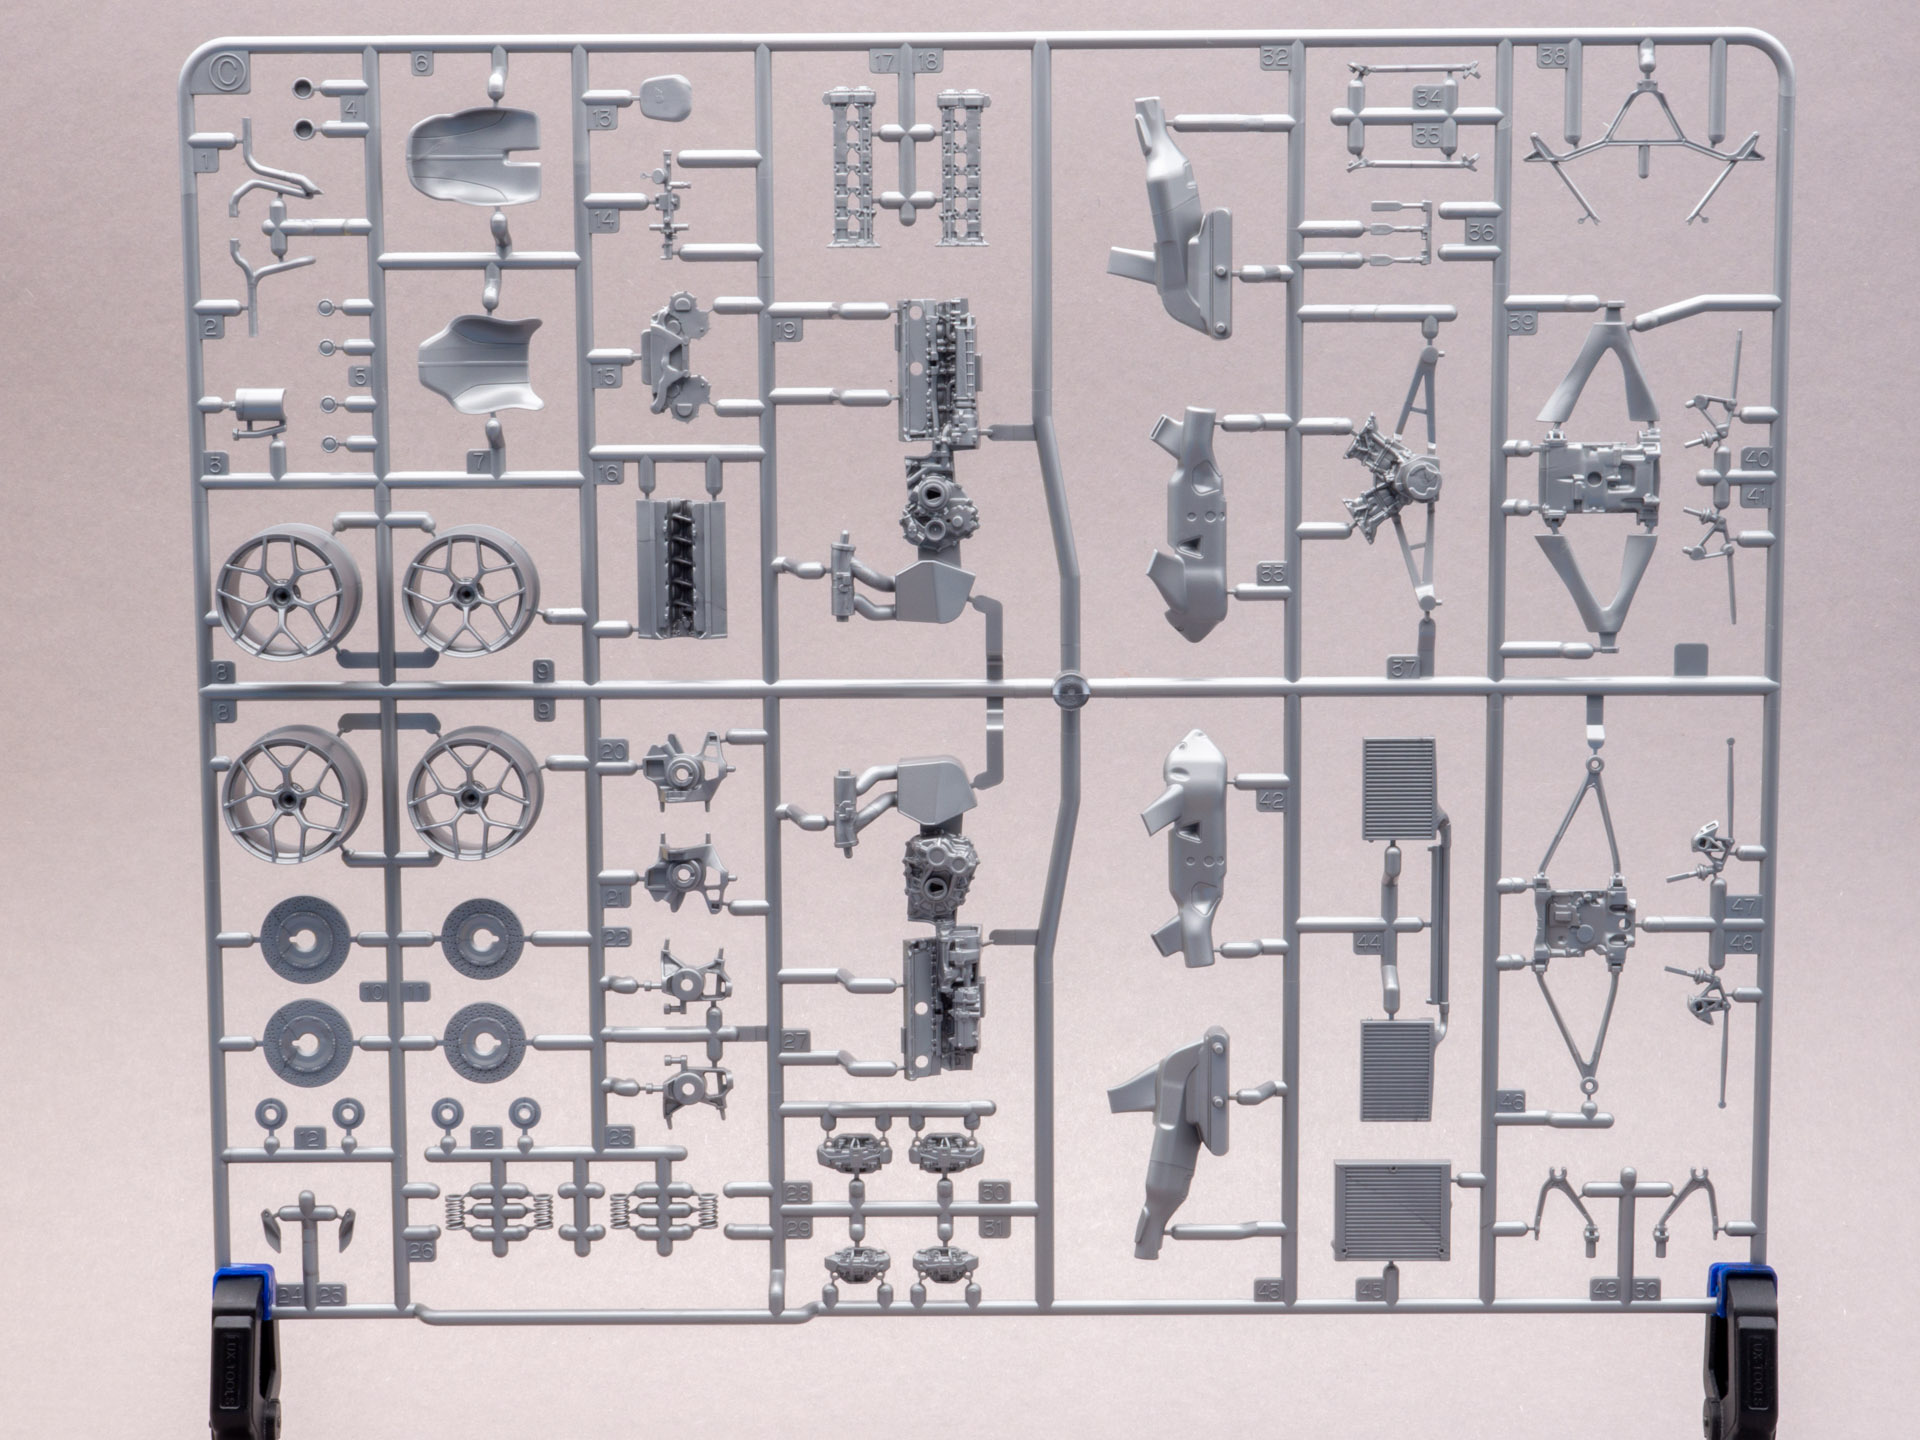
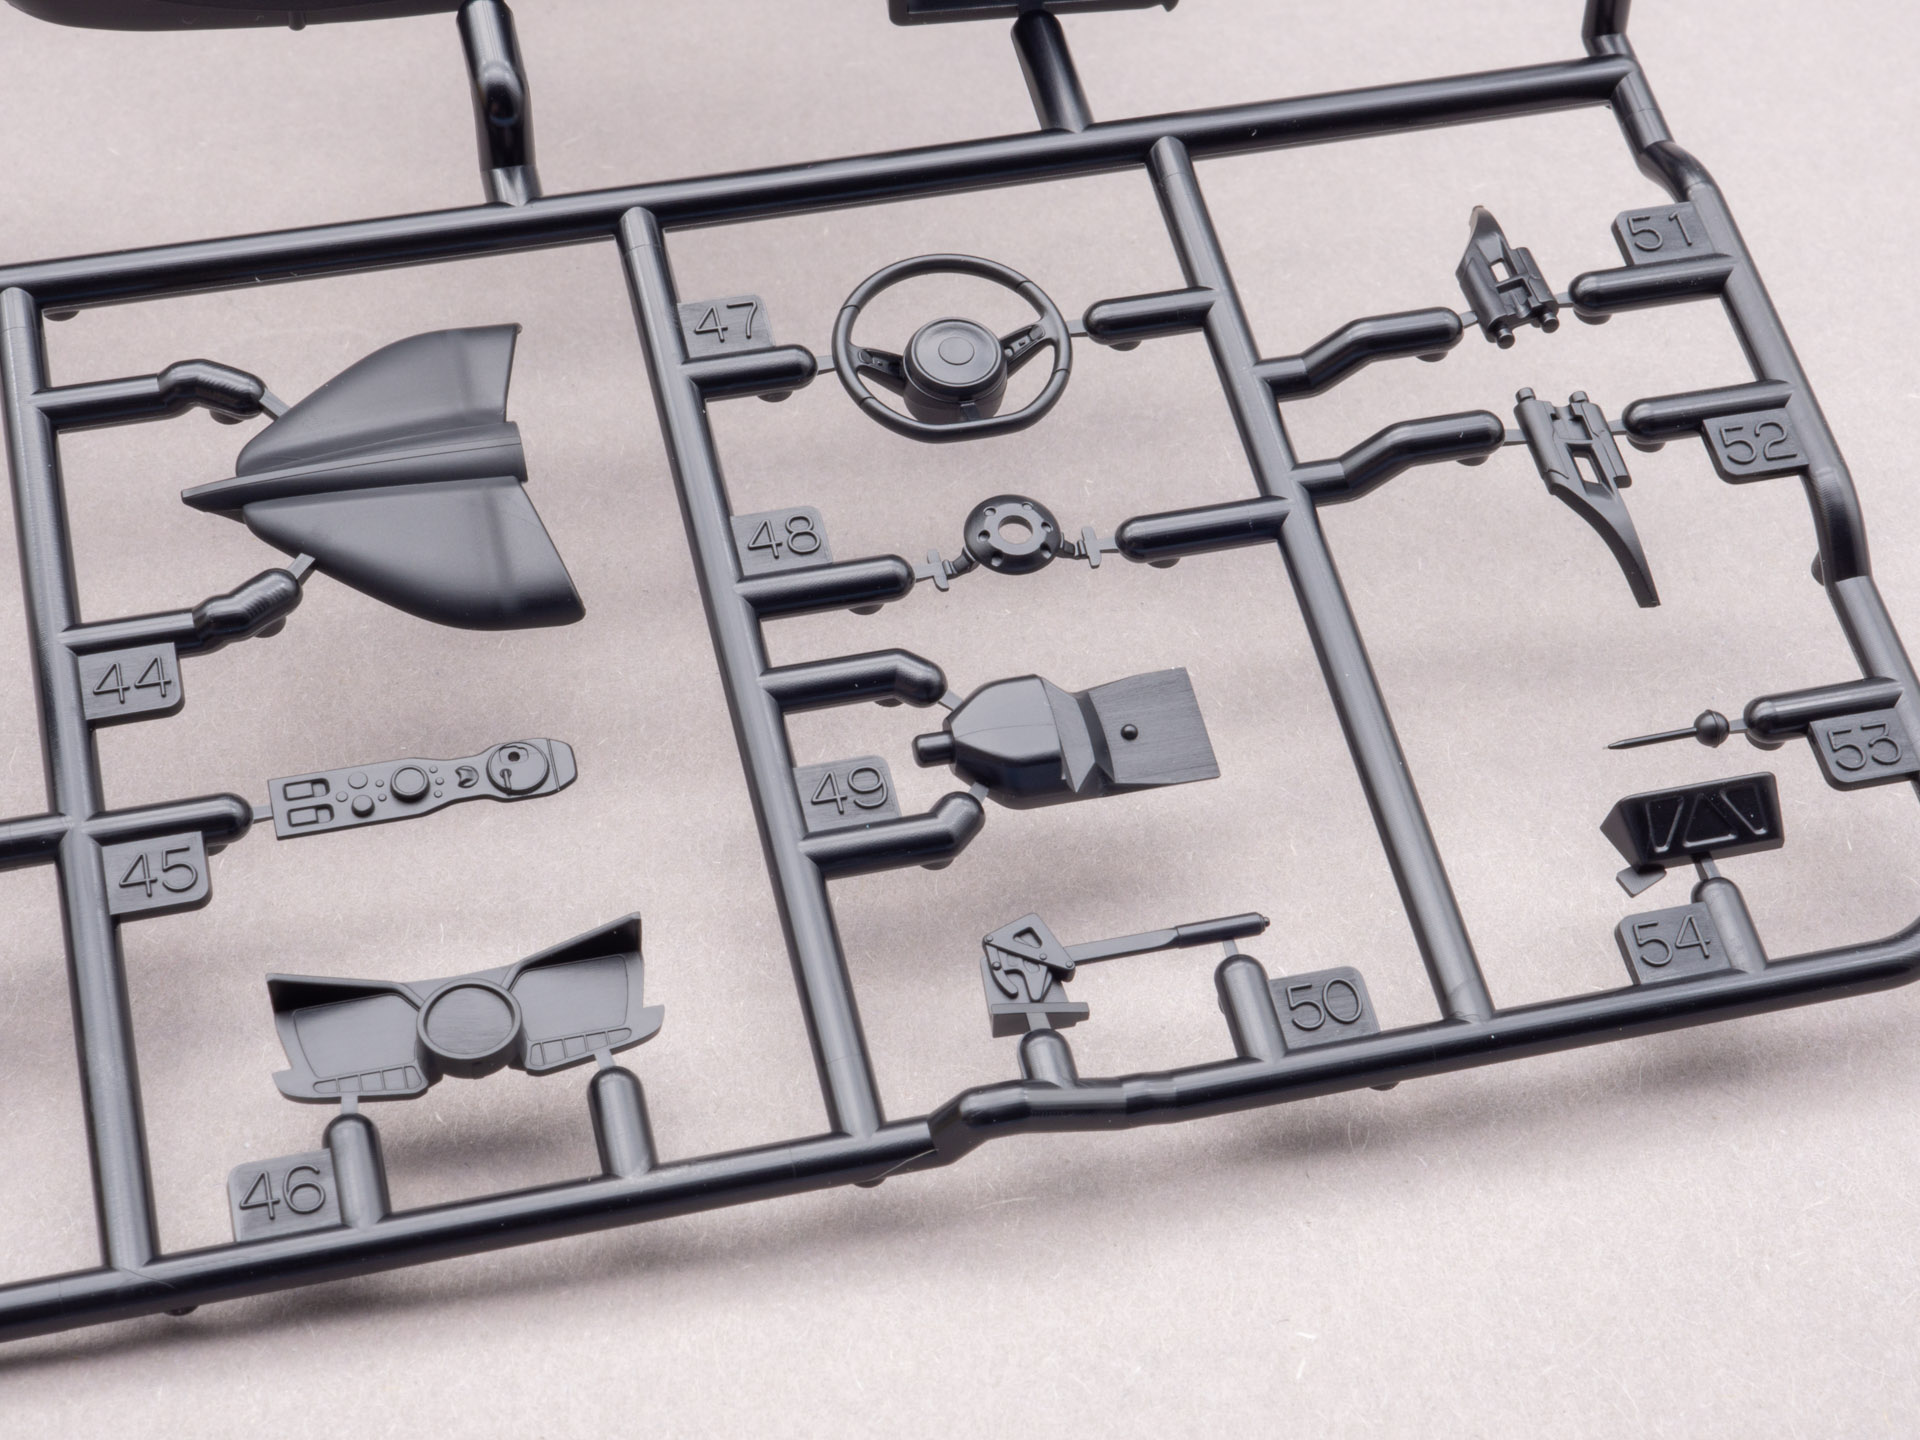
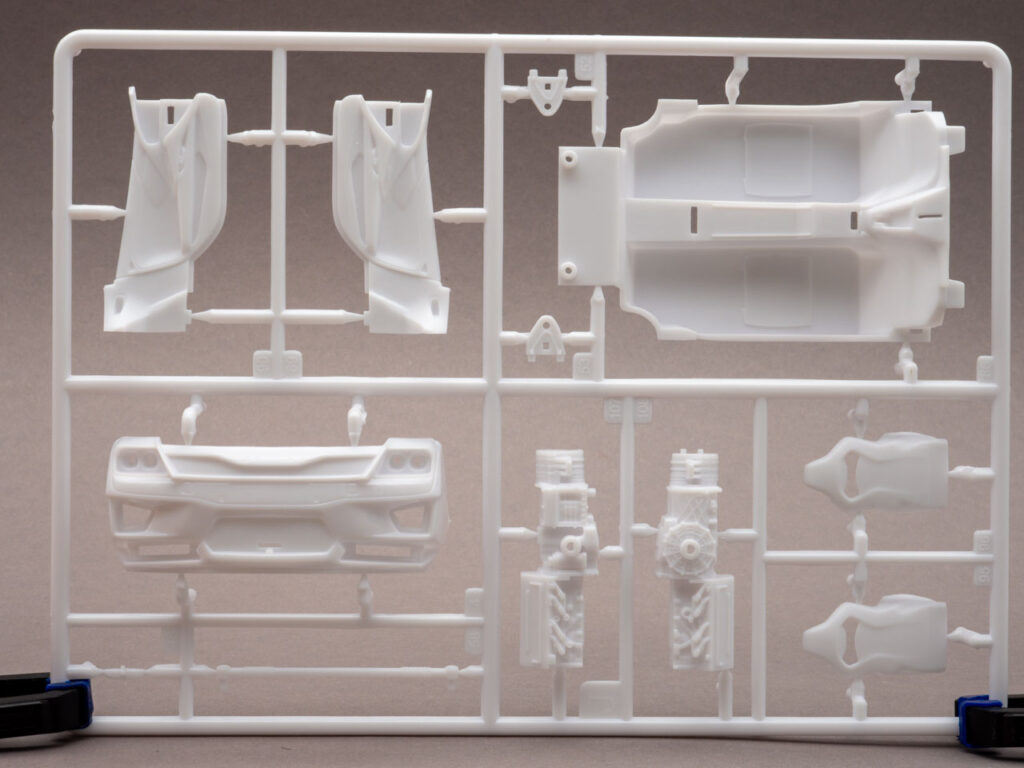
Now on to the sprues. Everything is made of white plastic. Here are the engine parts and the dashboard.
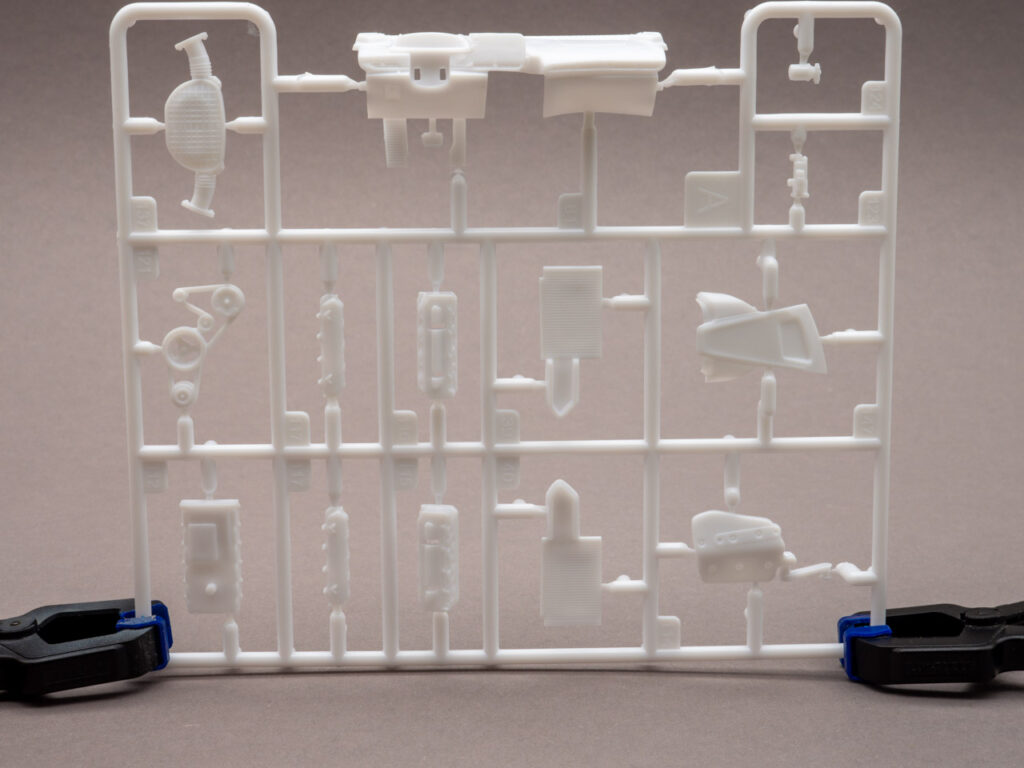
Despite the “soapy” plastic, the parts seem sharp.
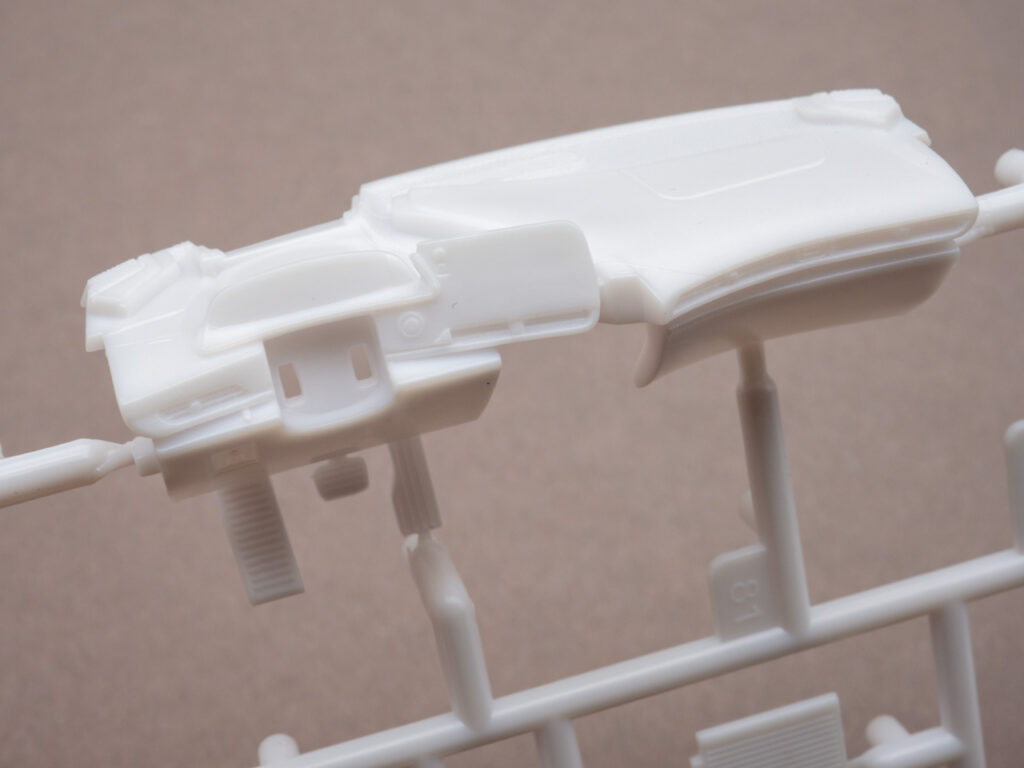
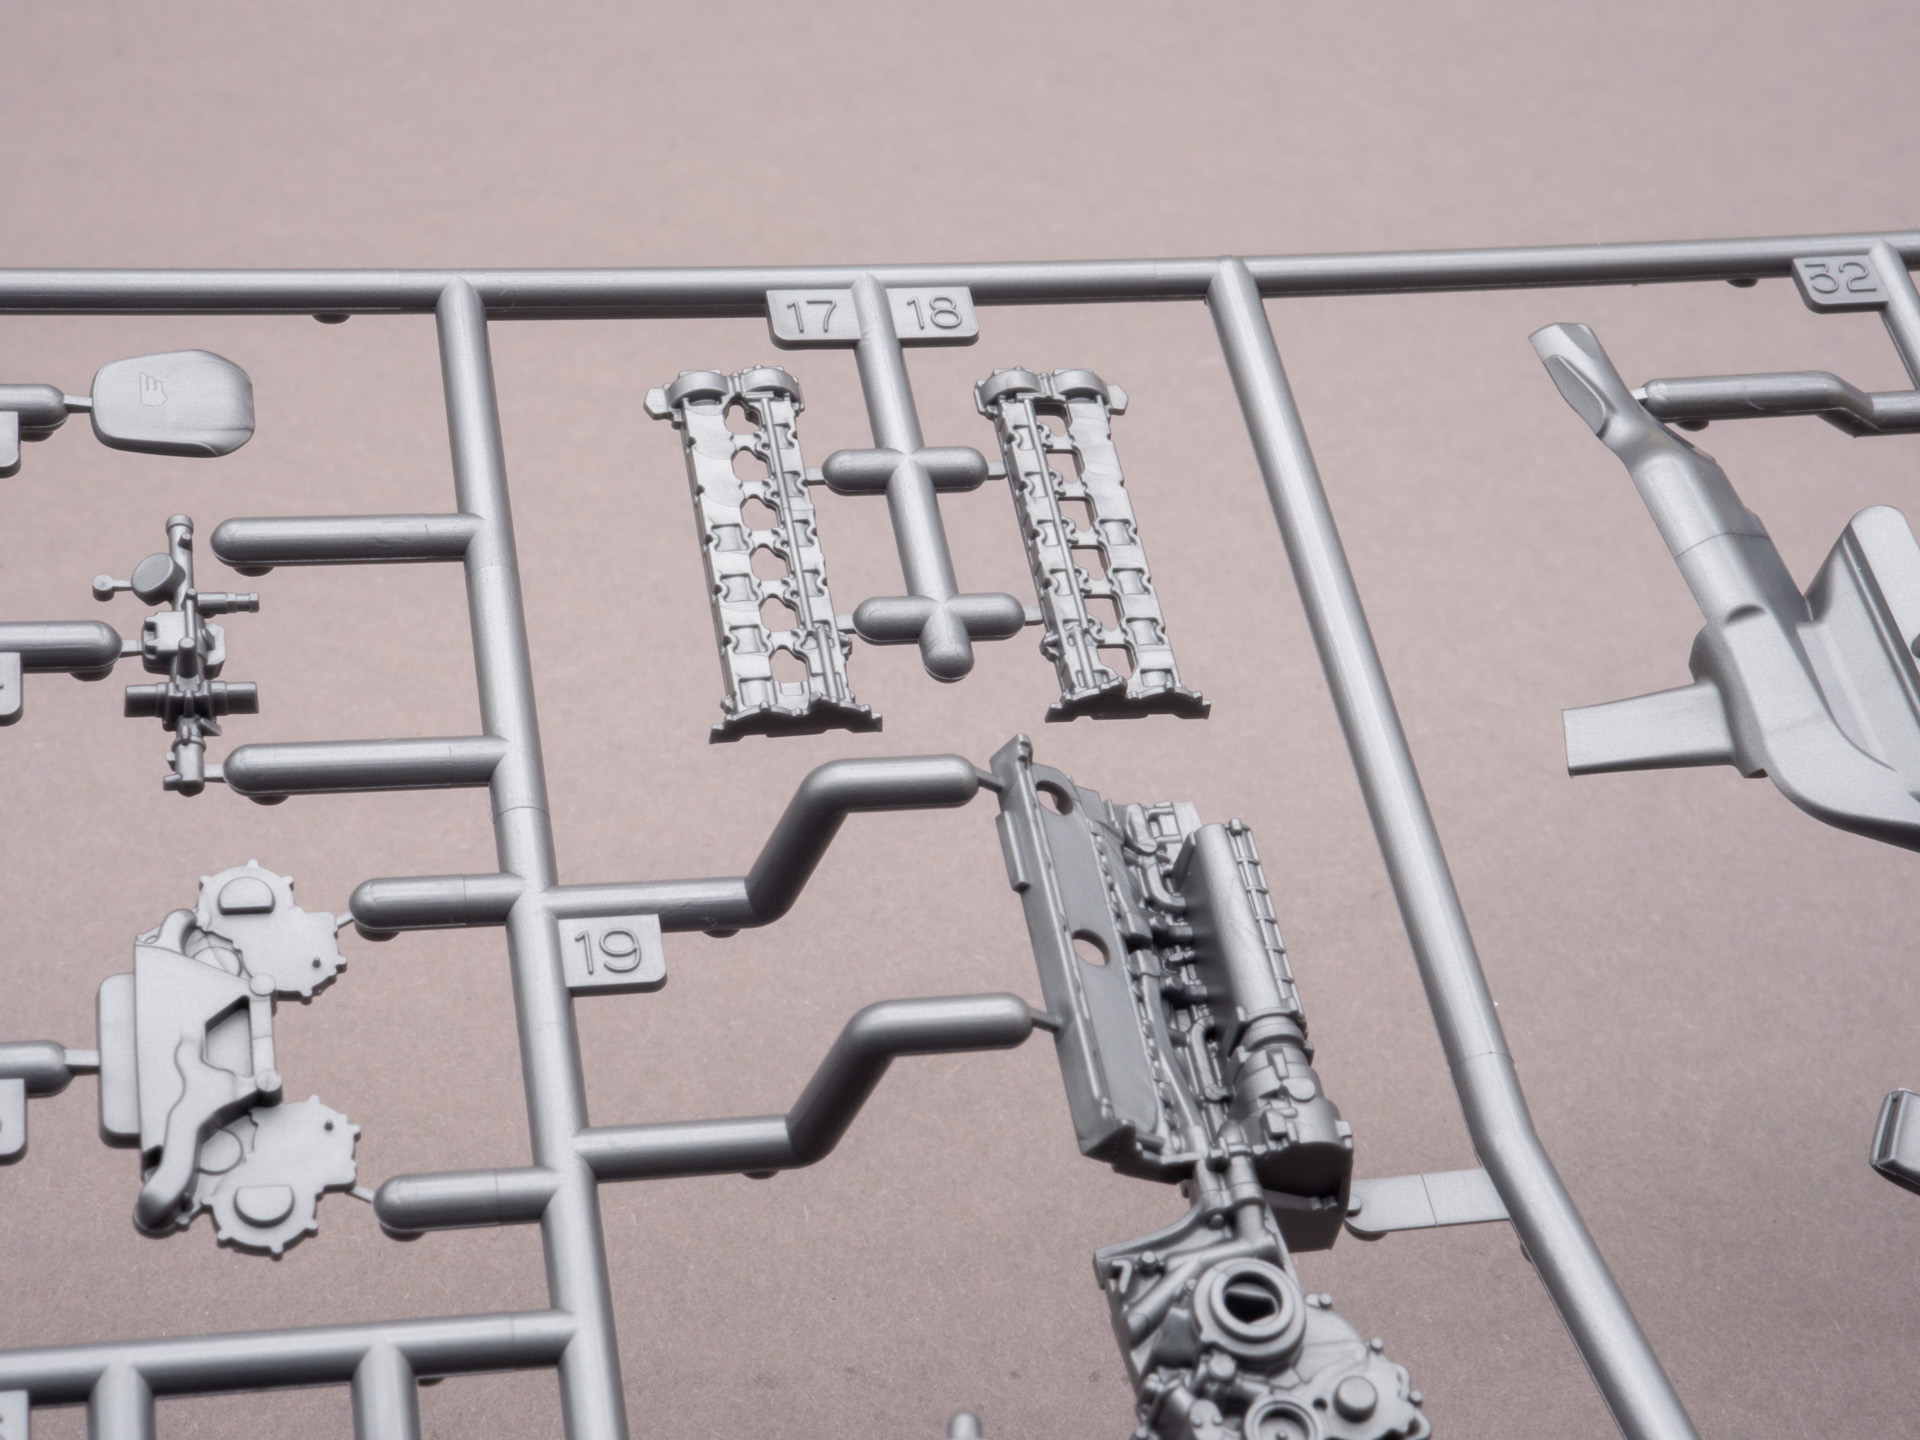
Next sprue. Also engine parts and other small things. Right-hand drive dashboard.
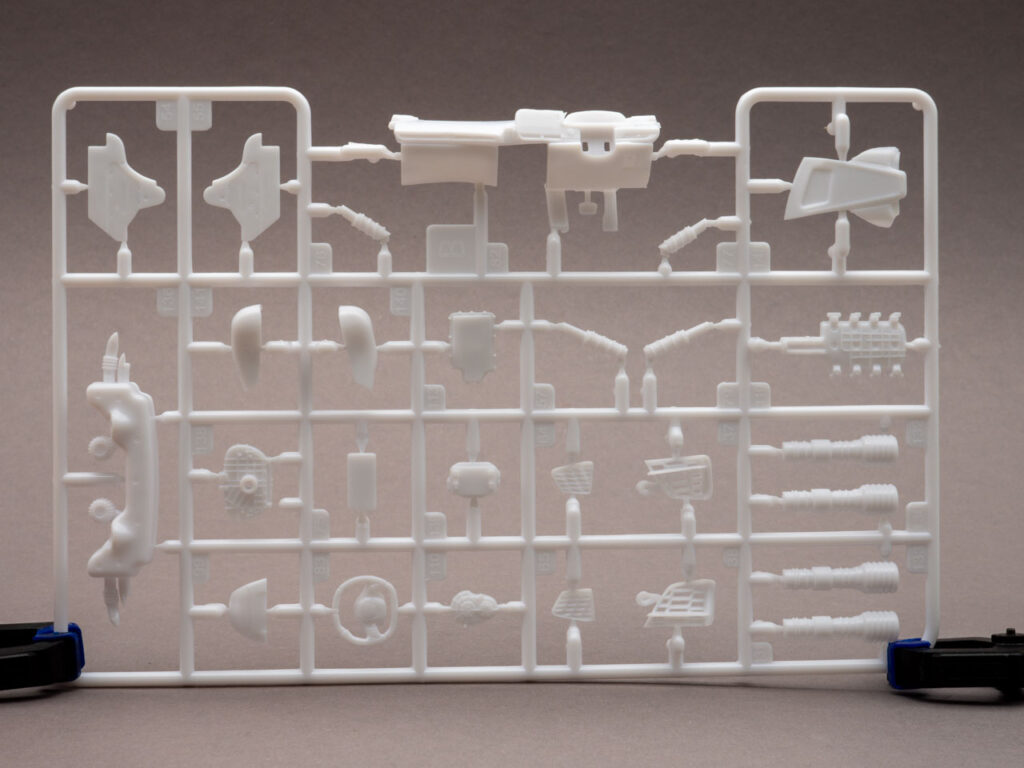
All buttons are clearly visible on the steering wheel, and such details as ribs on the engine parts.
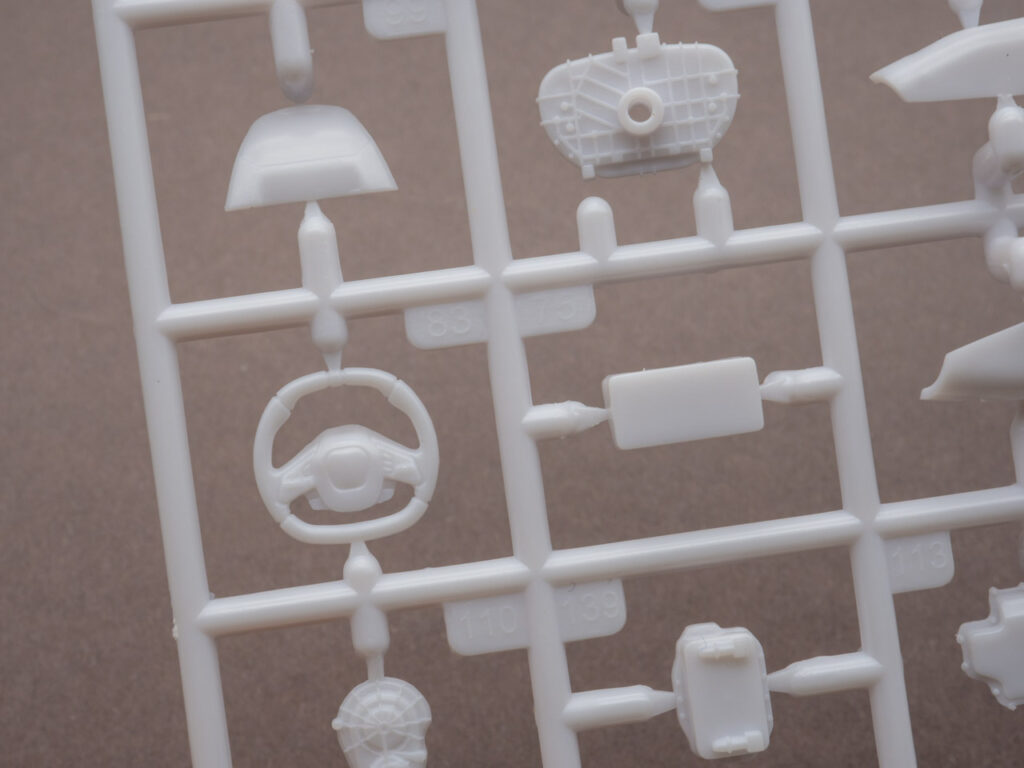
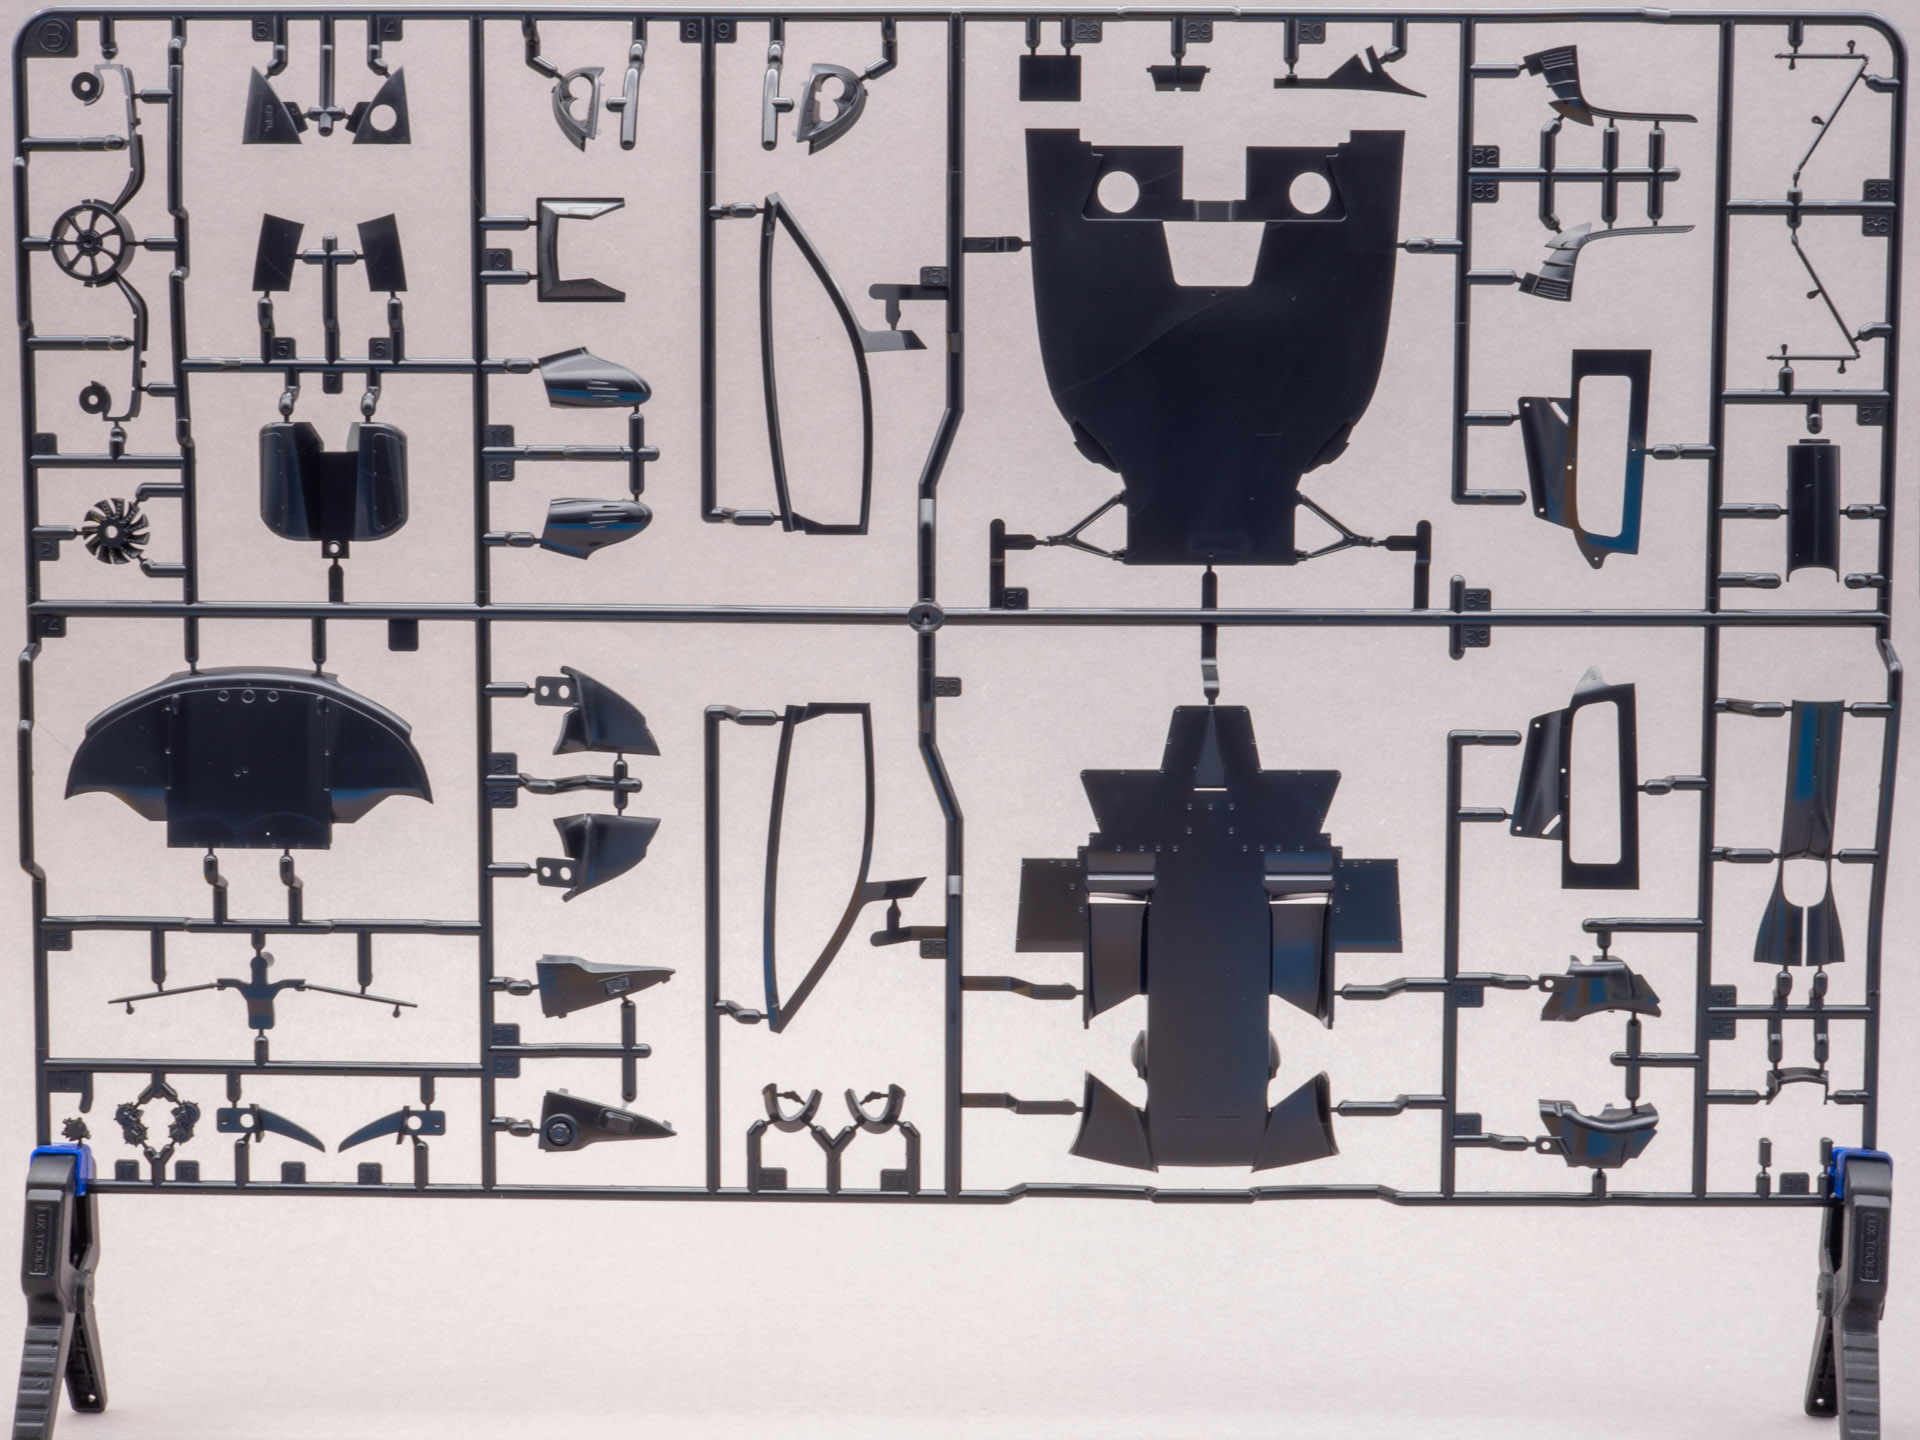
Another sprue. You can see the exhaust pipes, the panel with sun visors and other.
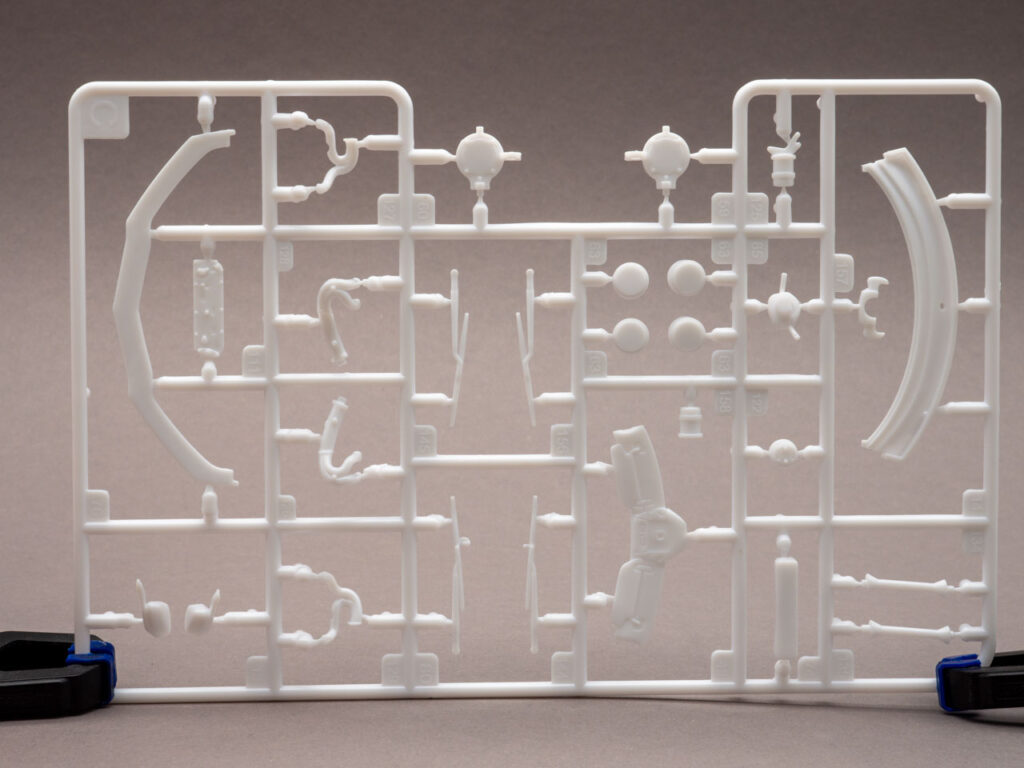
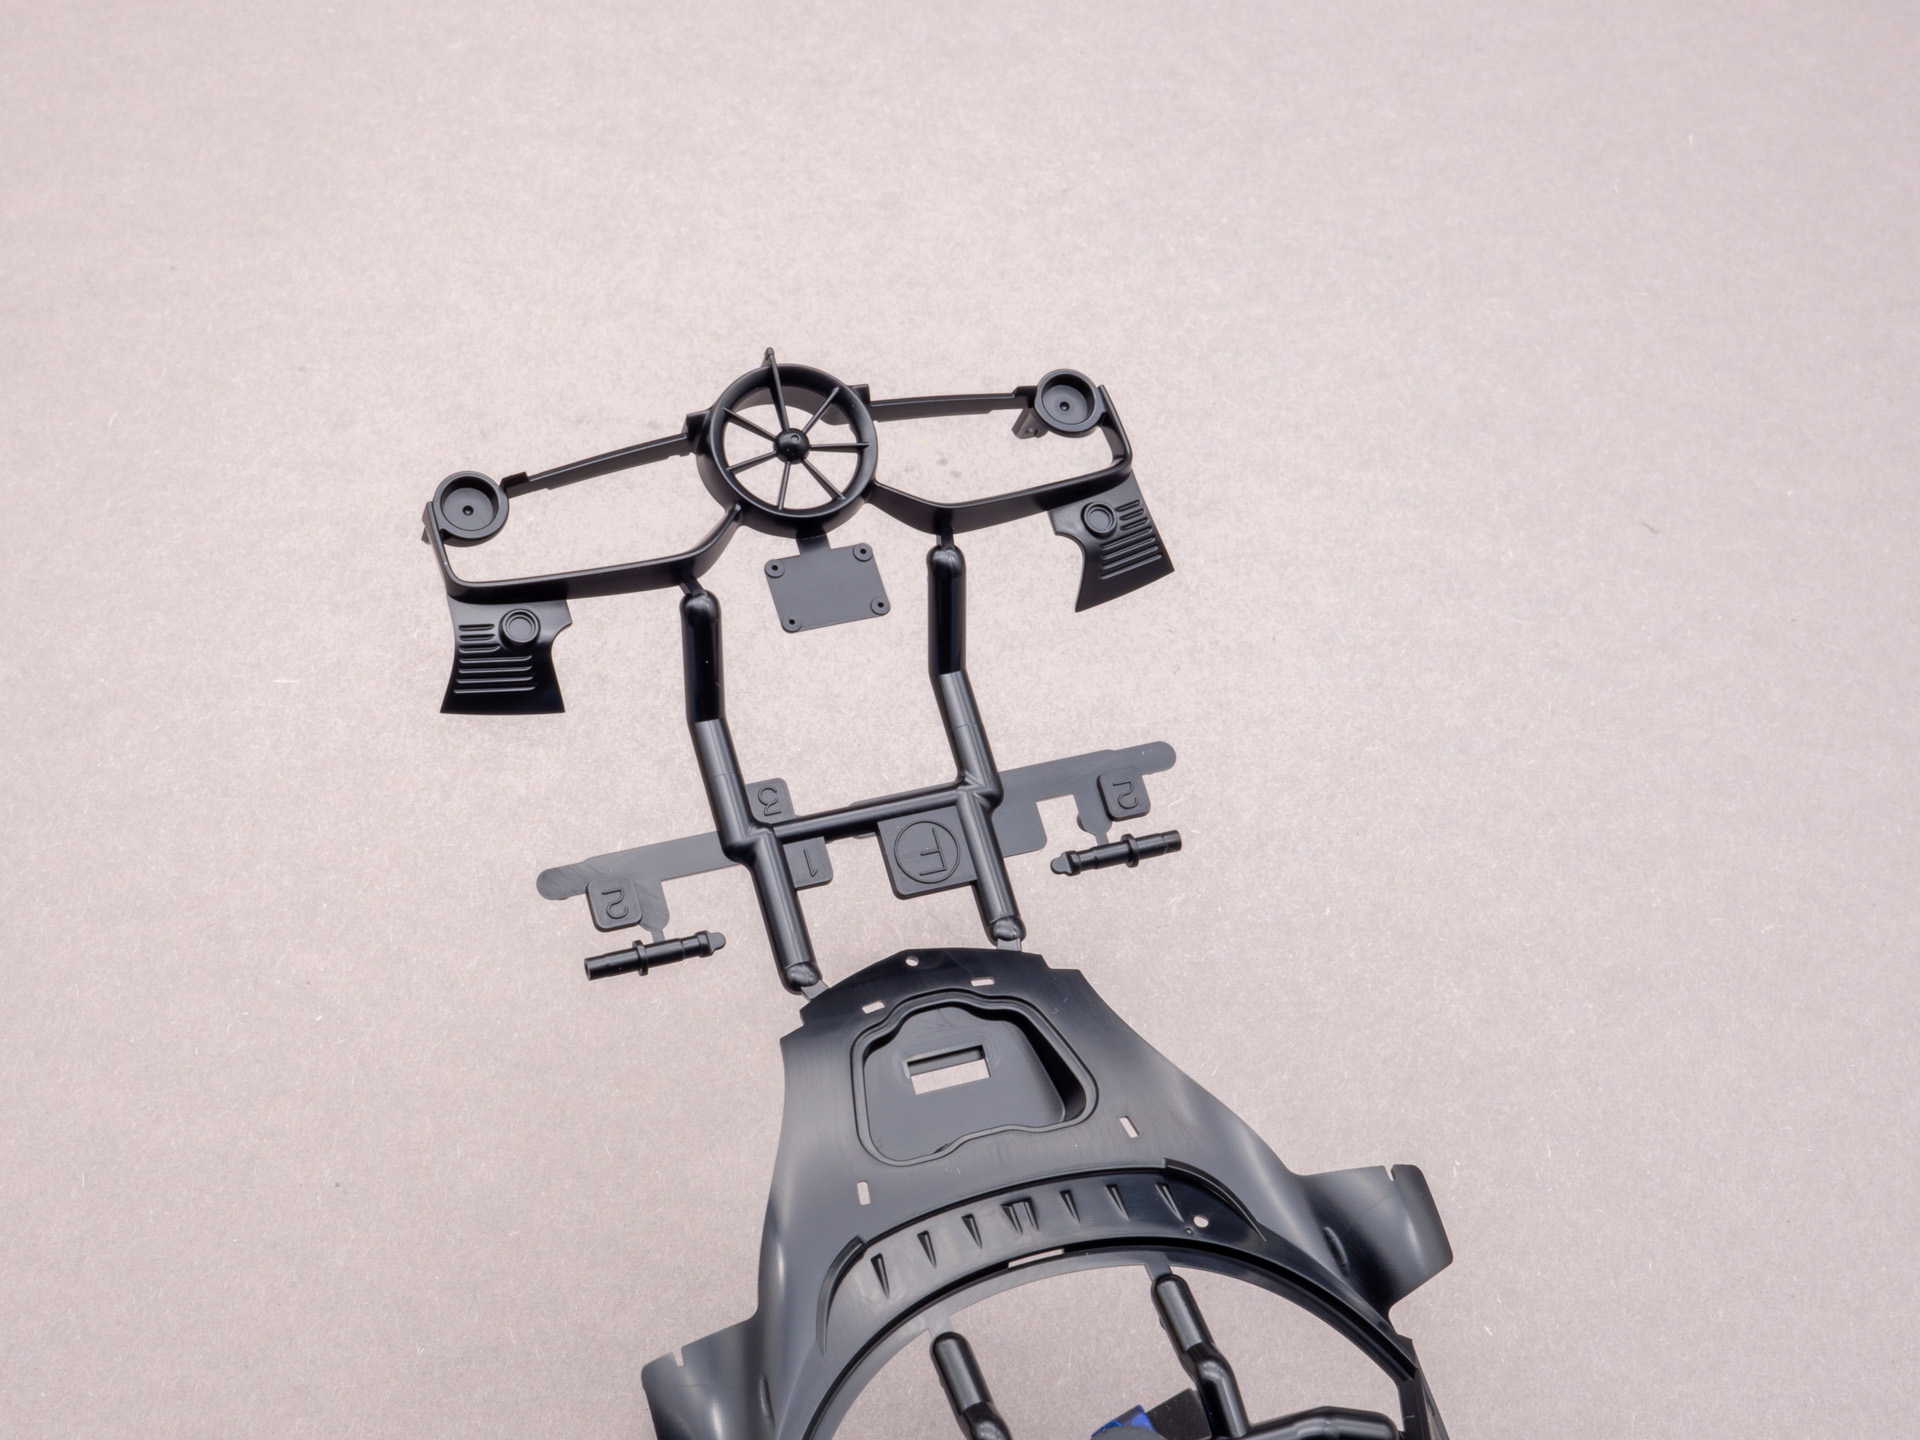
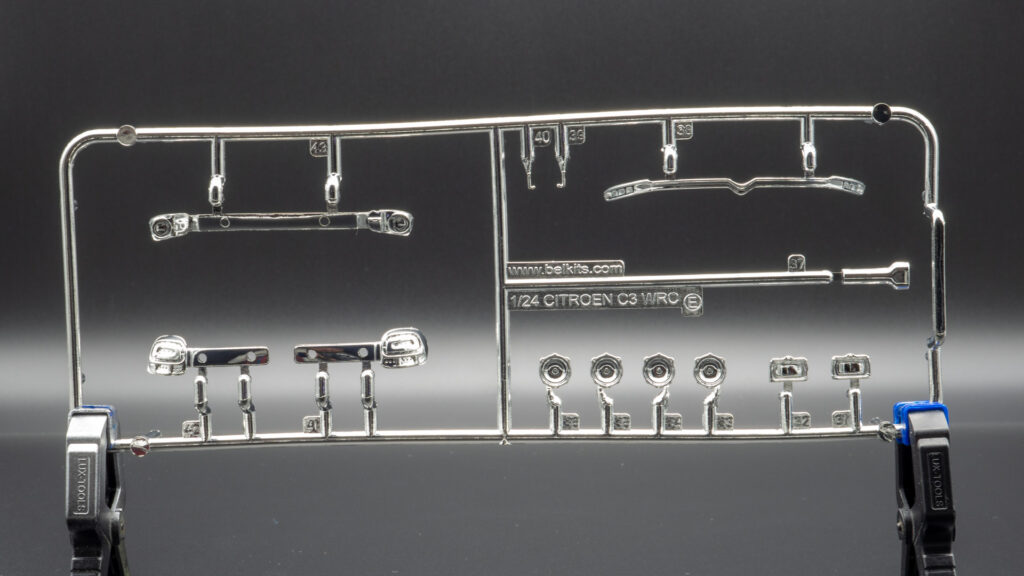
Reflectors for headlights and taillights.
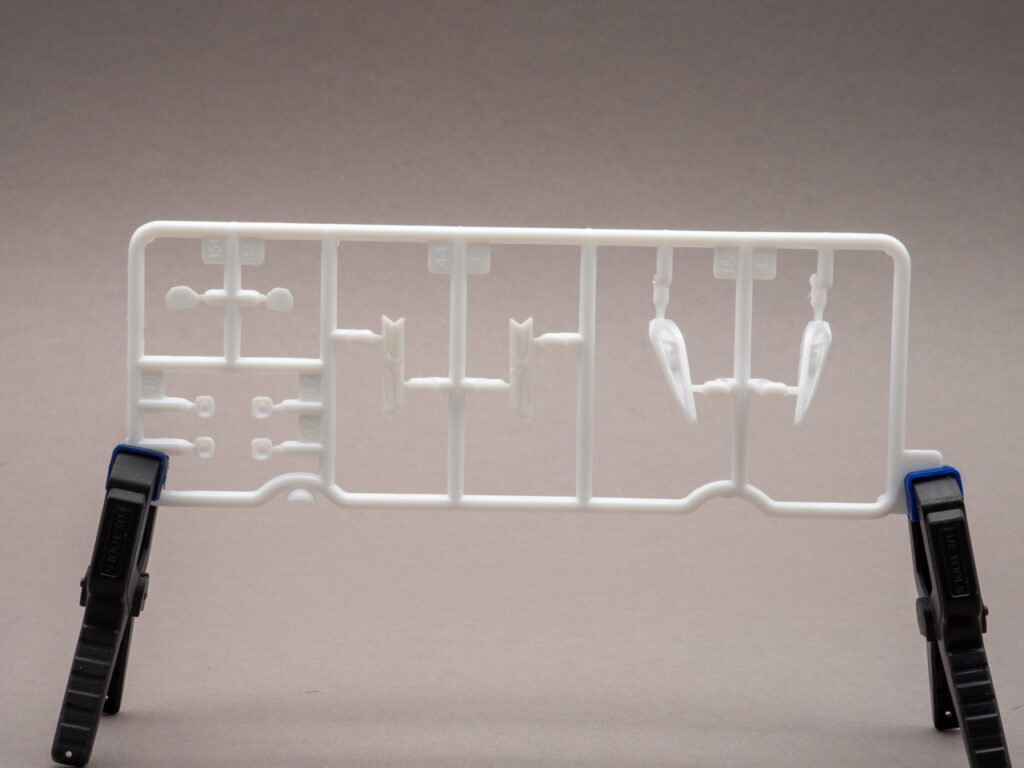
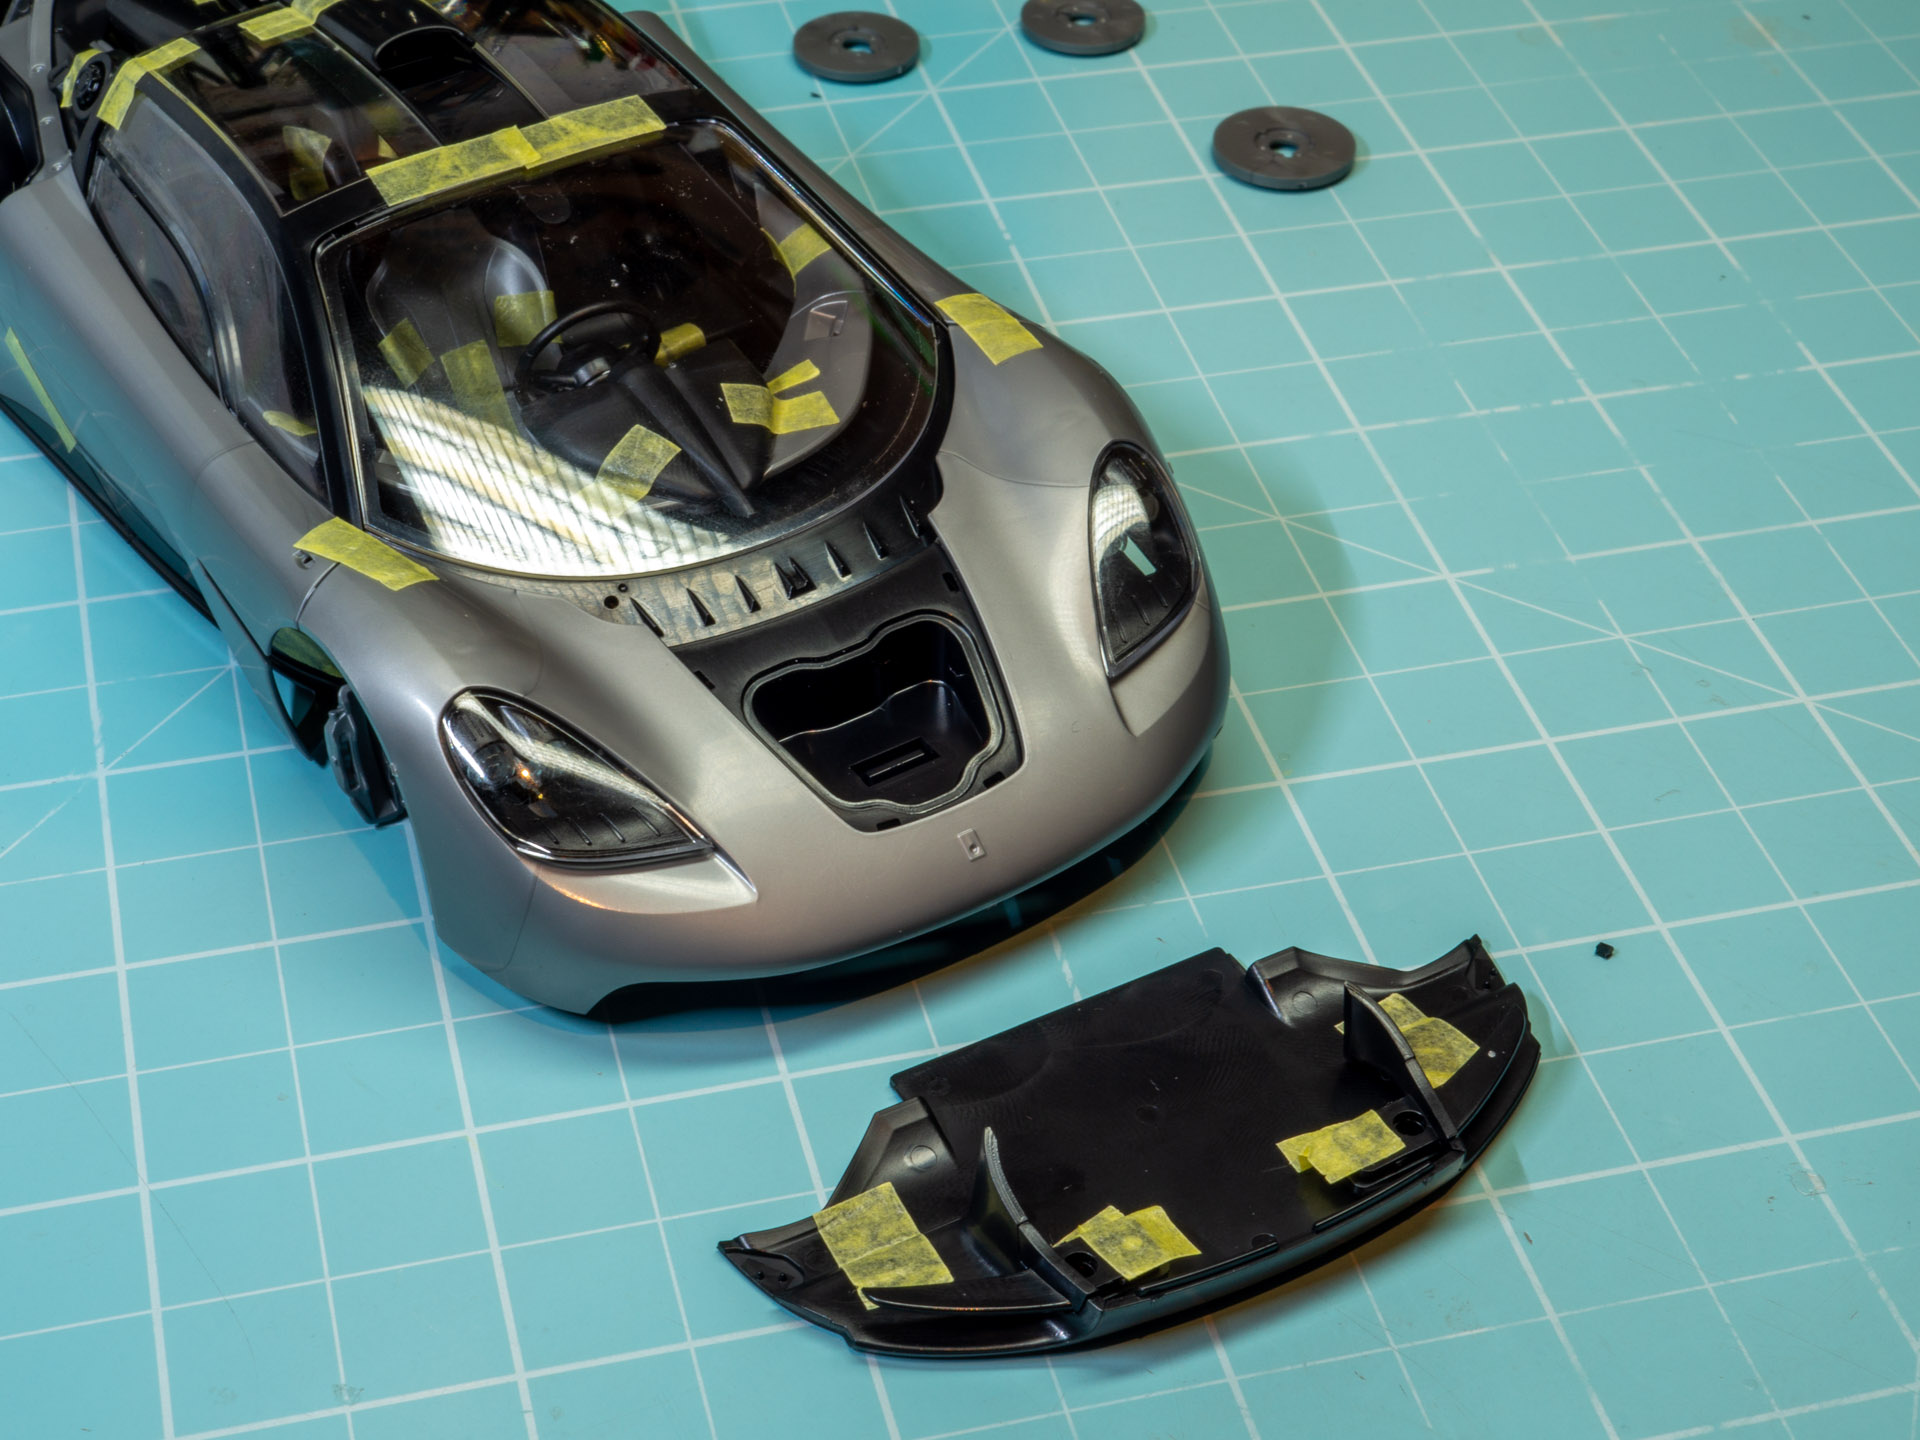
Trunk lid. I wonder how it will fit into the body. Hopefully flawless.
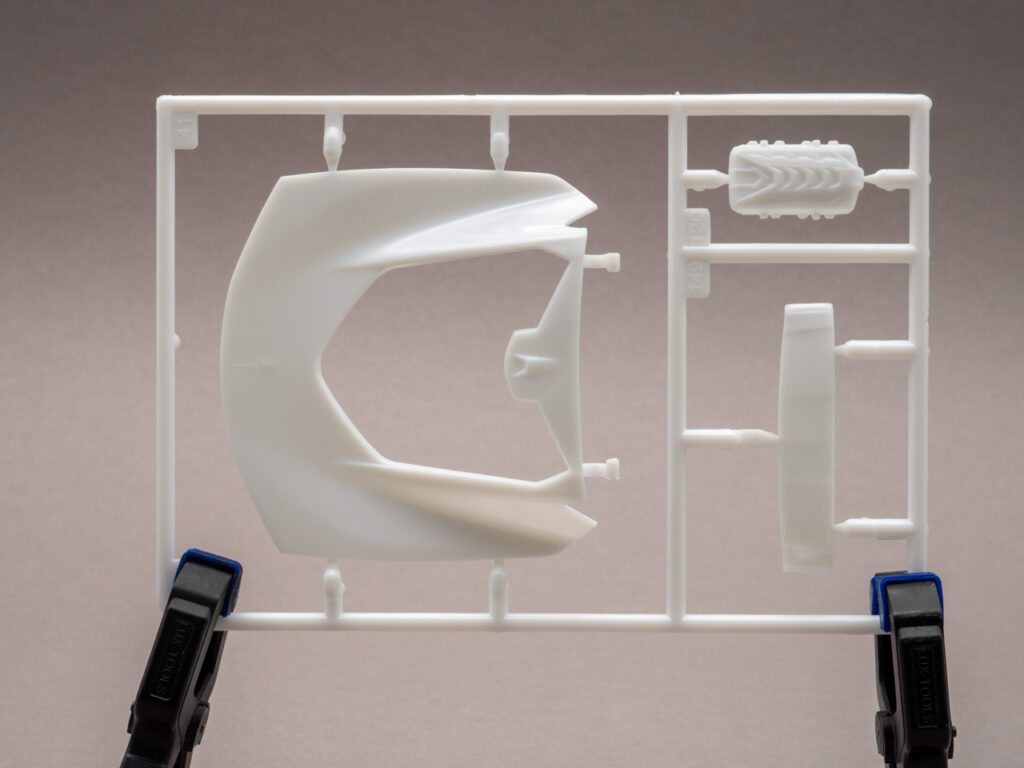
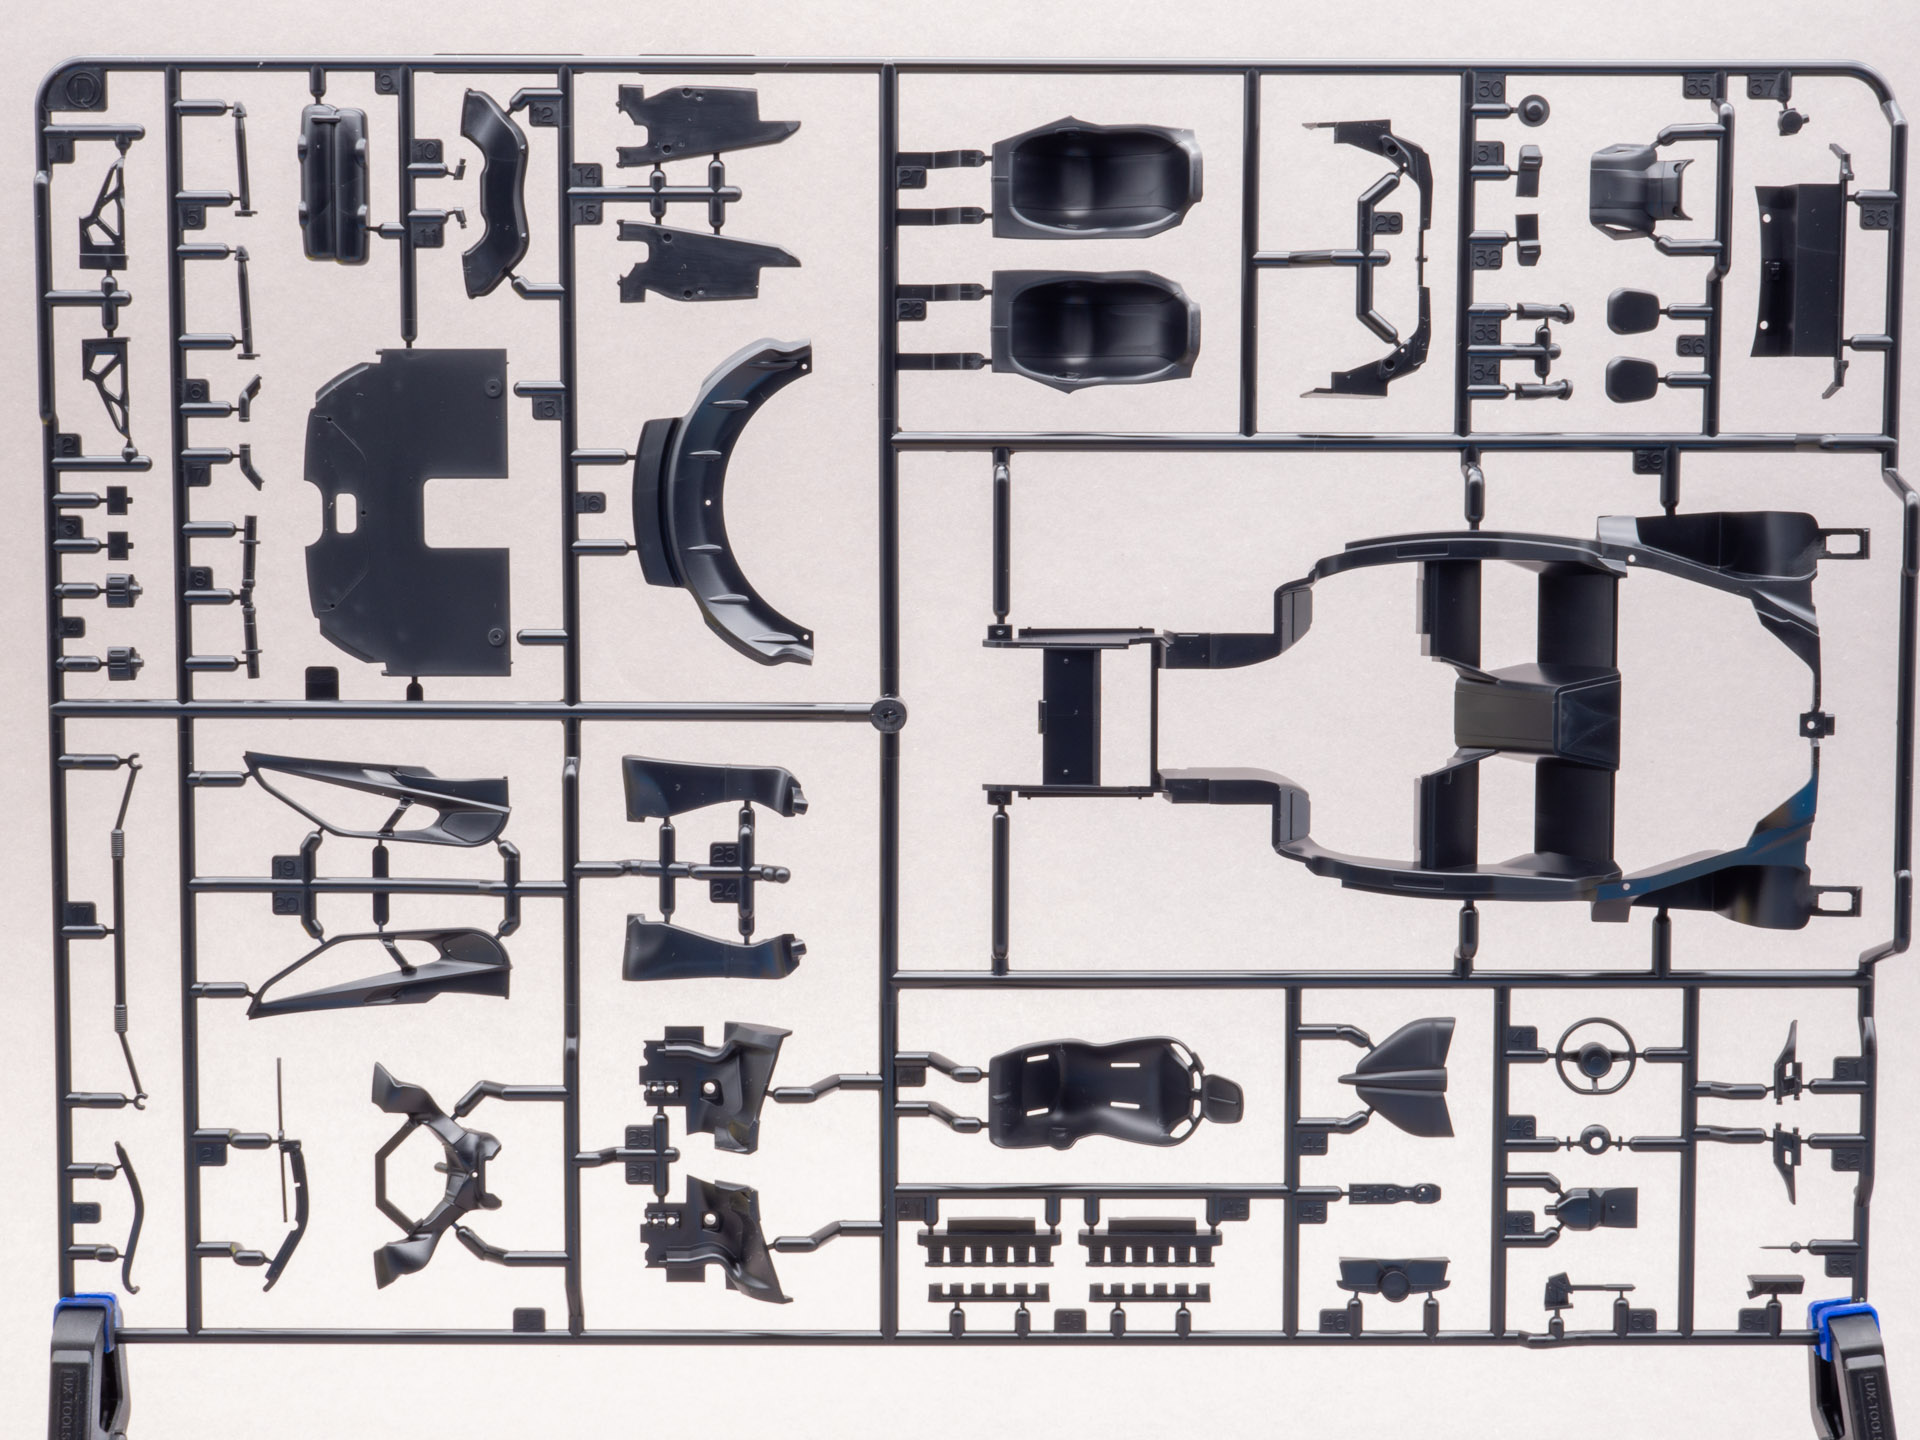
Bottom part, arches.
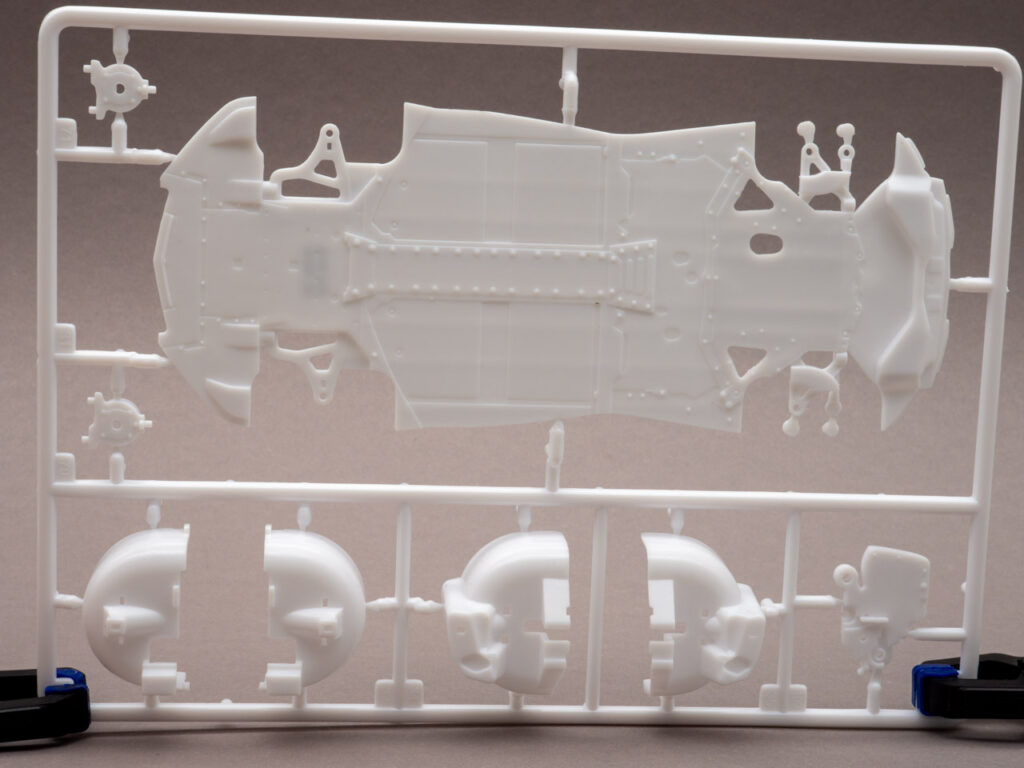
Interior elements and engine. The tail part is given as a separate piece.
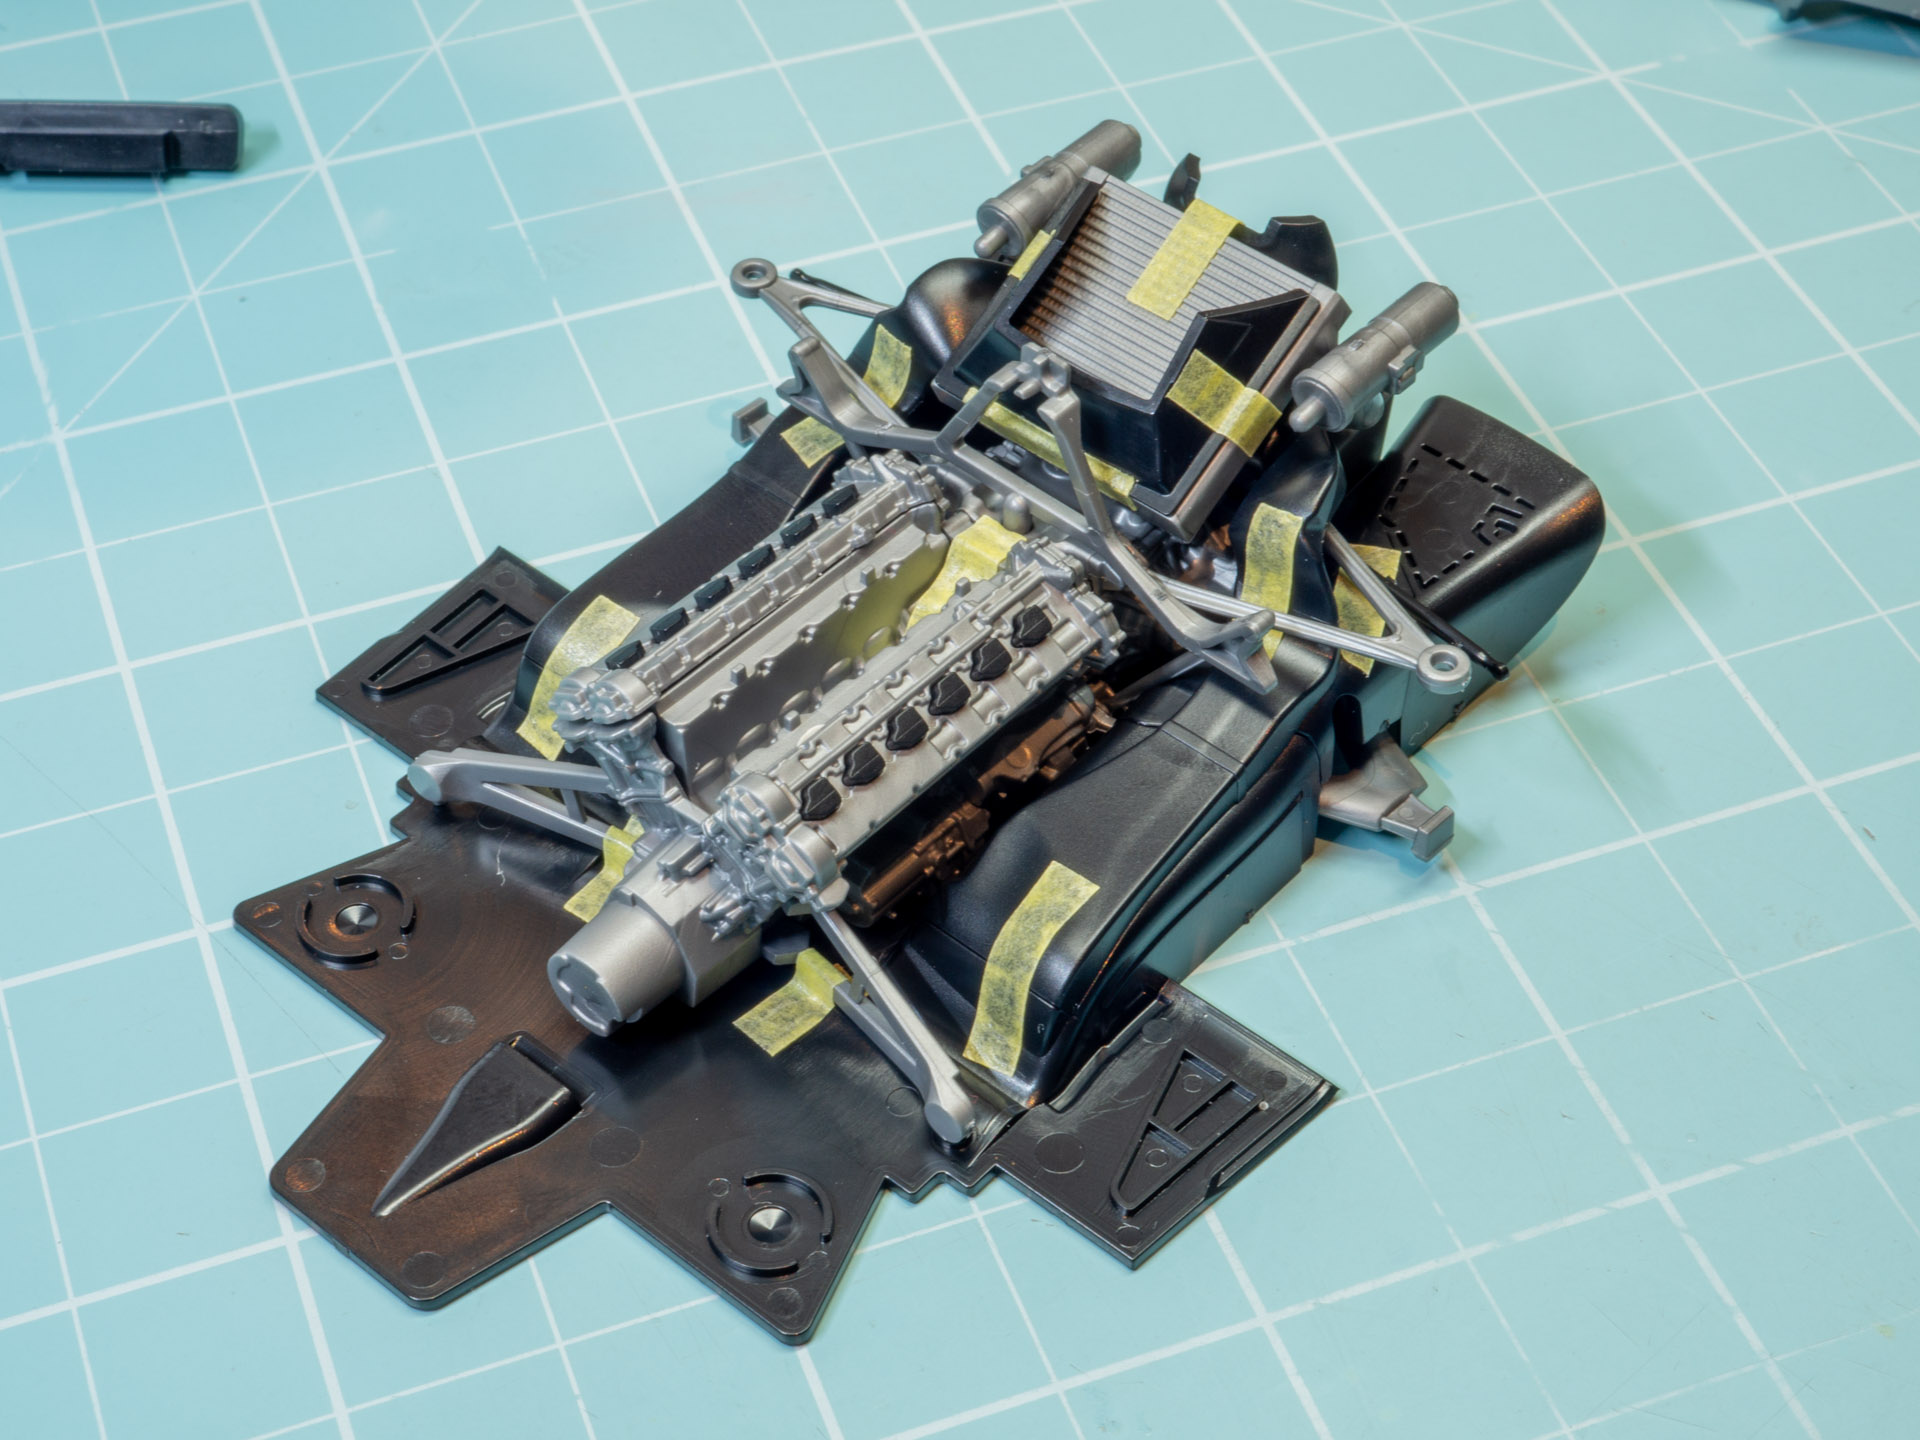
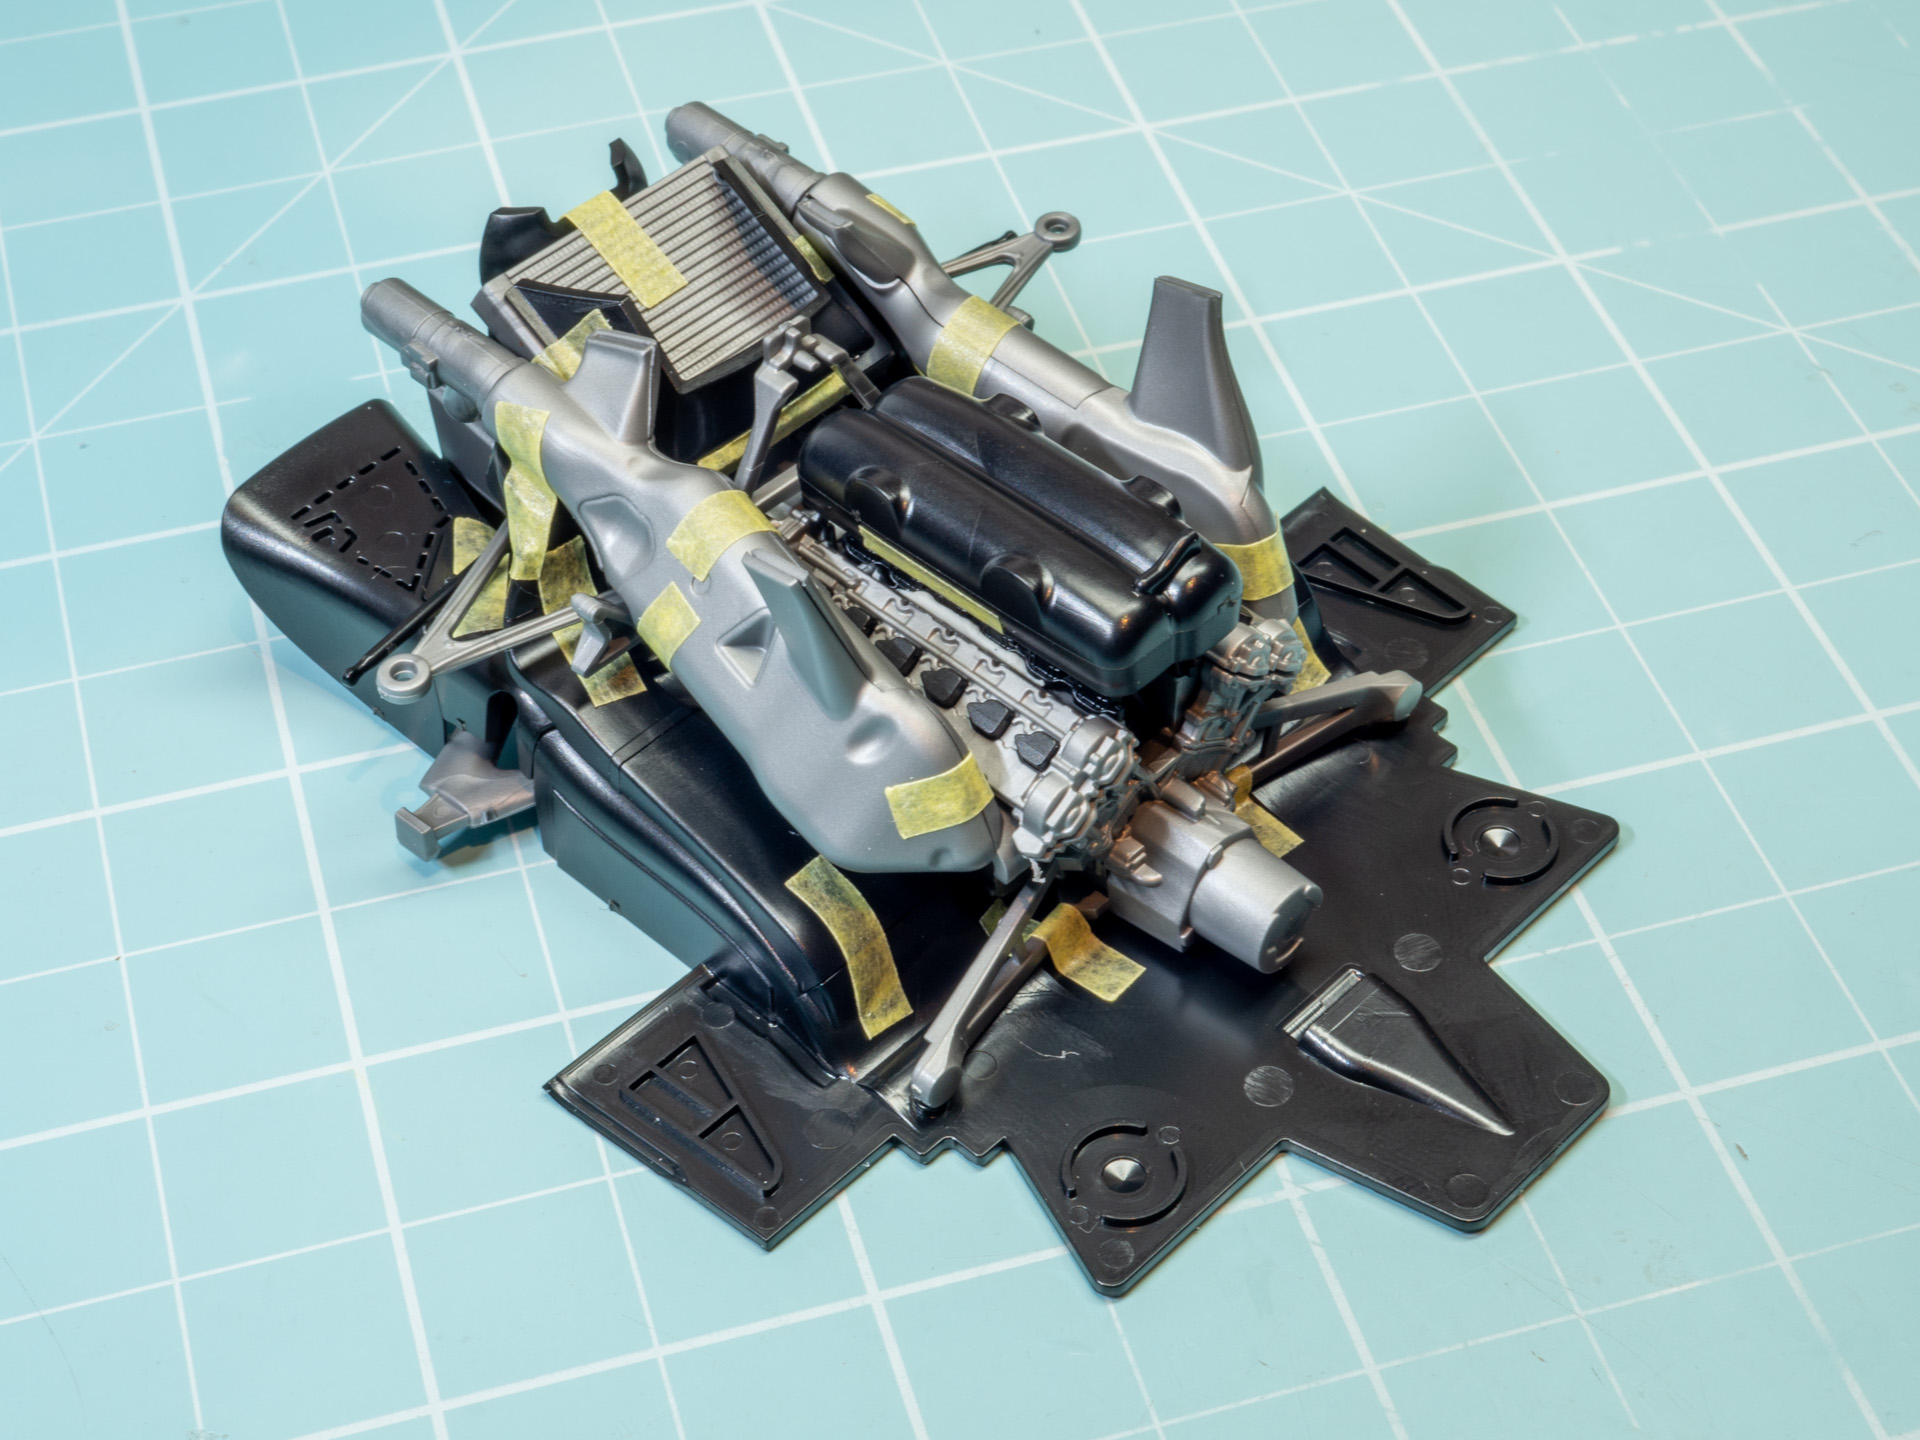
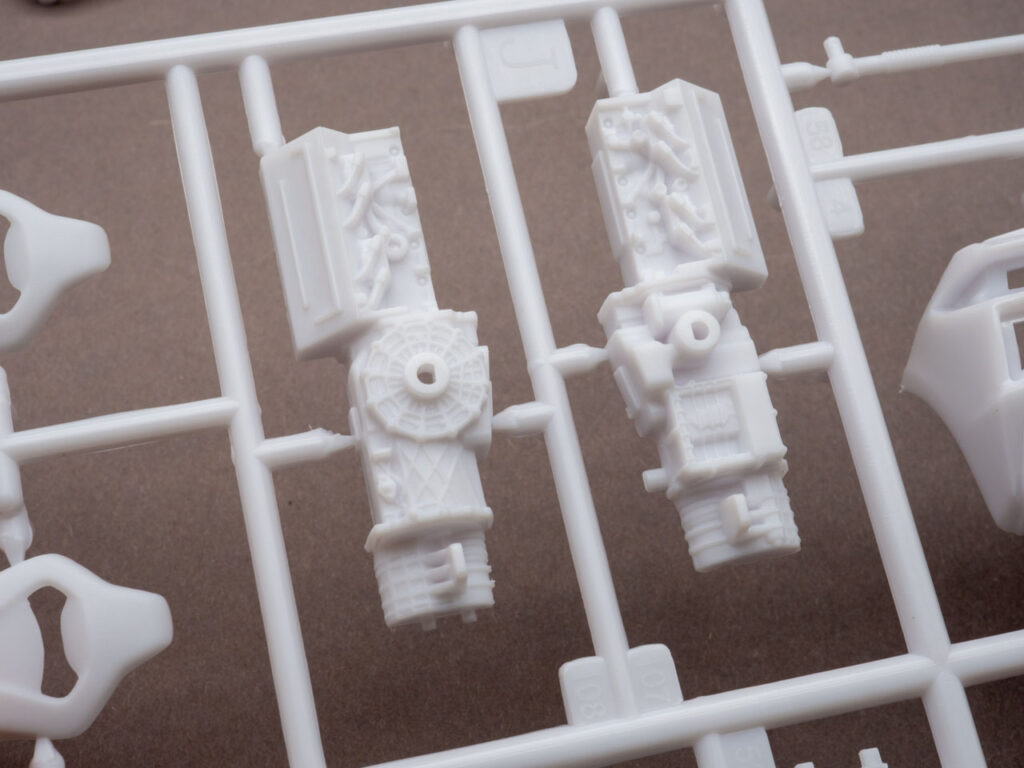
The relief on the engine is also good detailed. Bolts and ribs of decent quality are visible. The spark plugs with HV wires are molded into the block; it will be possible to slightly improve the detail and cut them off, replacing them with normal wires.
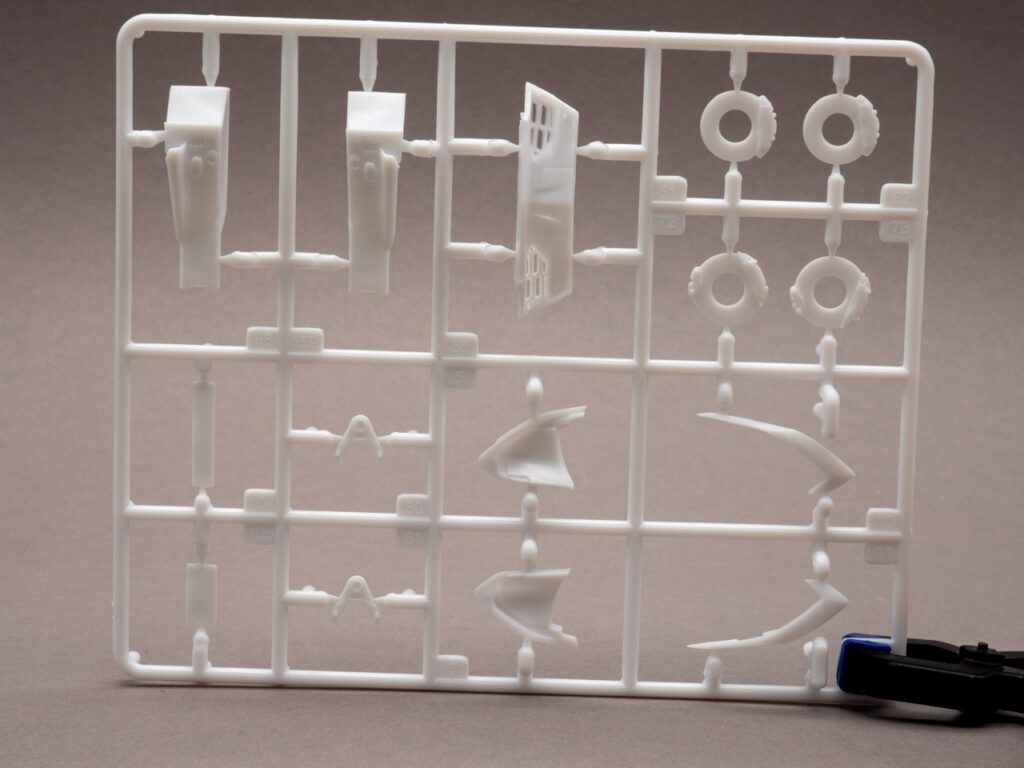
Next sprue.
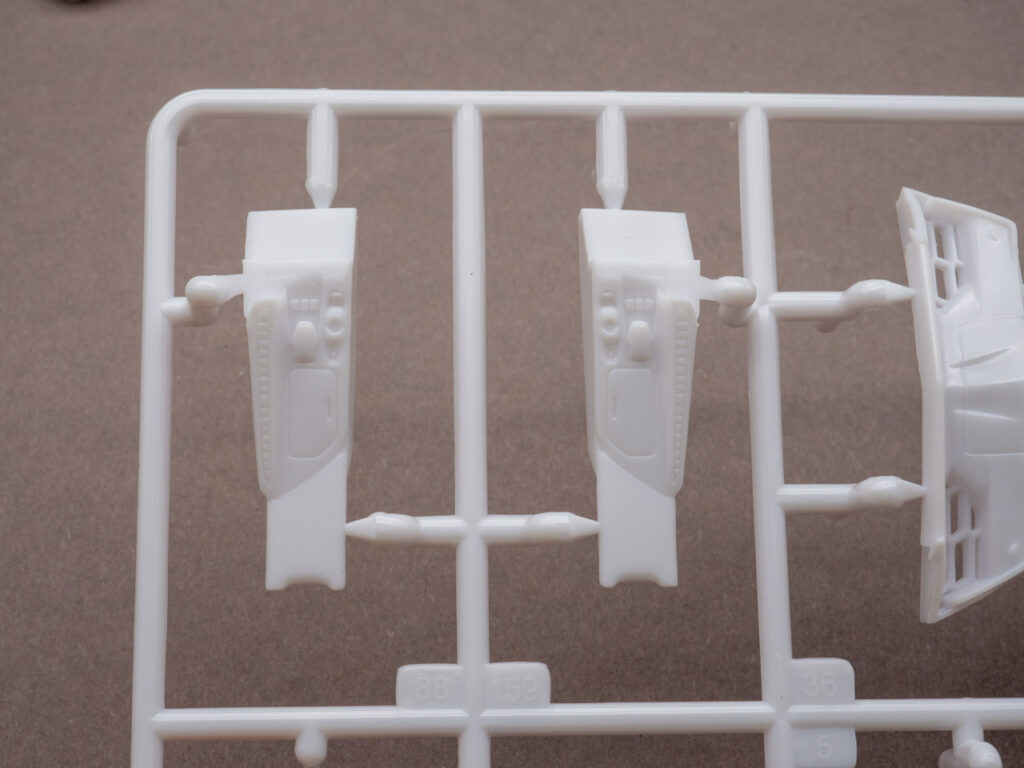
Center console for left and right hand drive. Optional.
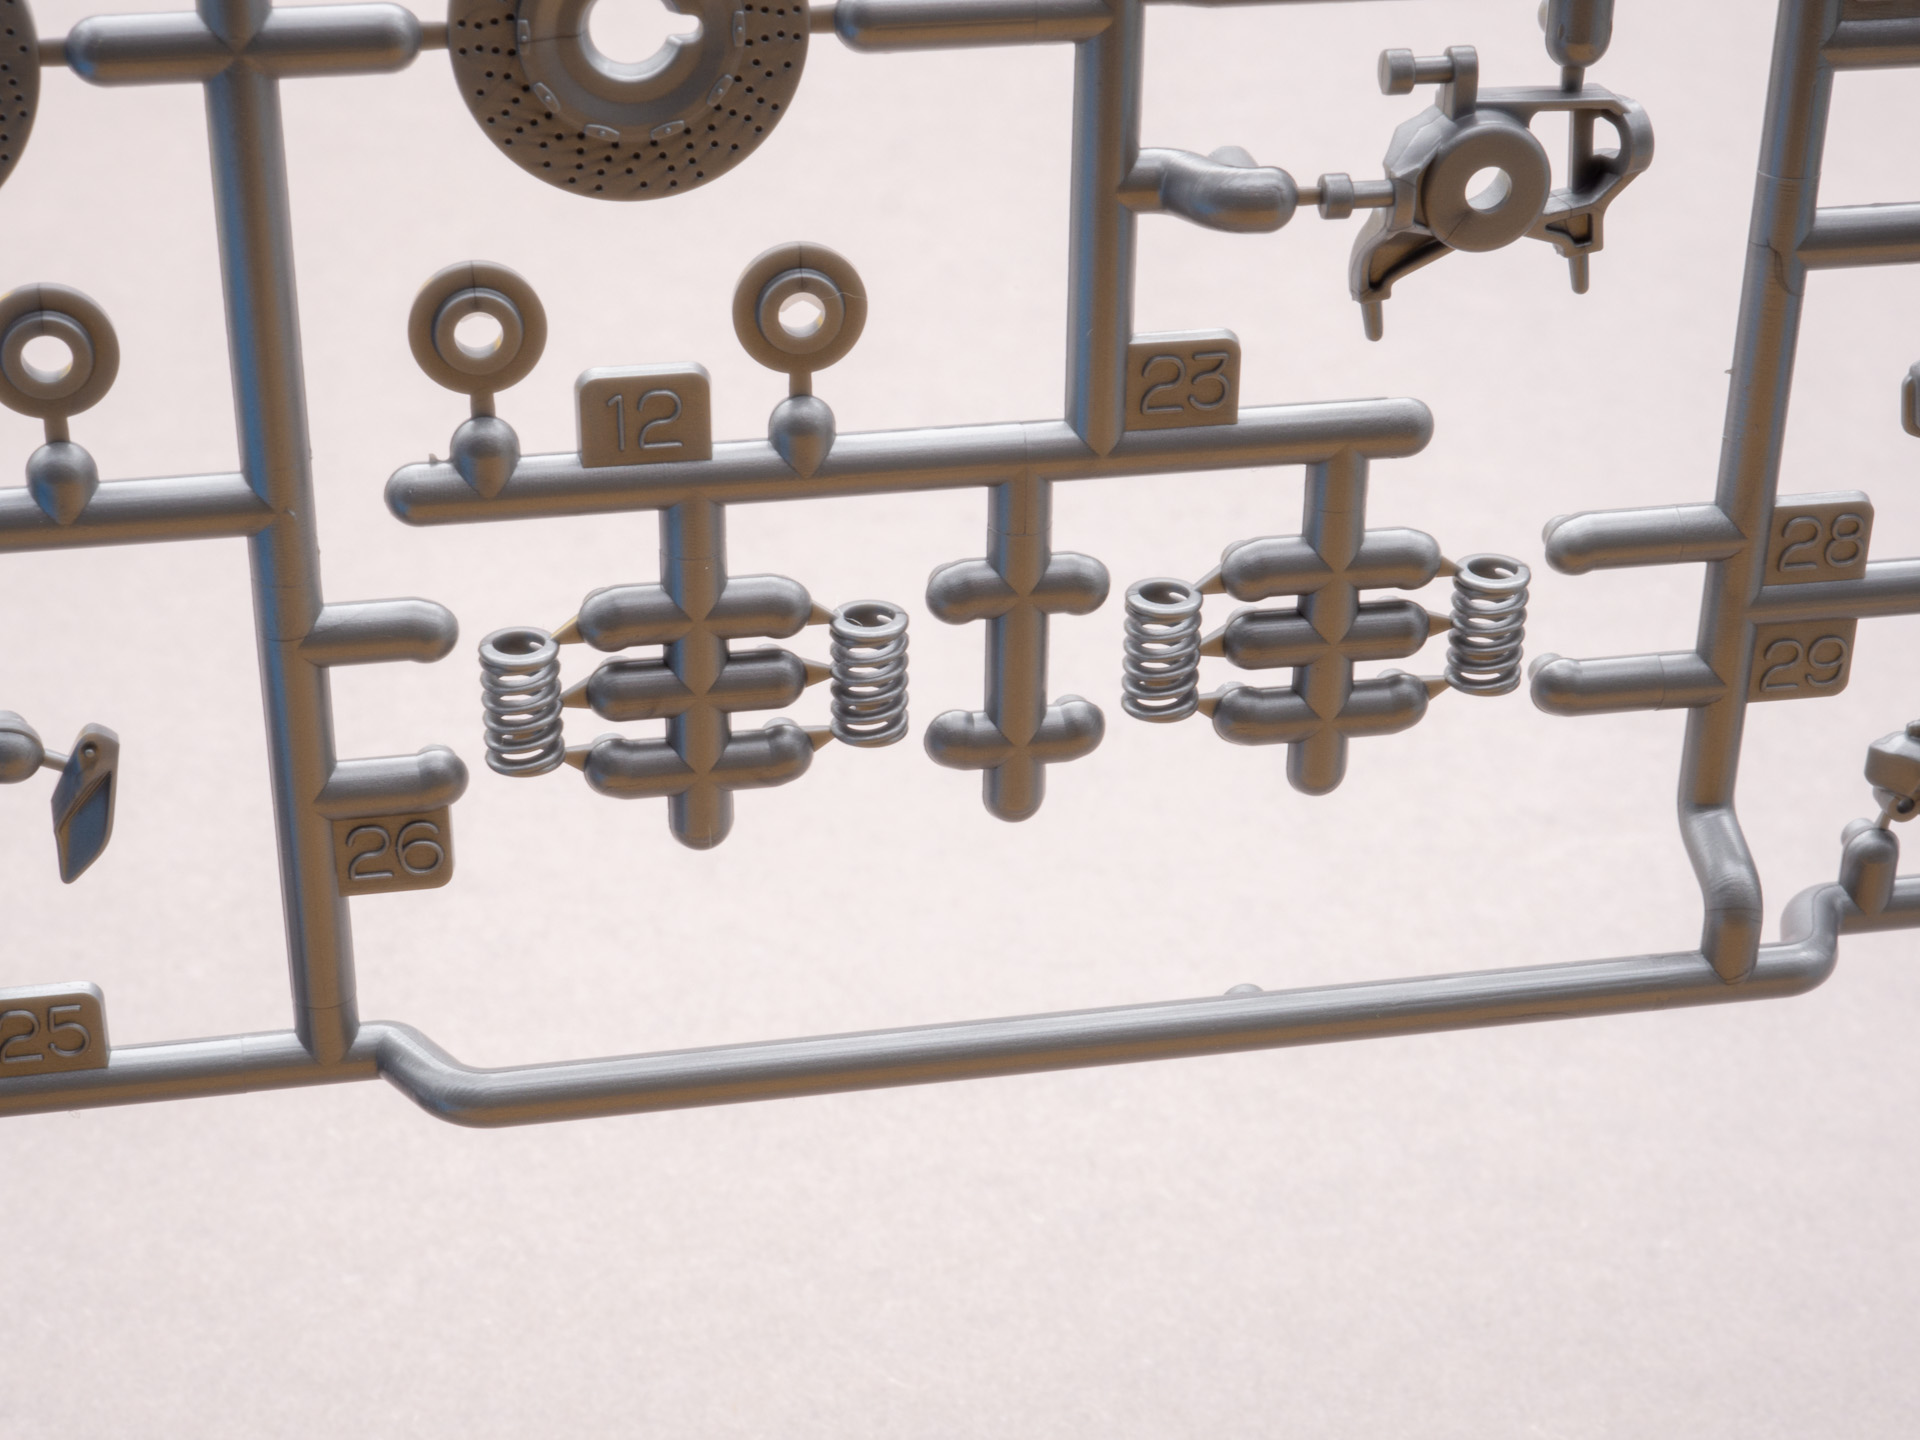
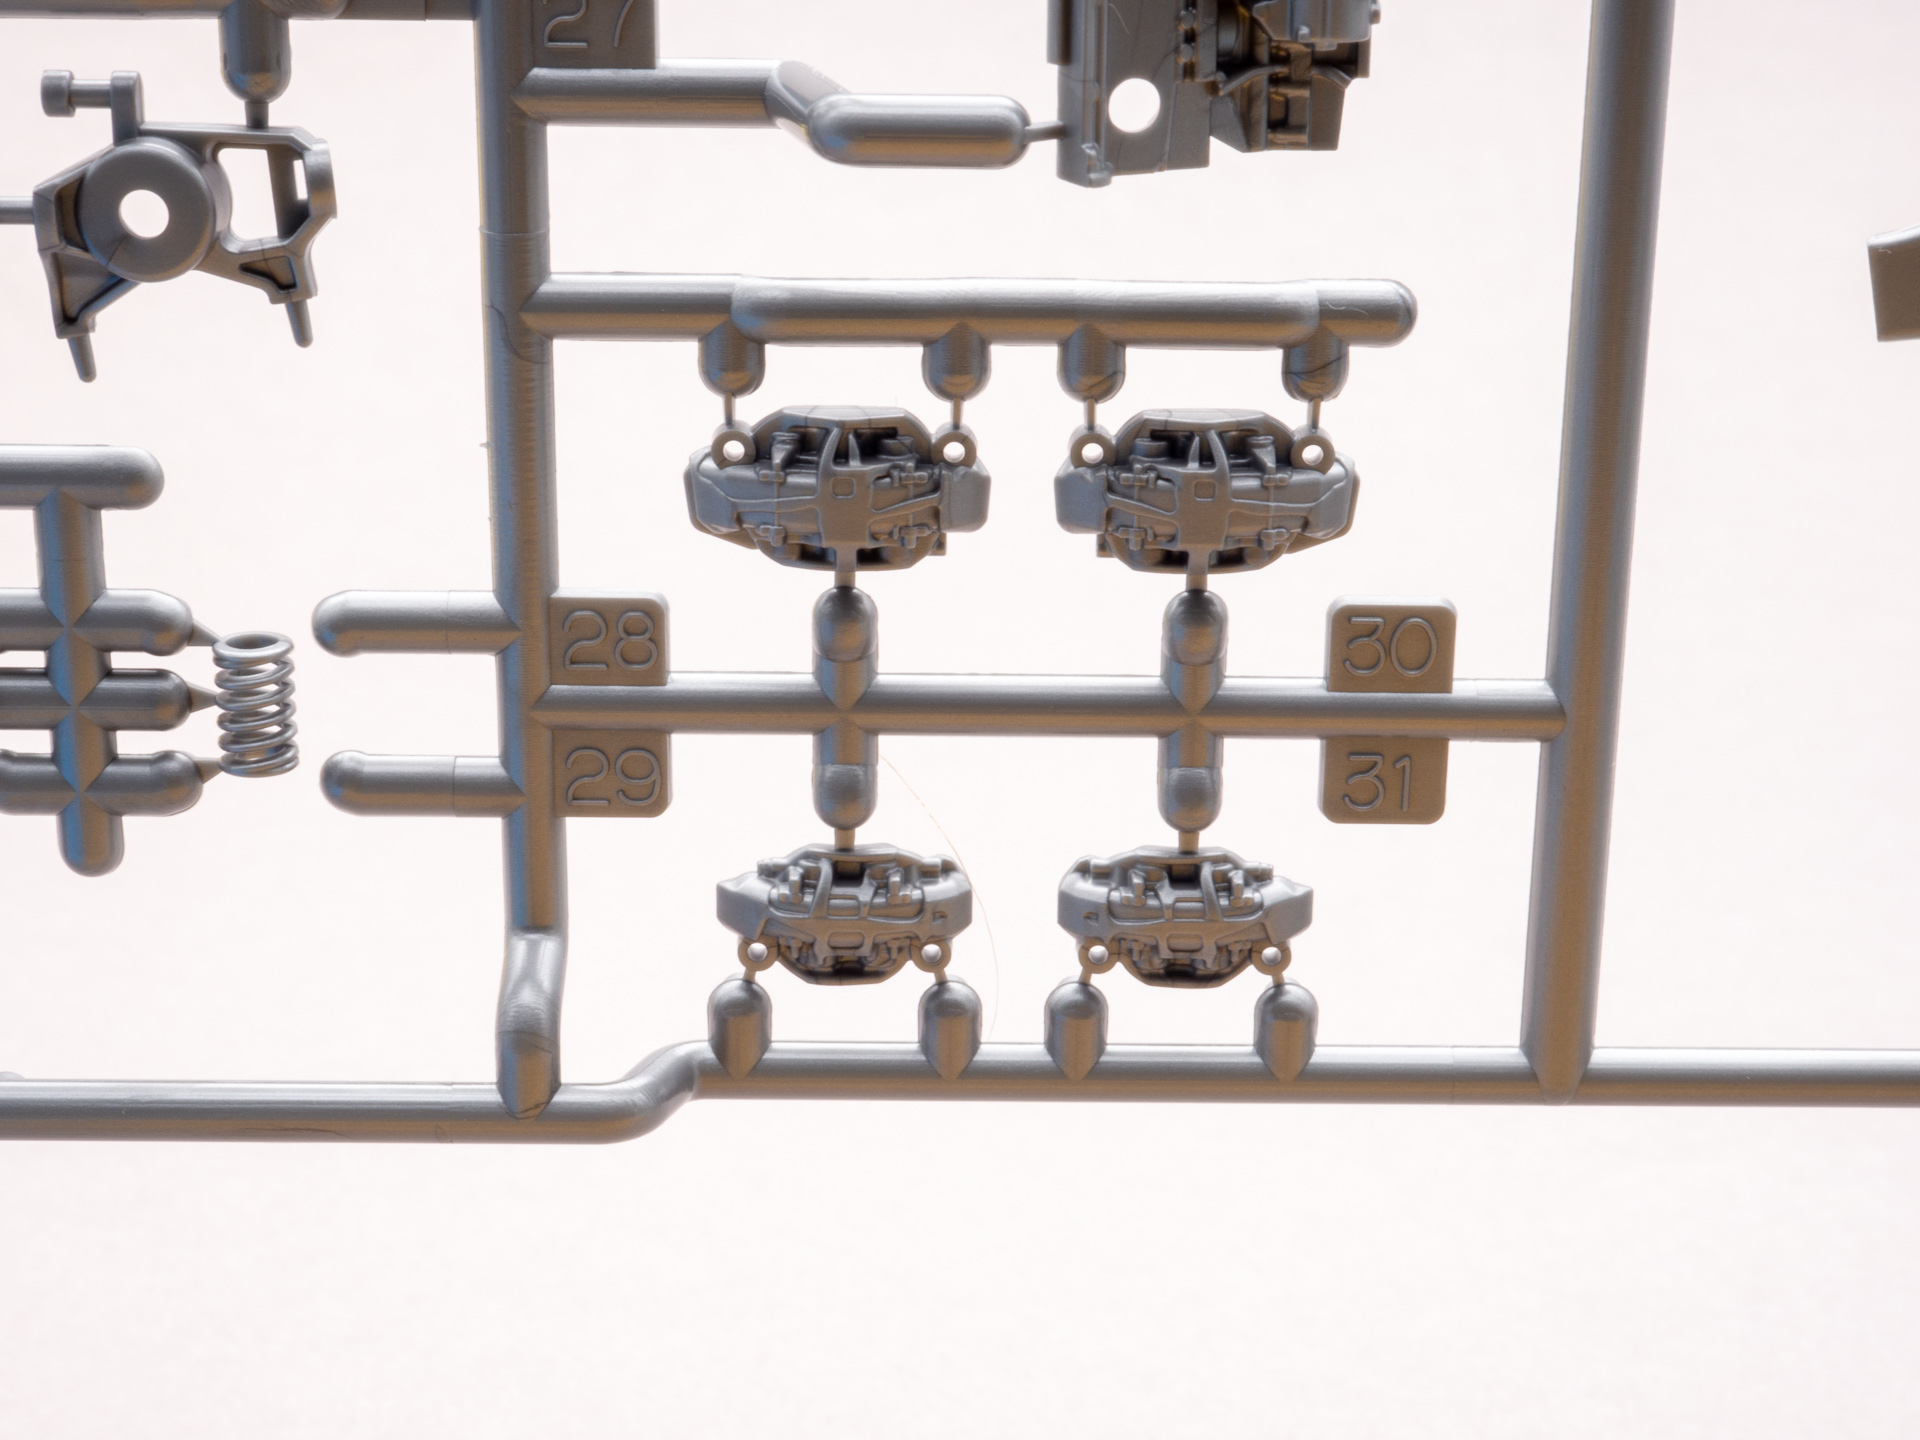
Brake discs with flat calipers. I plan to cut it off and replace it with my own 3D printed ones. But then again, even so they looks good.

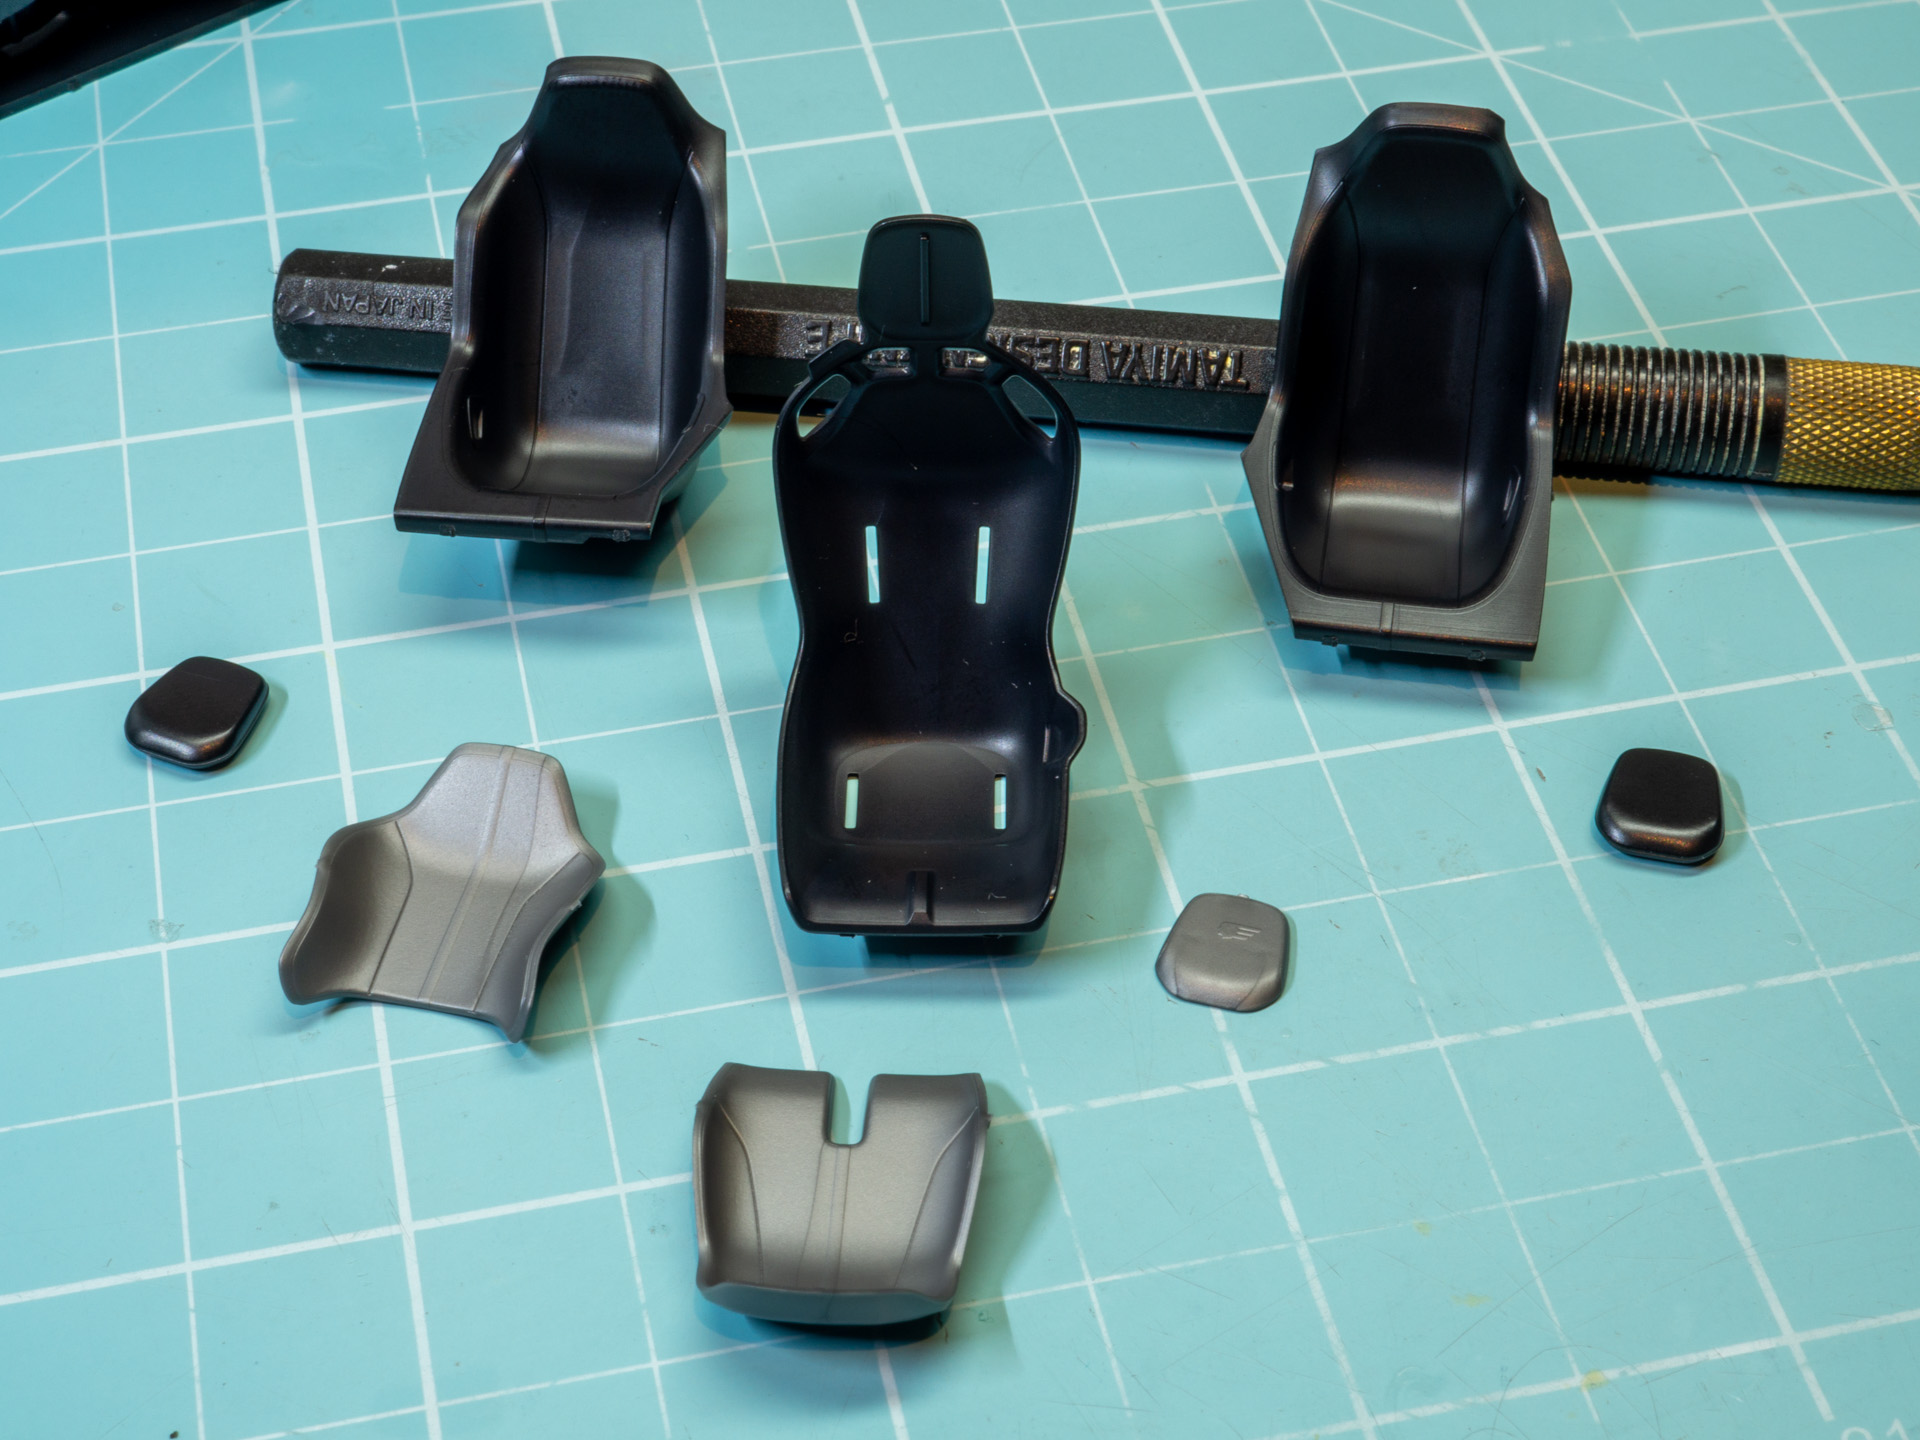
Seats and spoiler.
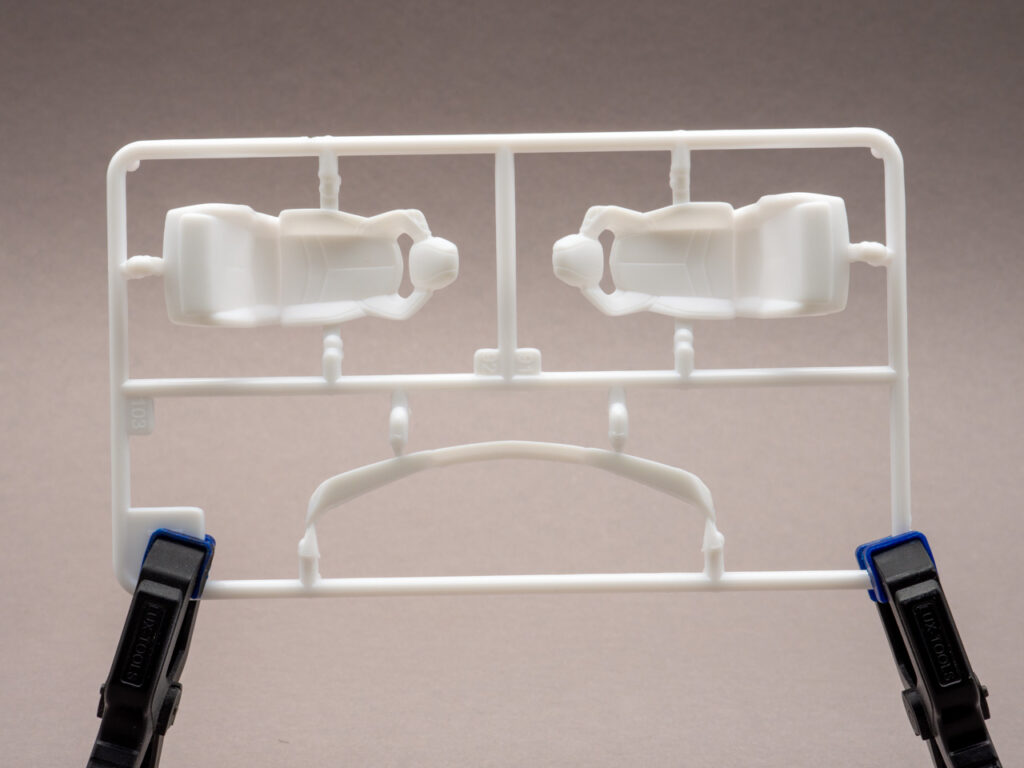
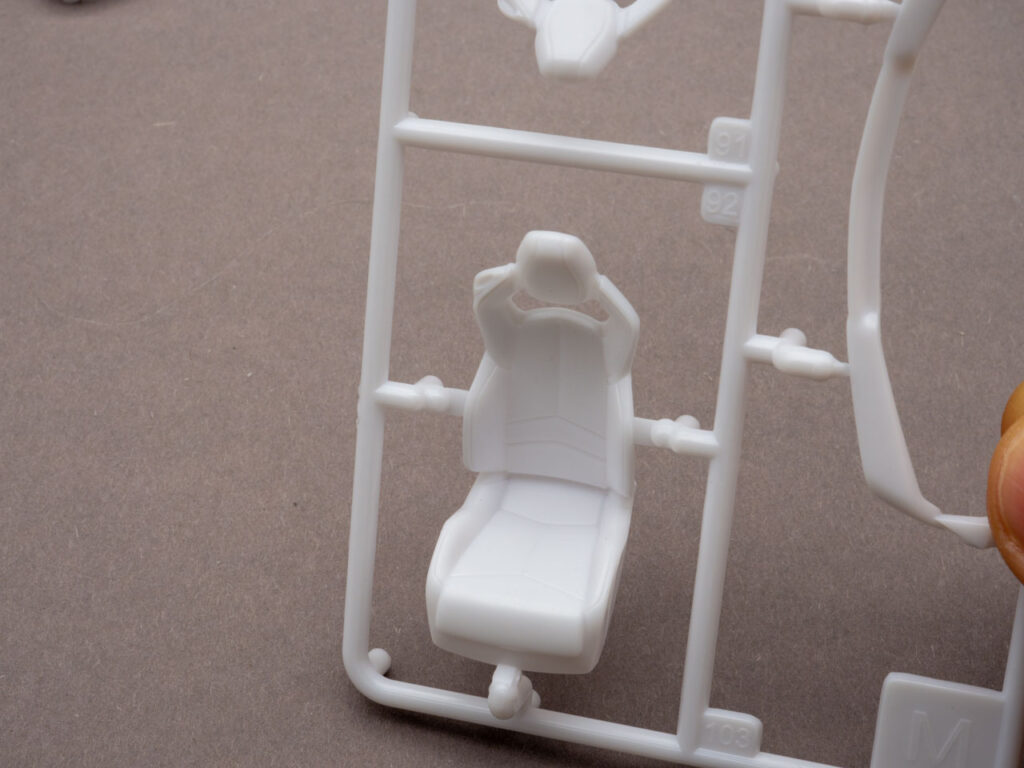
The chairs have absolutely no any sink marks. Because they made of two parts – front and back.
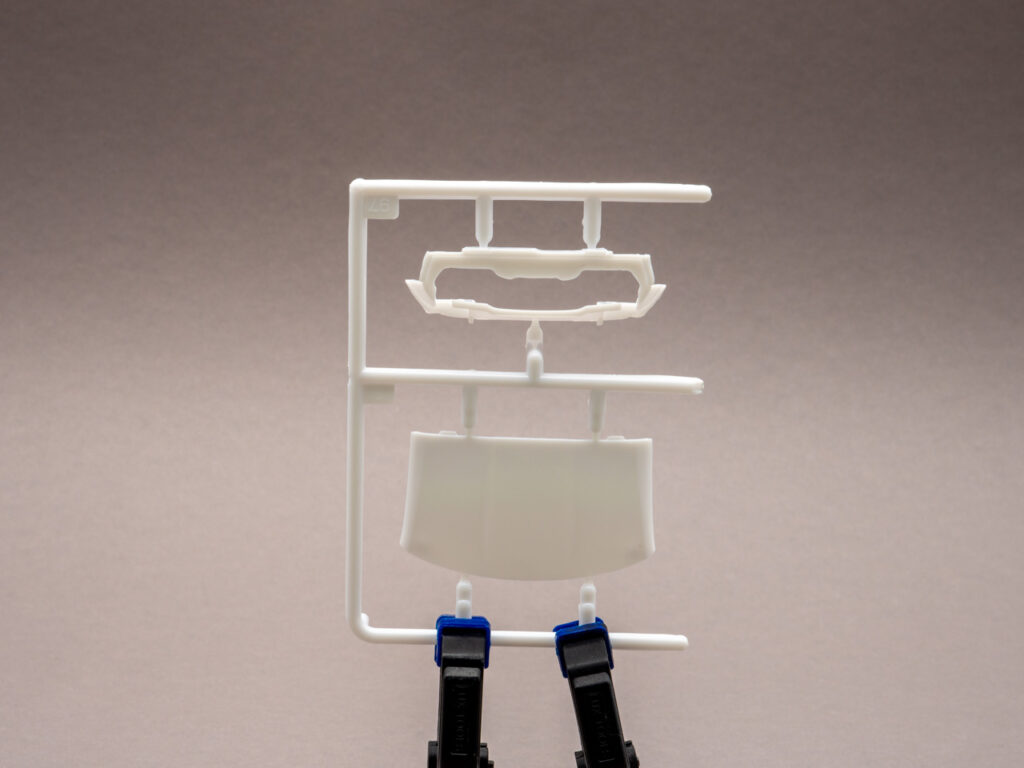
Removable roof and interior shield for the engine compartment.
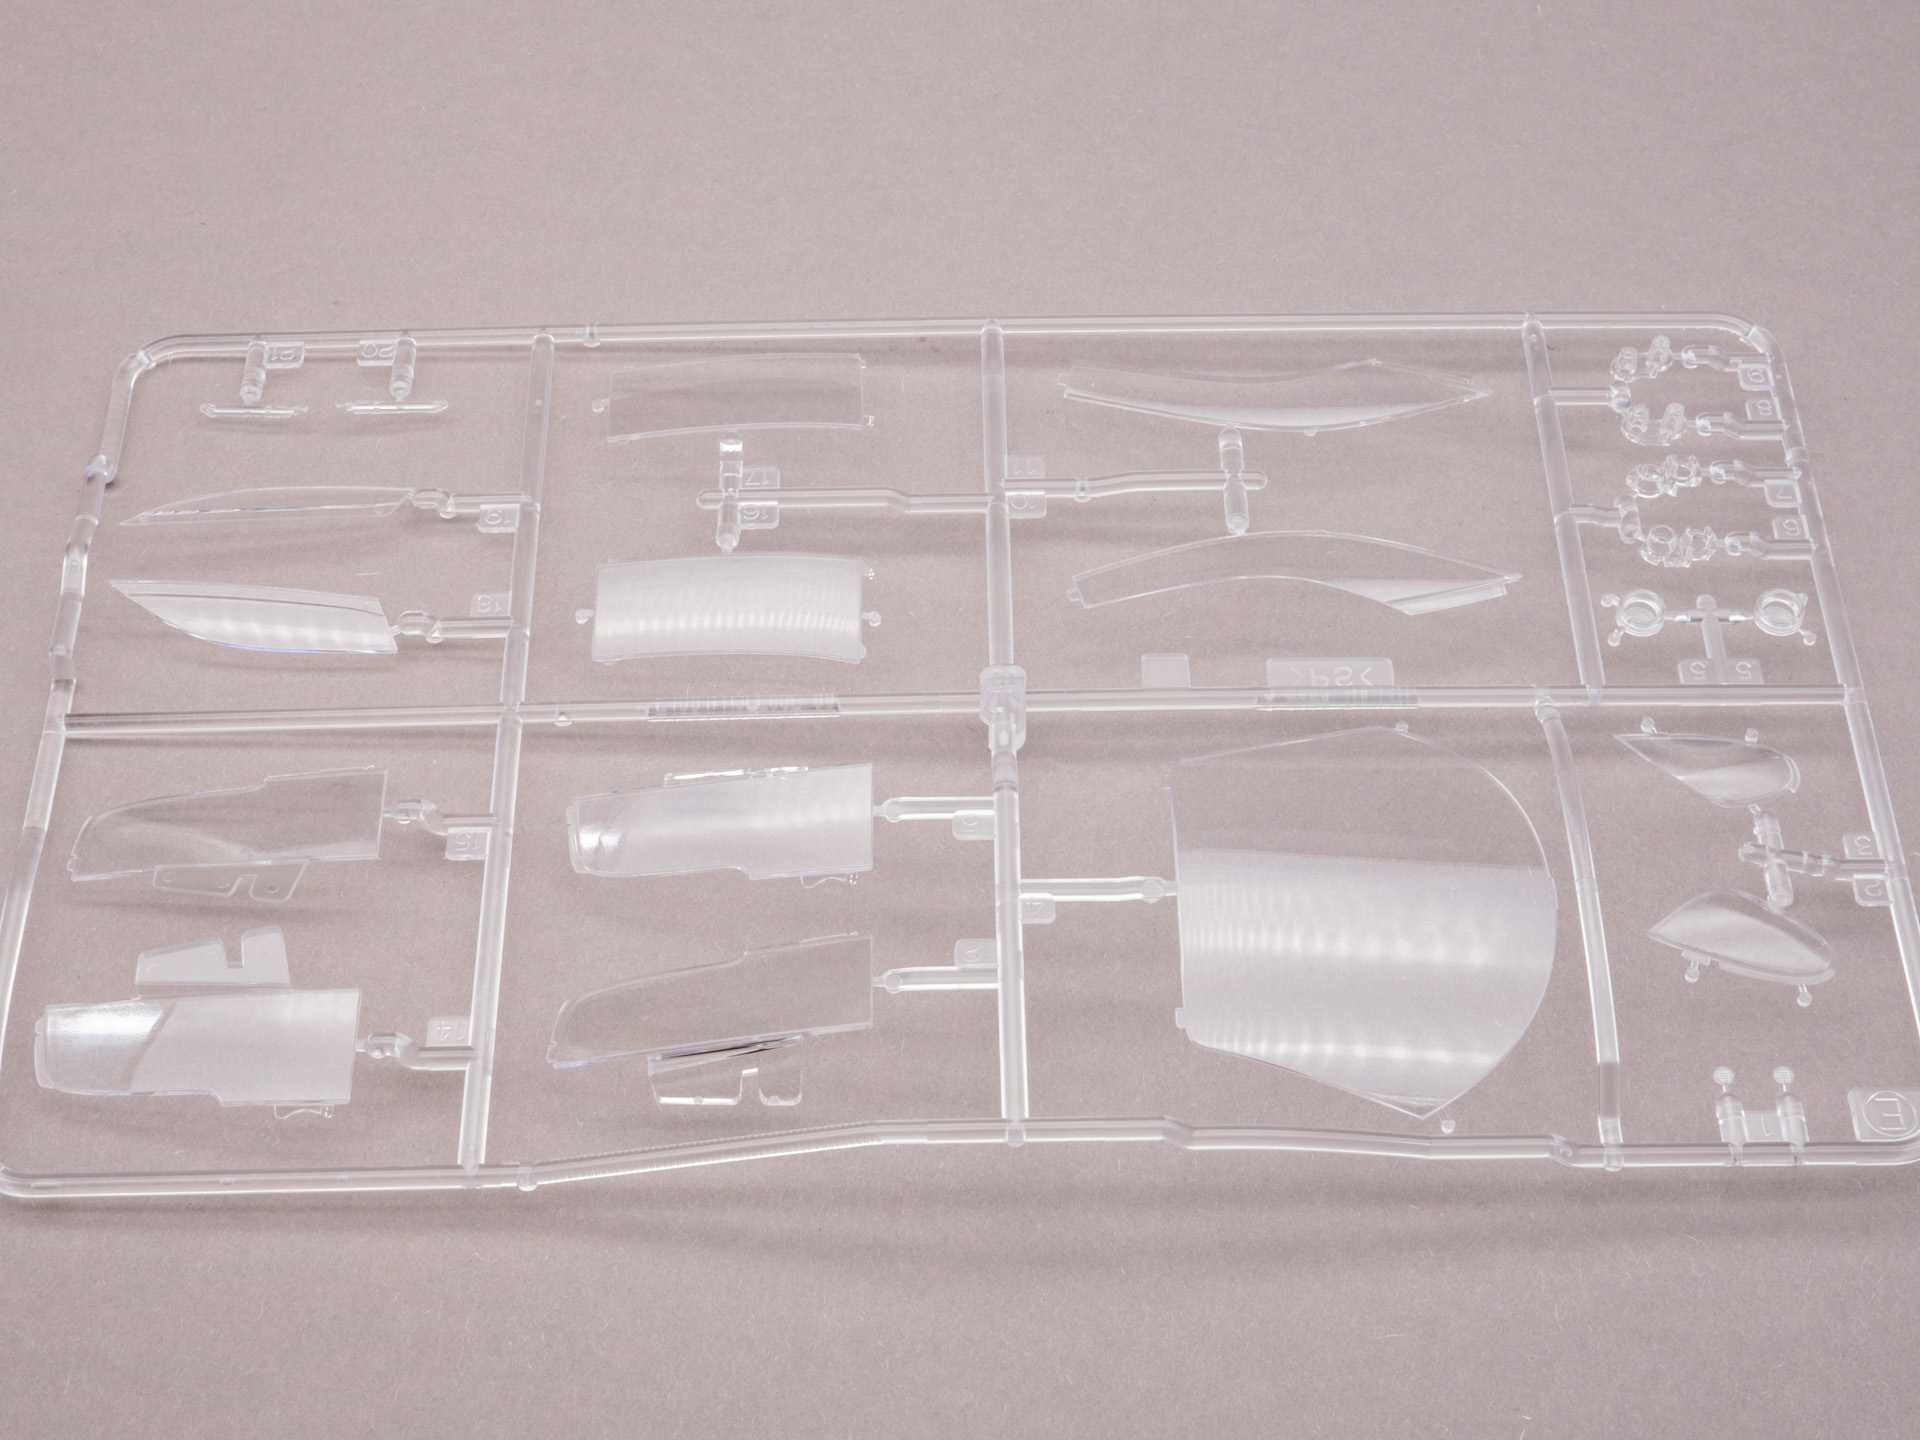
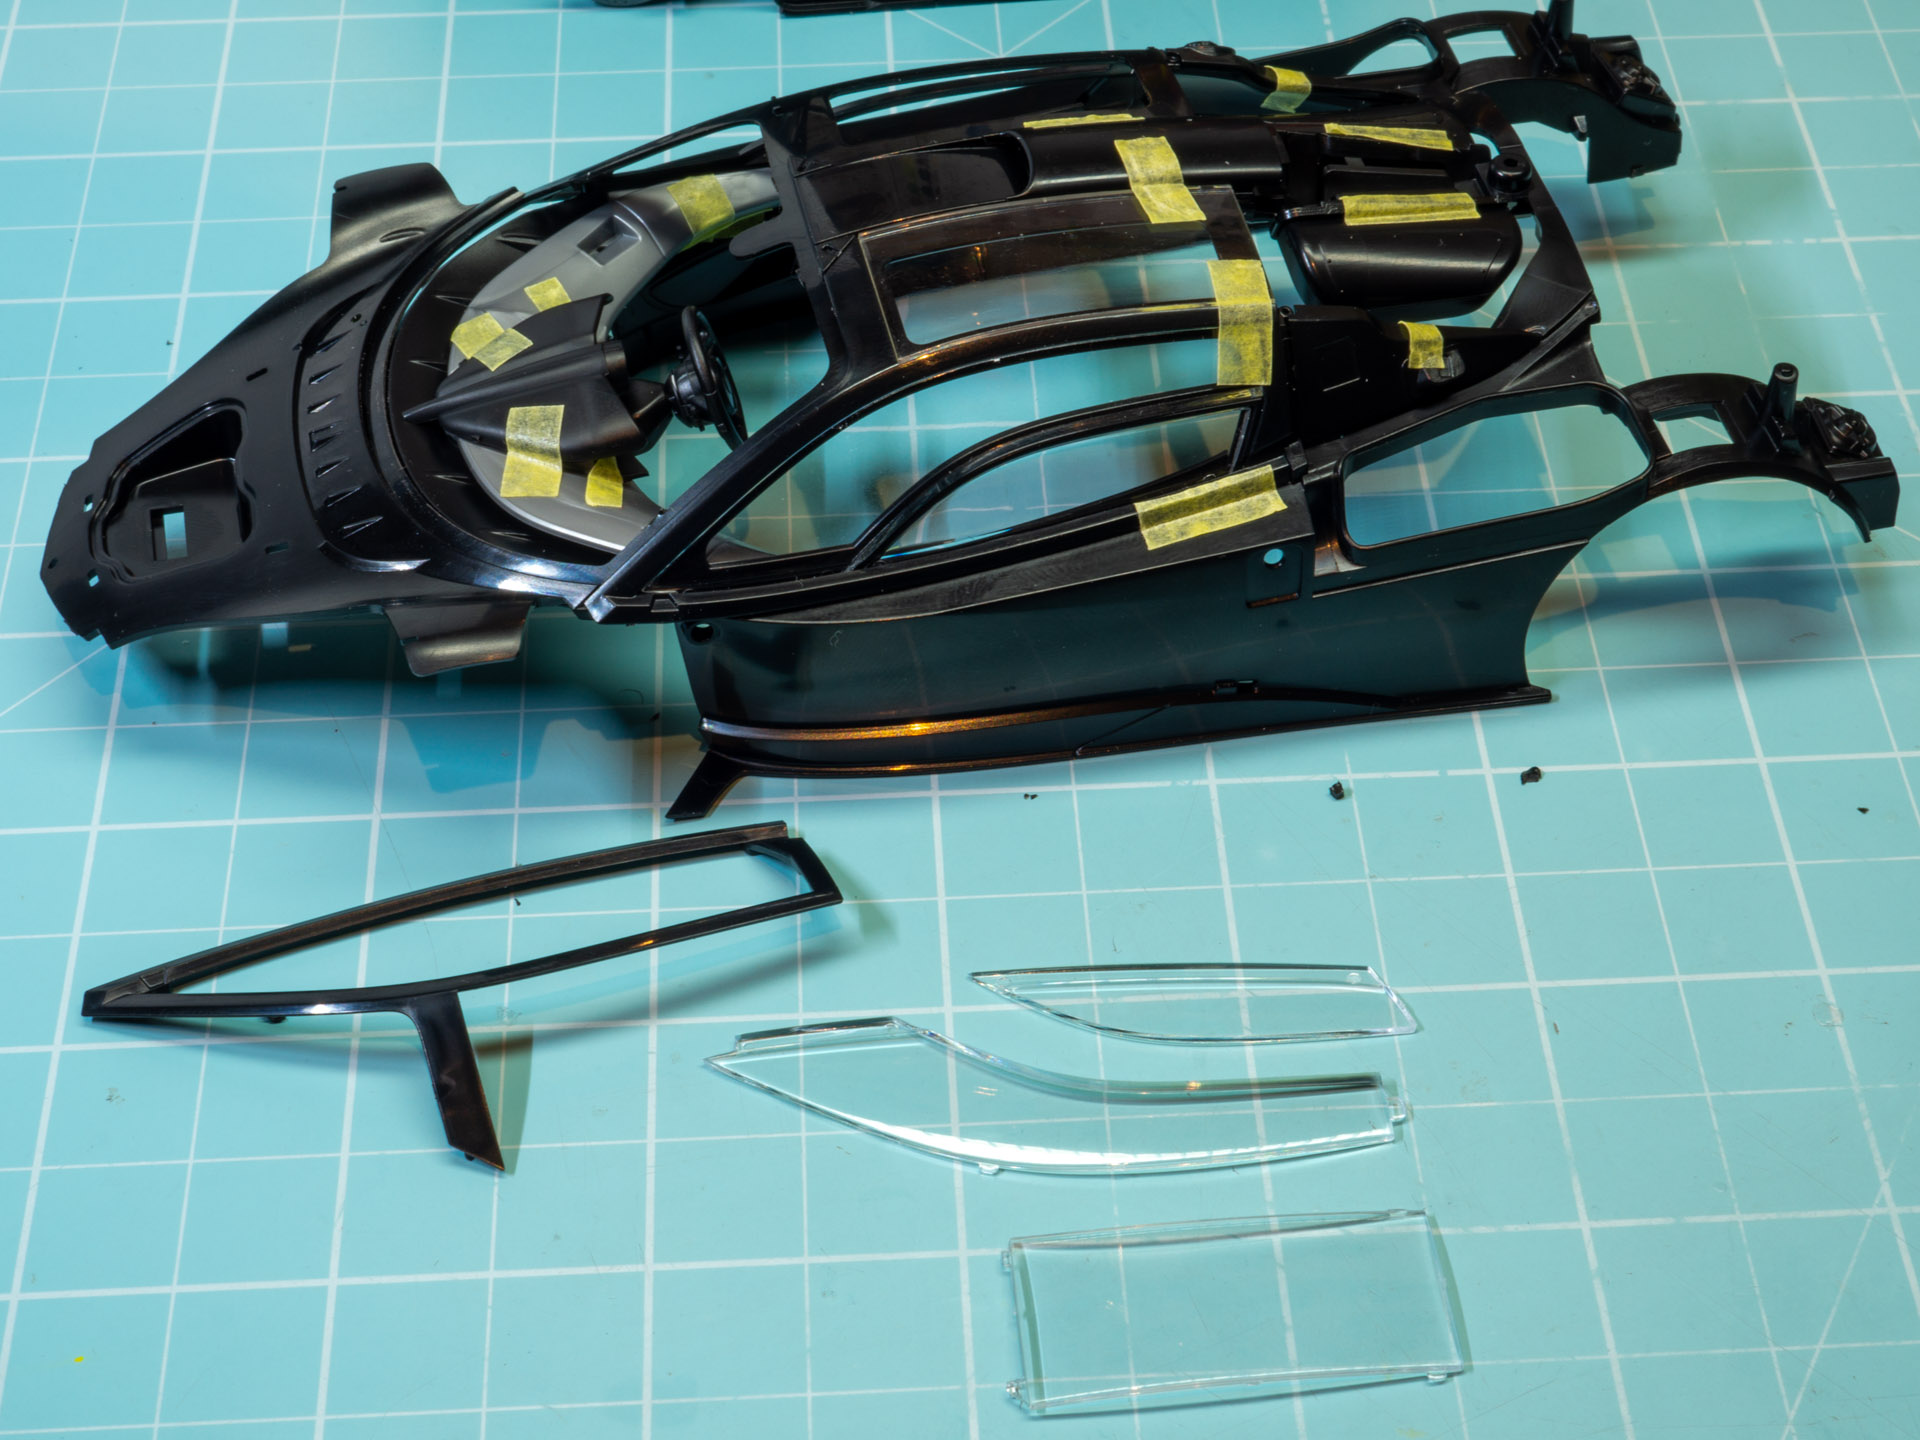
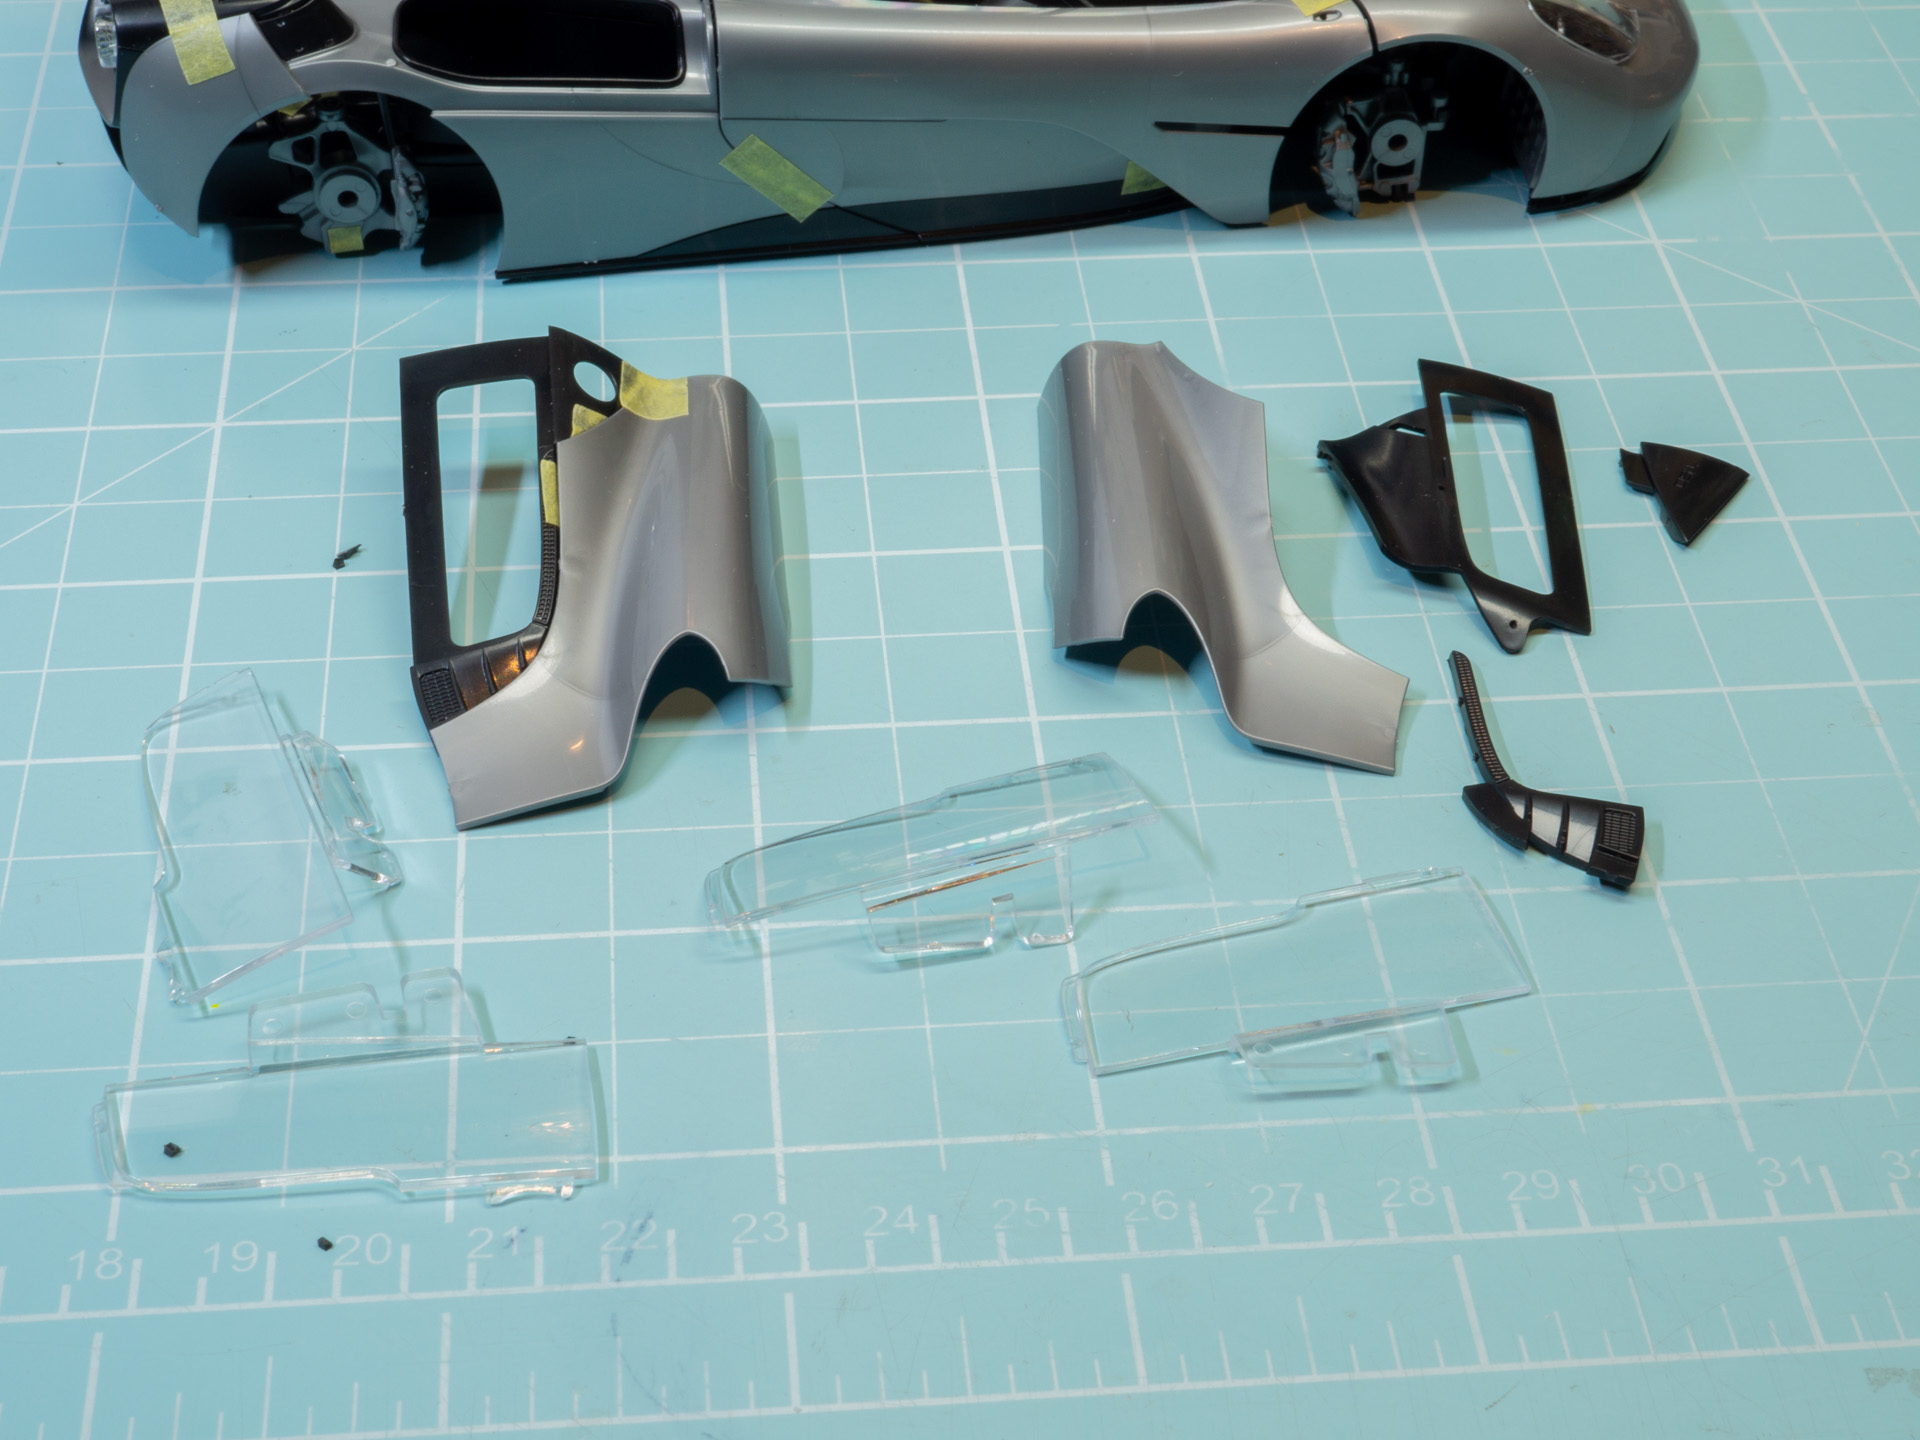
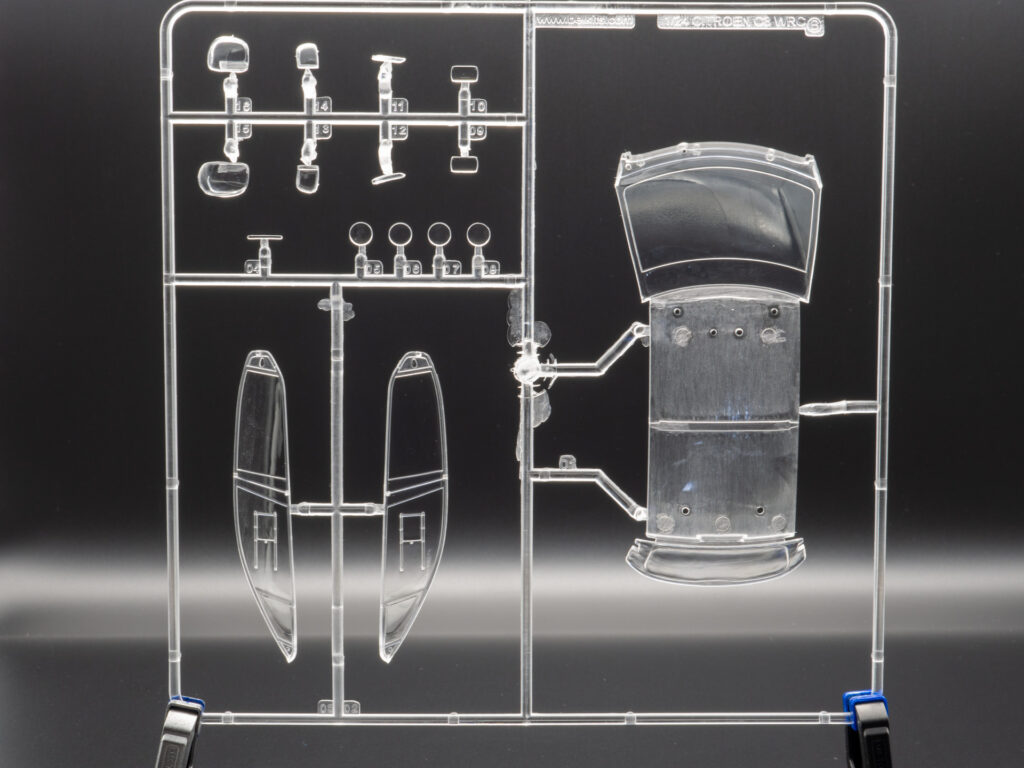
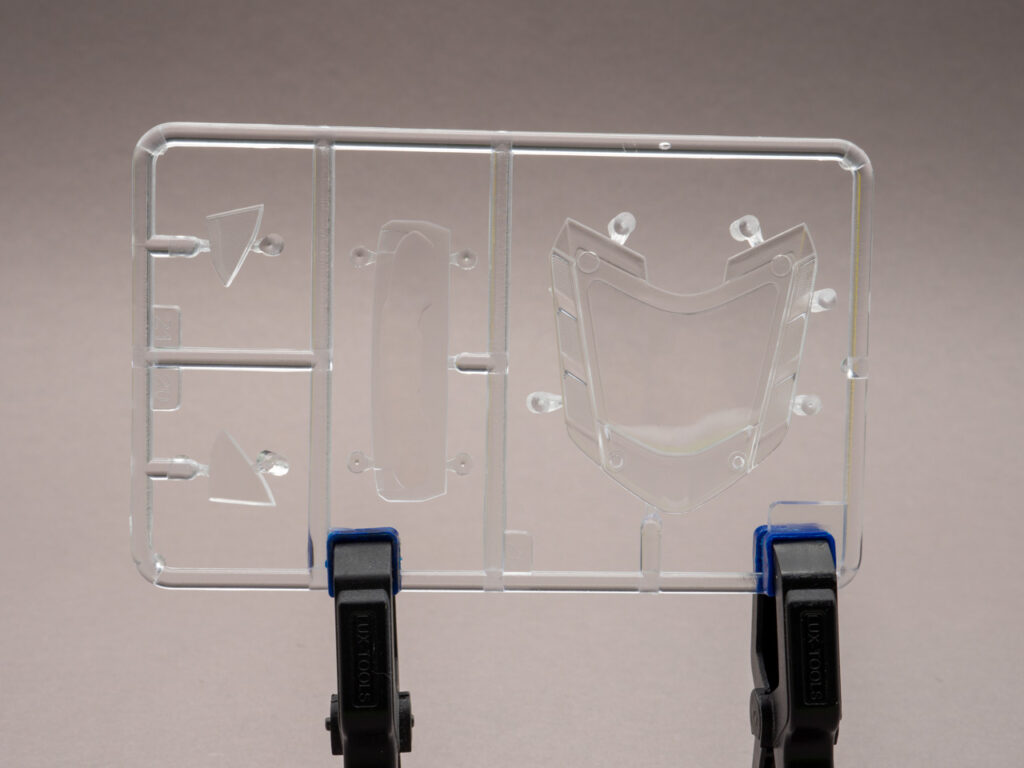
And here are the transparent parts. Very clear and do not refract the image. But because they are very thin, like the latest Tamiya kits. I like.
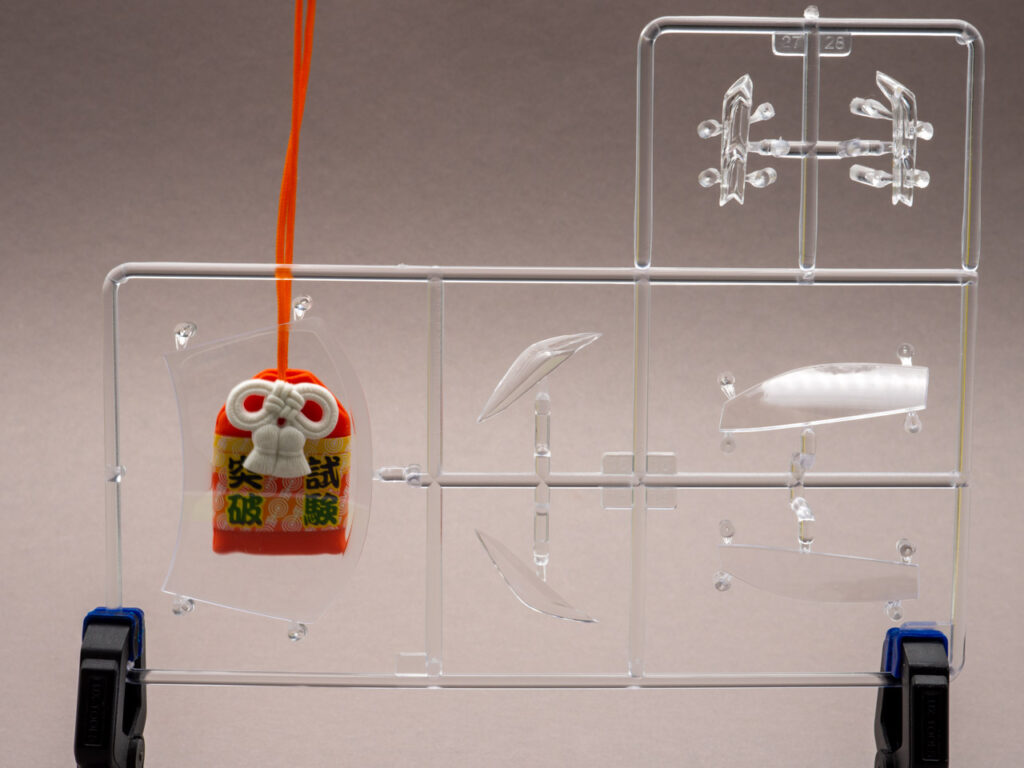
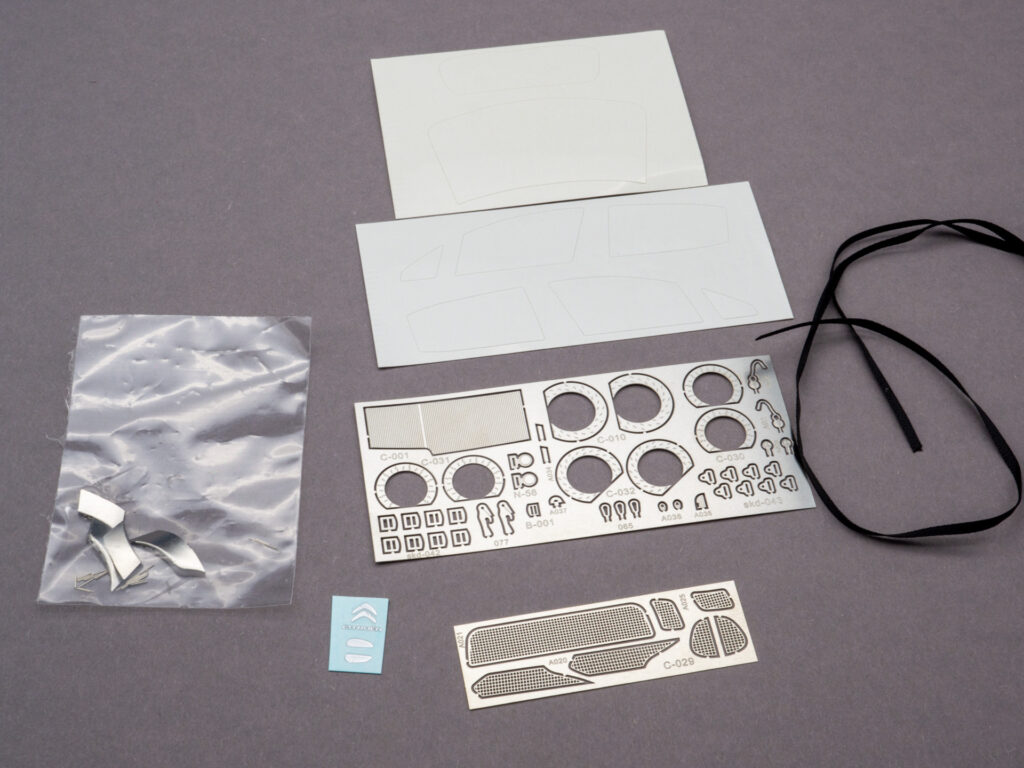
More transparent parts. Need to mask, but there are no masks in the box. A very strange move, this is a big disadvantage. You’ll have to cut it out the old fashioned way with a knife.
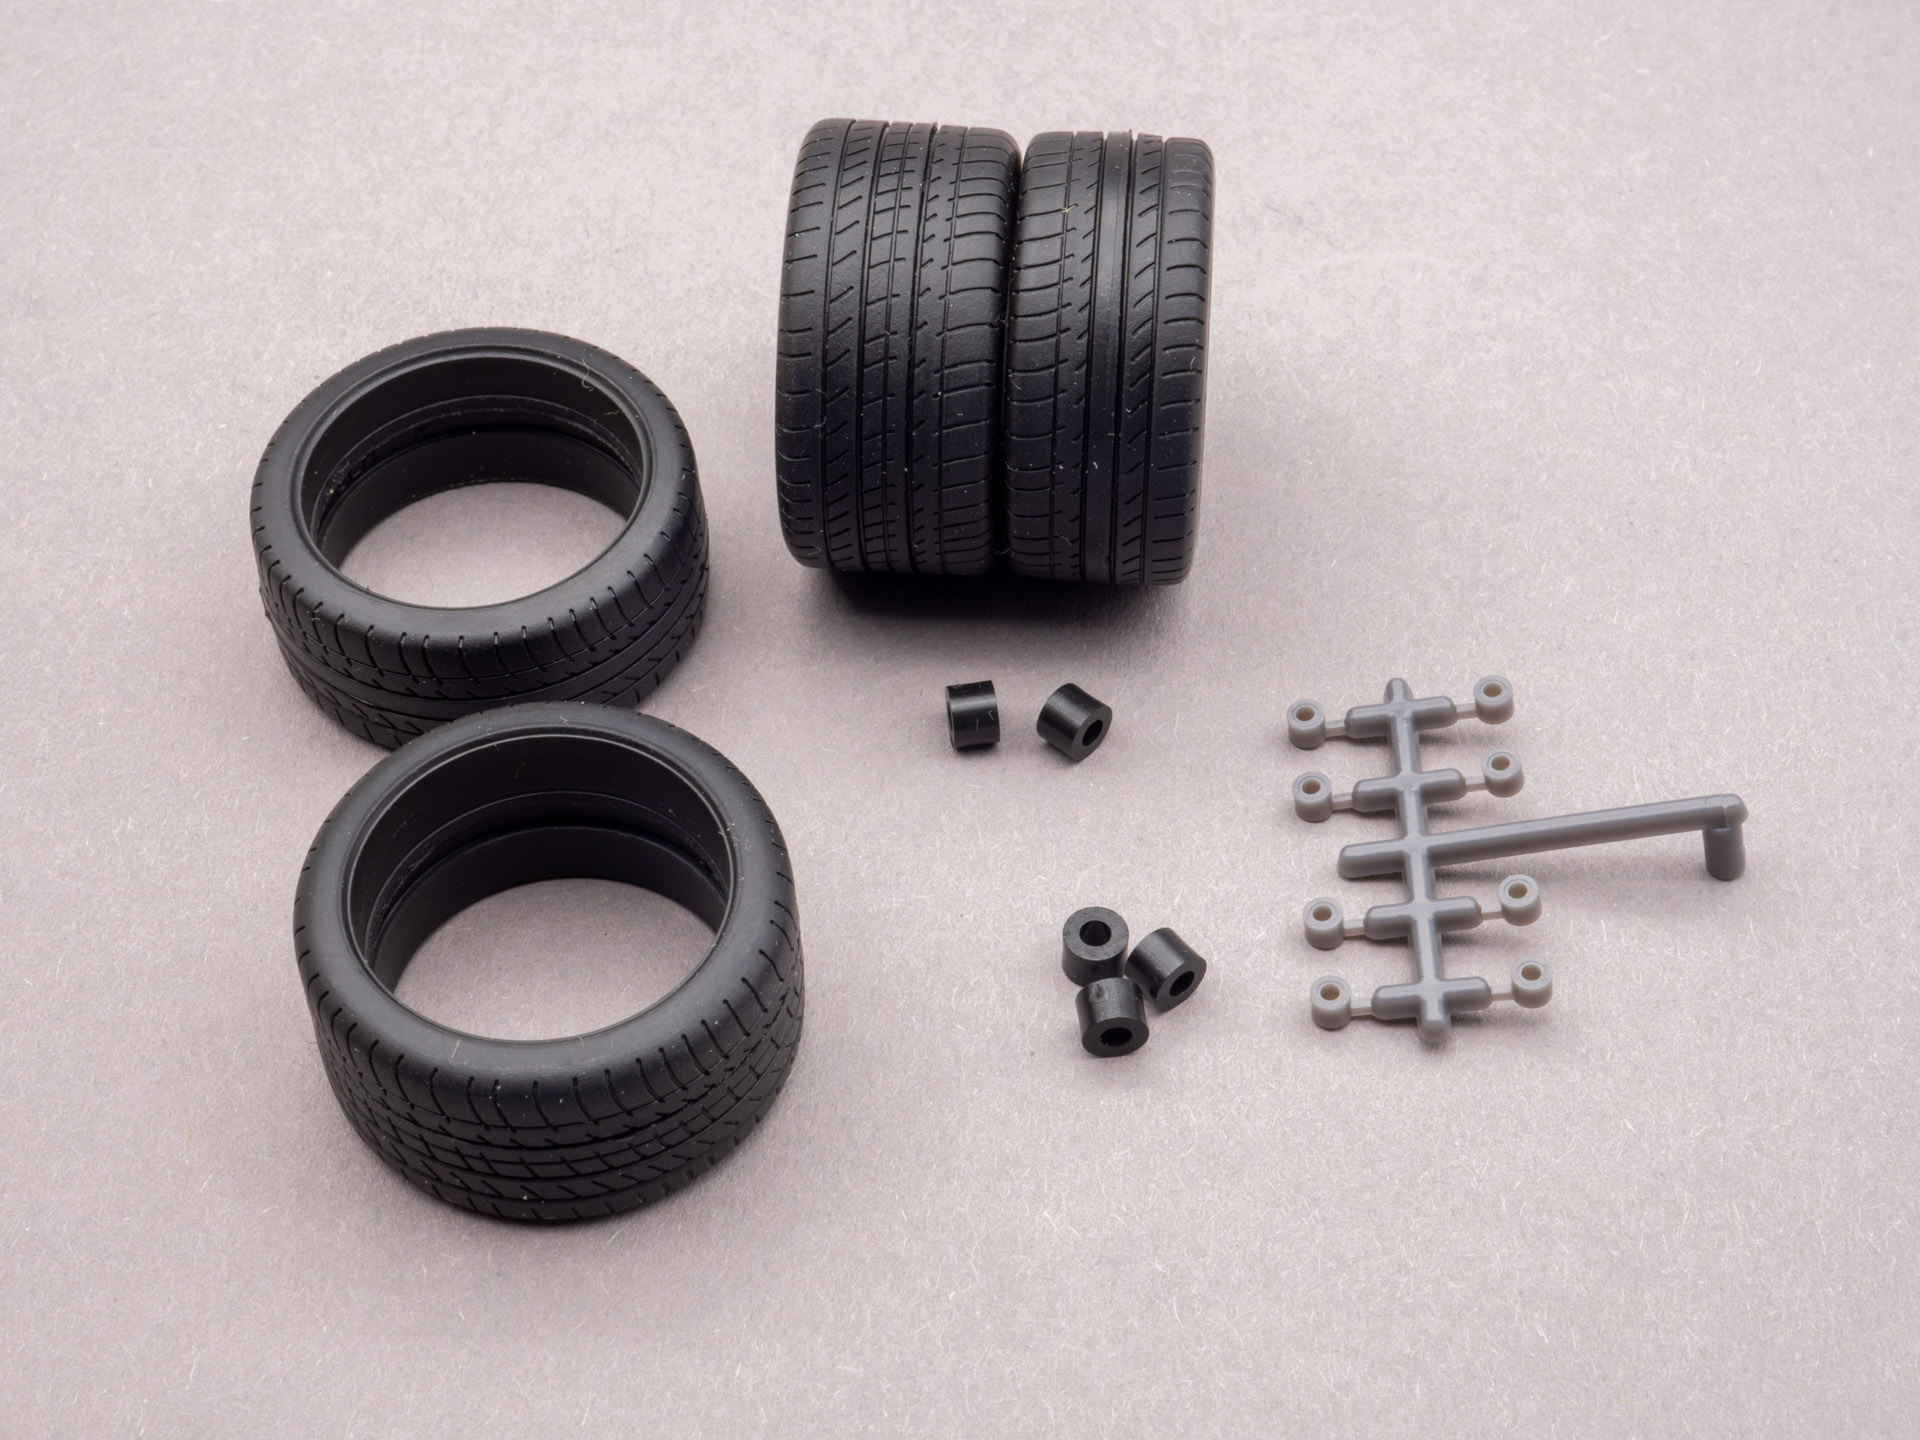
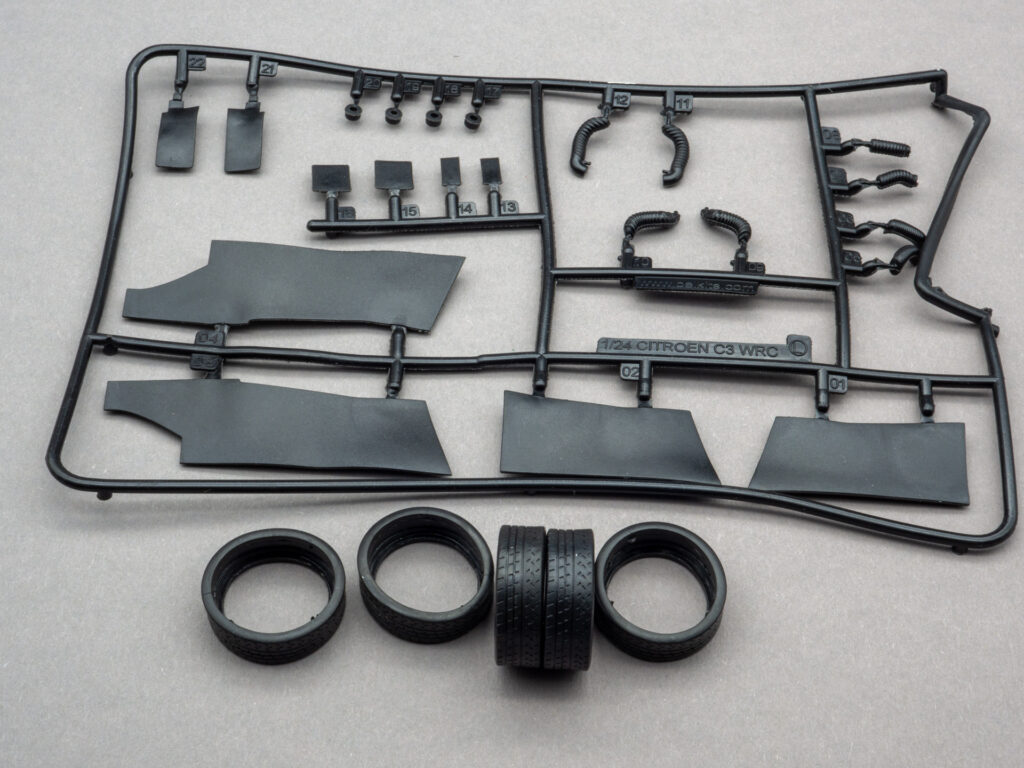
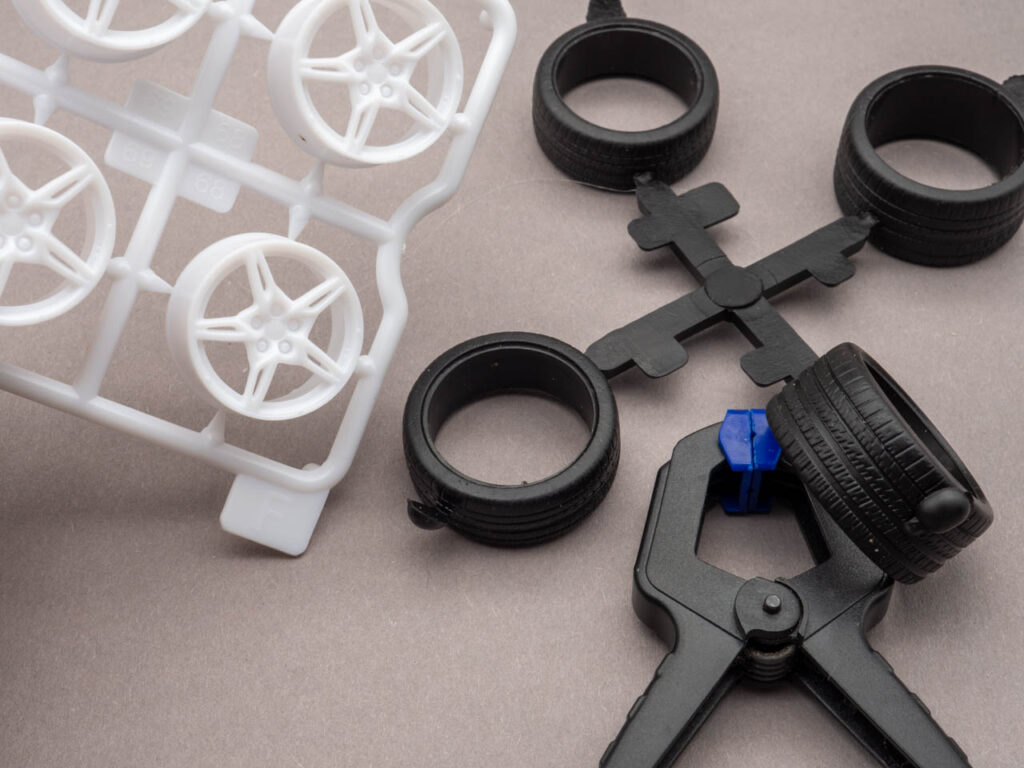
Rubber with not clear molded protector.
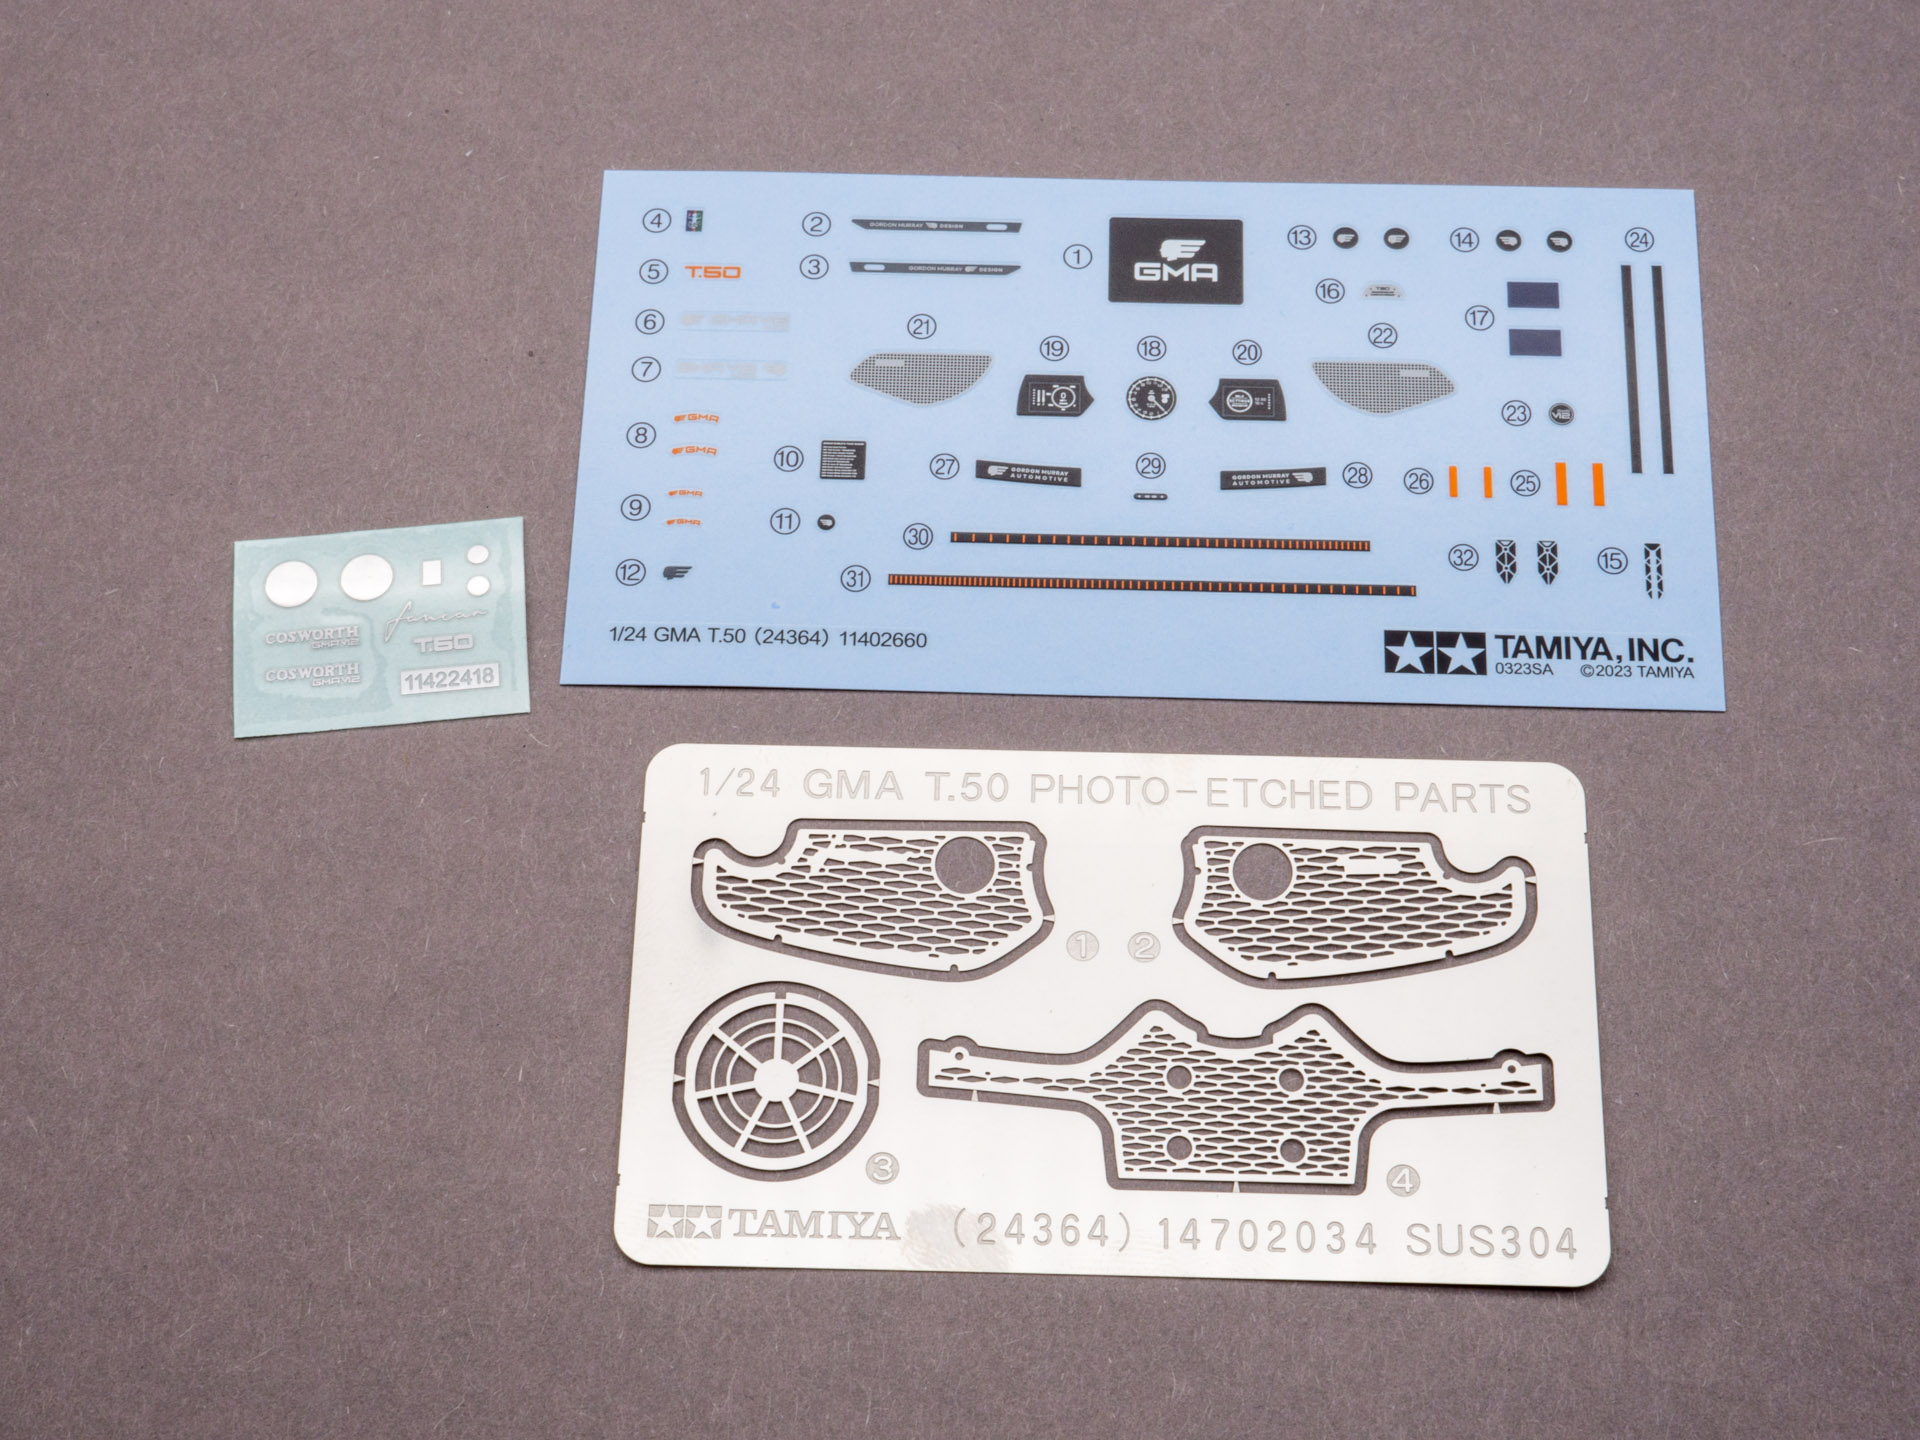
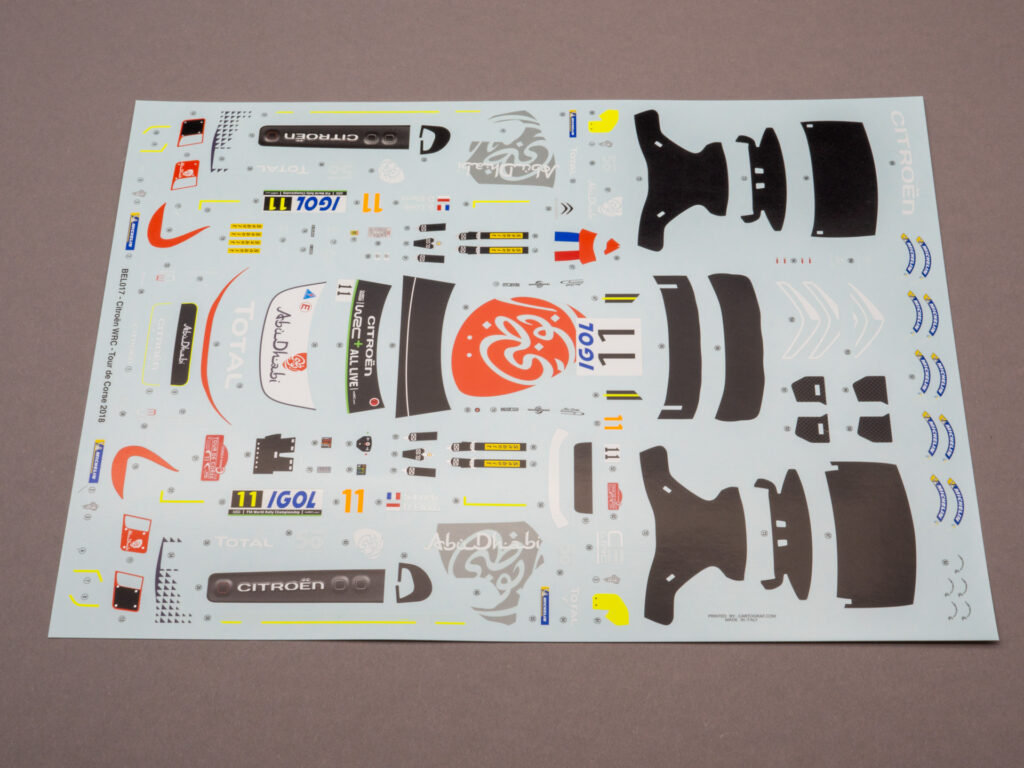
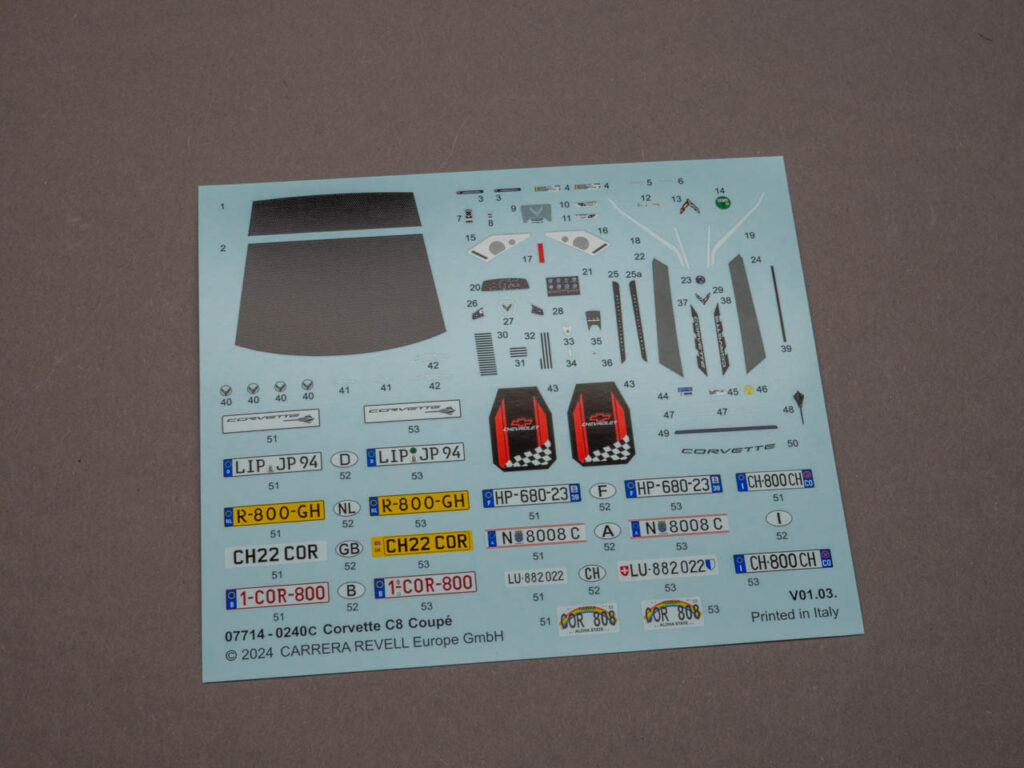
Decals sheet. Wide selection of license plates.
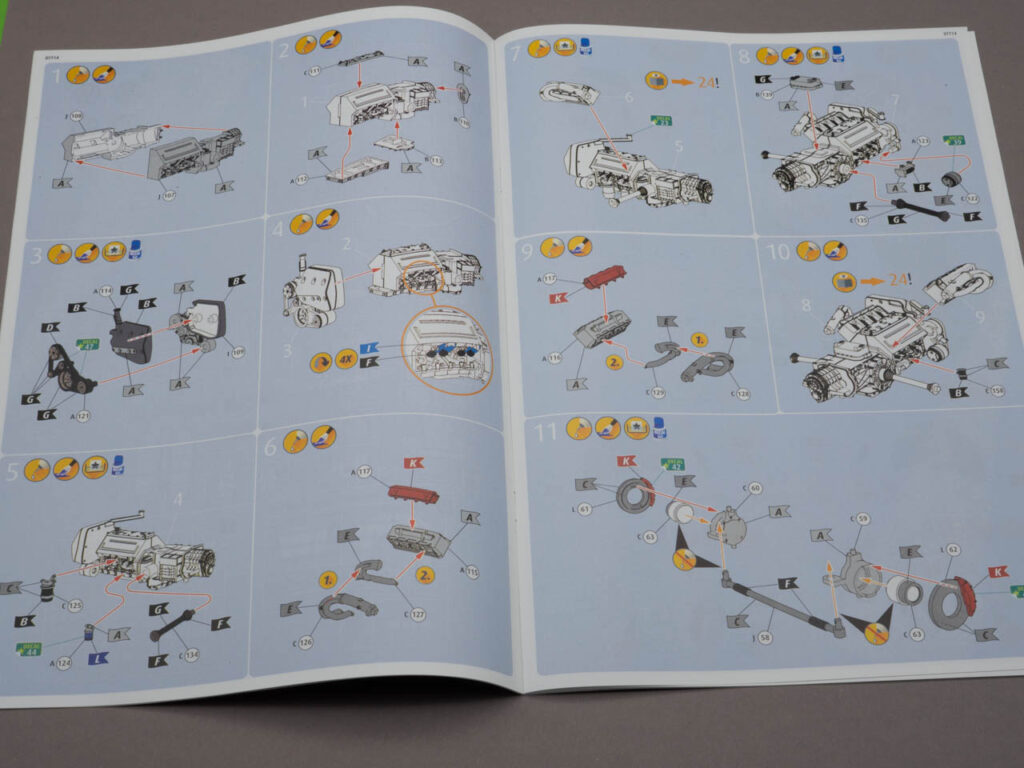
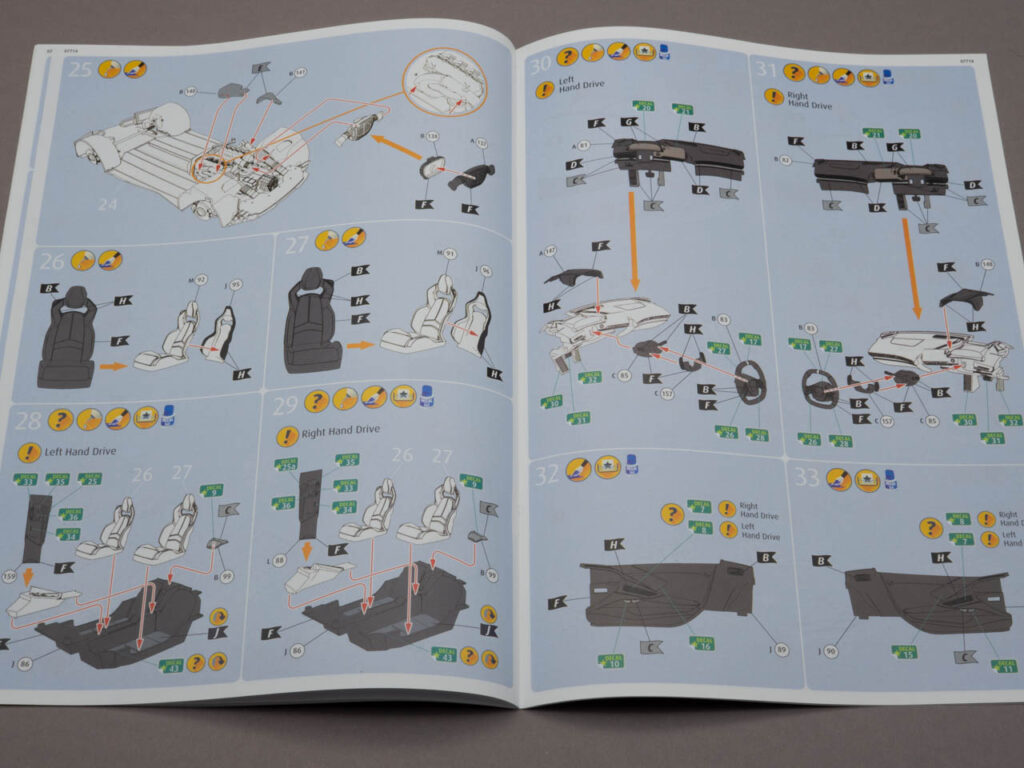
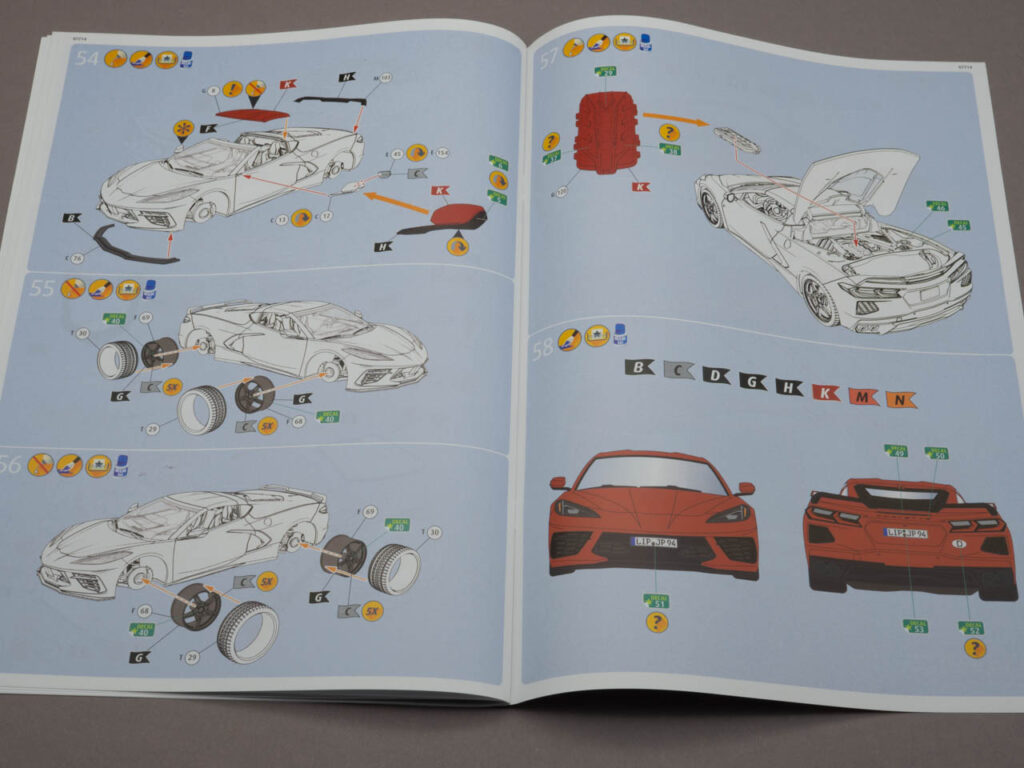
Instructions. It is clear that attention has been paid to the motor. There are also no usual rubber caps for the wheels.
The bottom part is similar to all Revell kits.
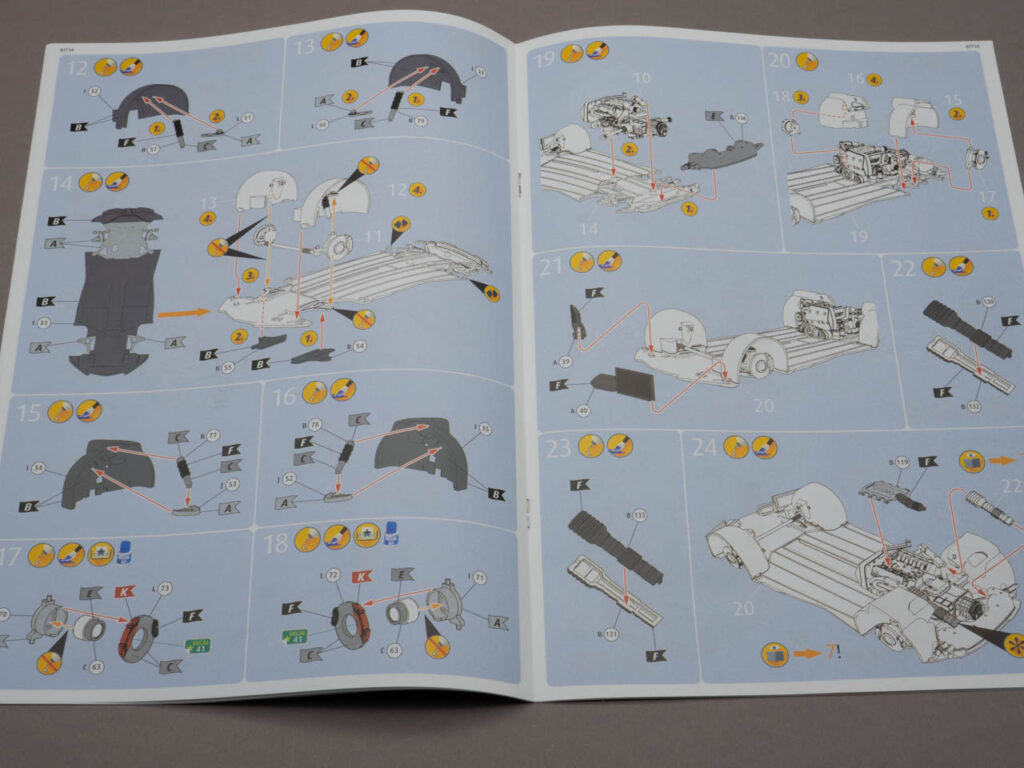
It is proposed to assemble a left- and right-hand drive version.
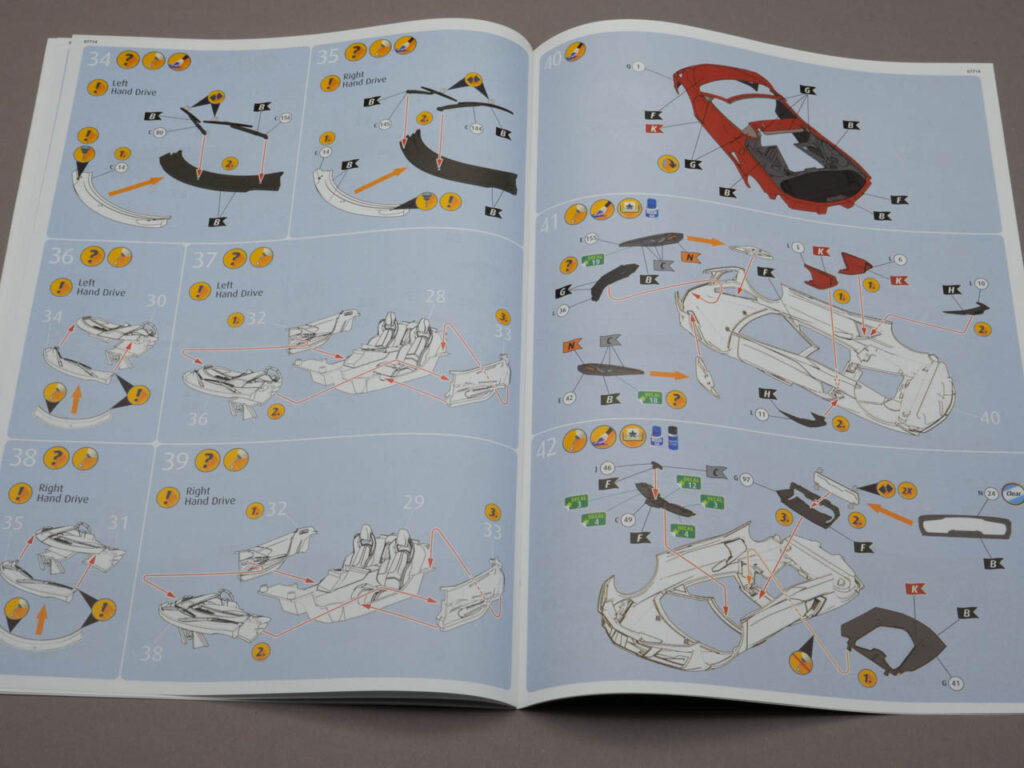
The rear part is glued in at the end; apparently, it will not be possible to assemble the body in advance.
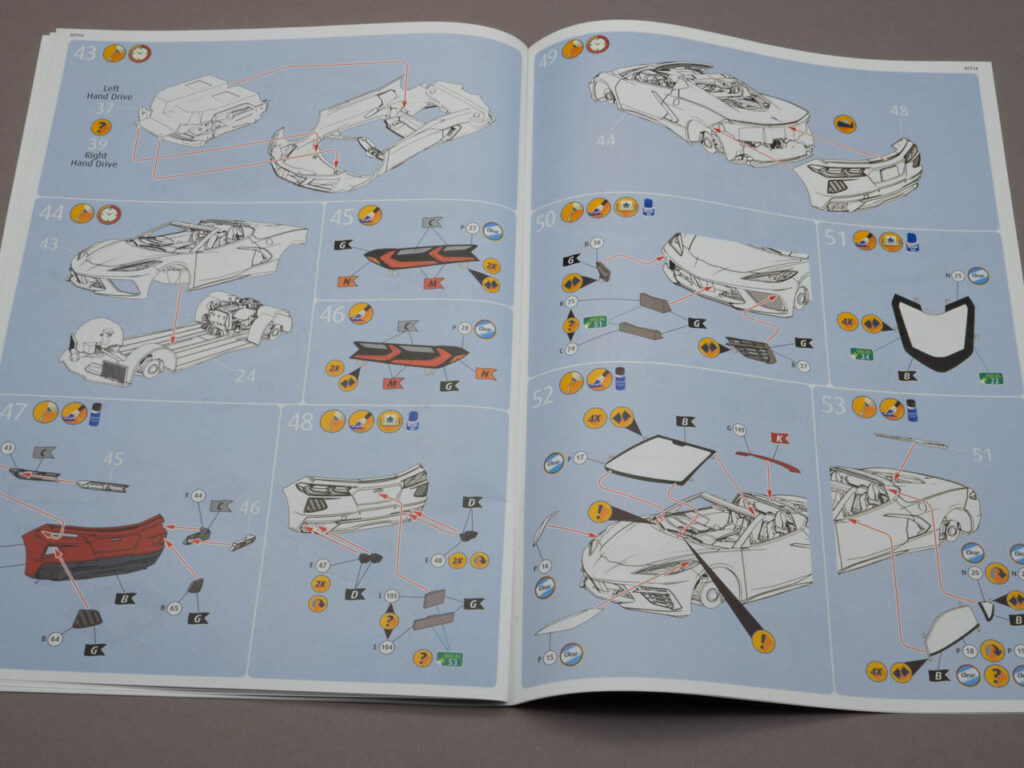
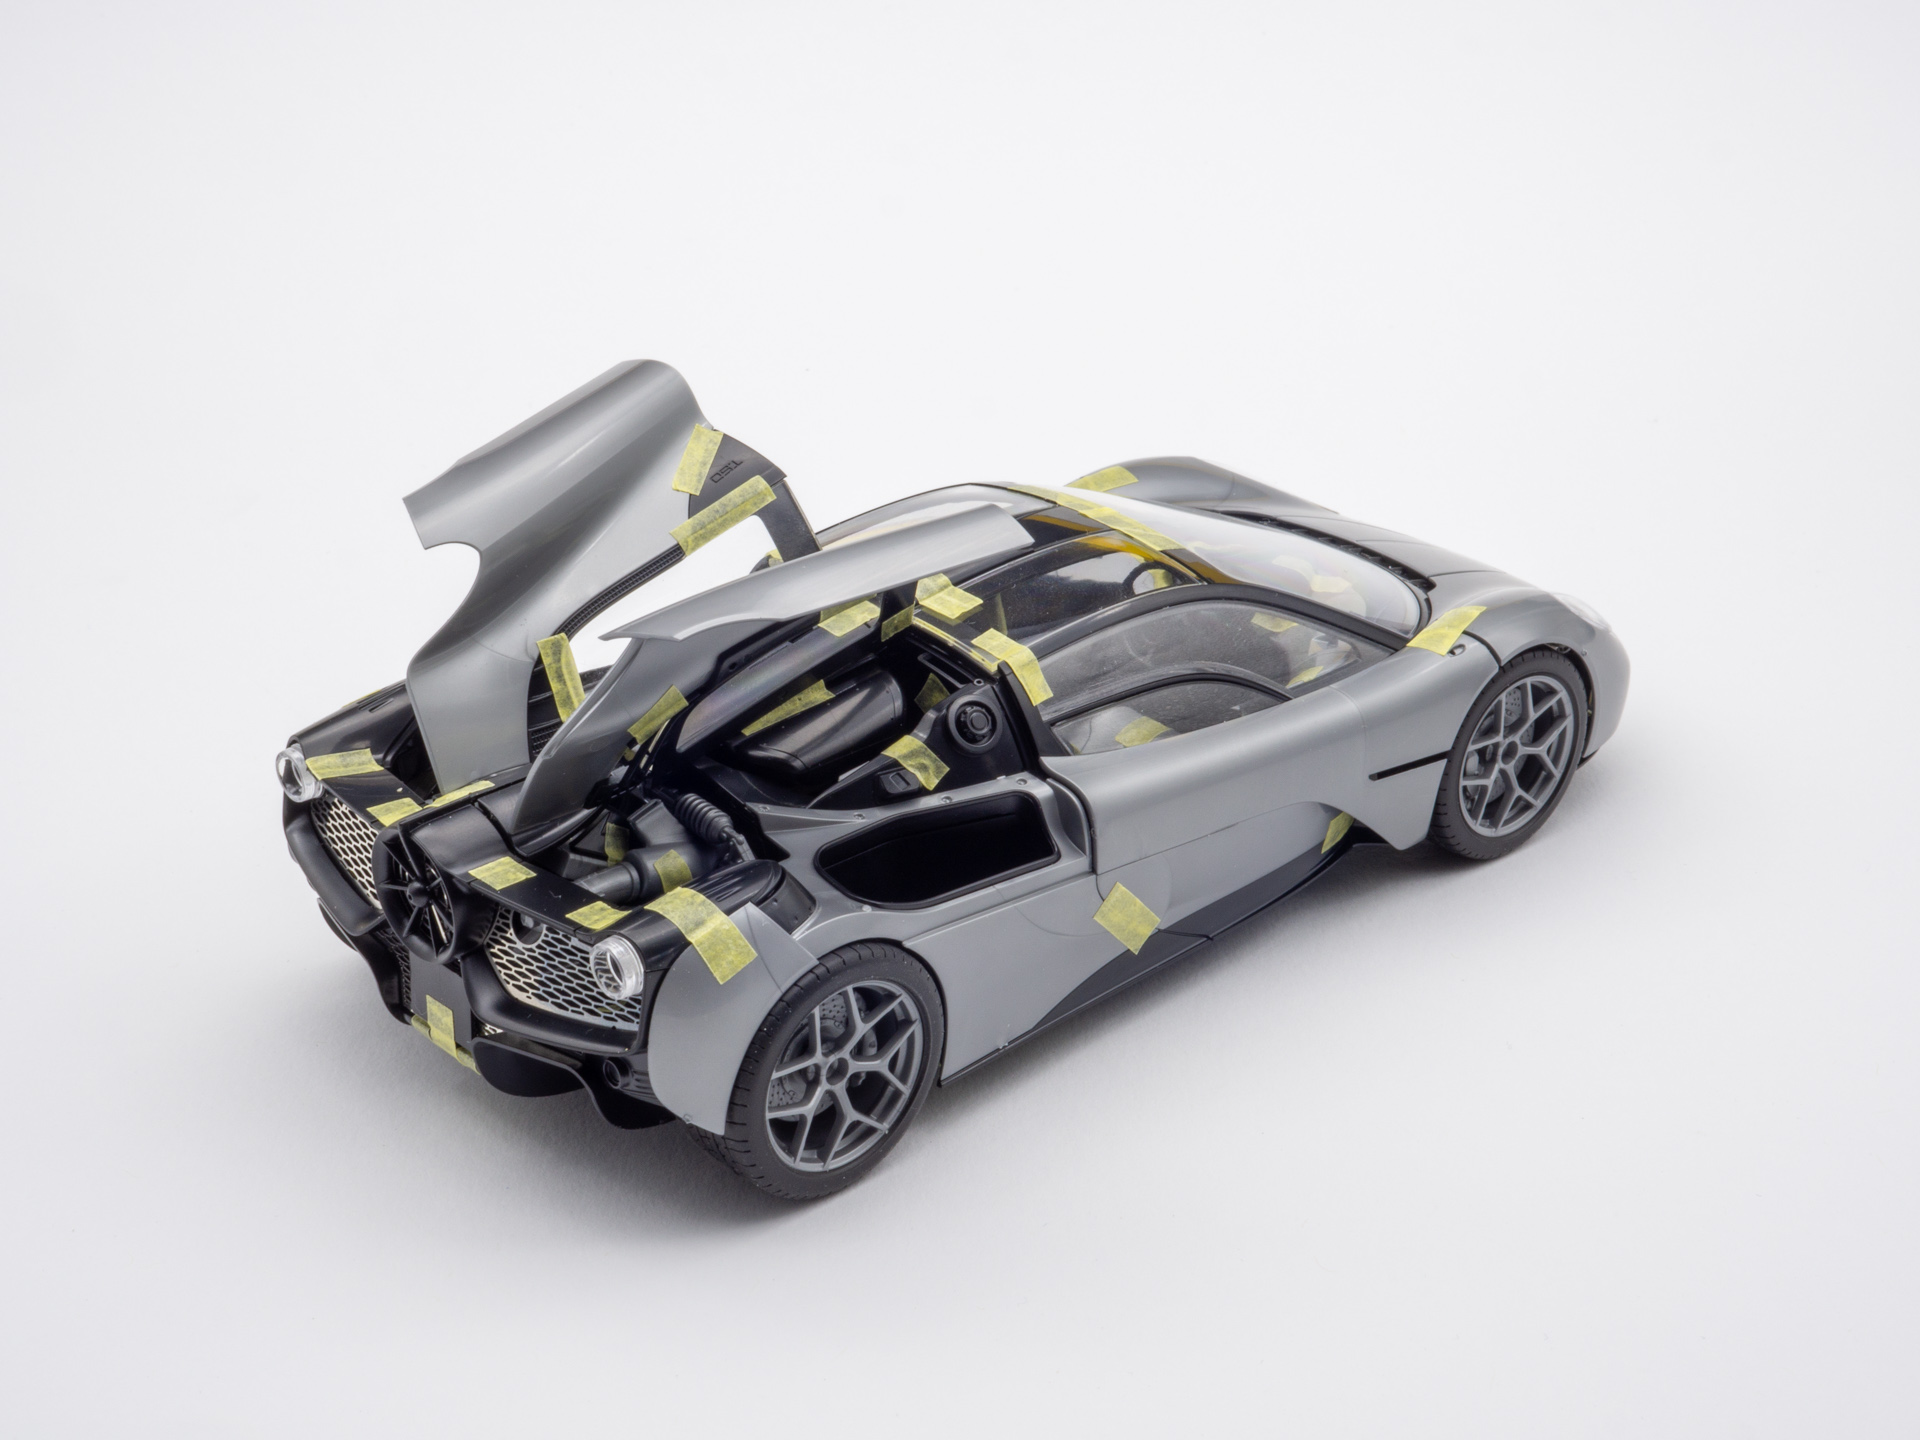
Opening engine lid.
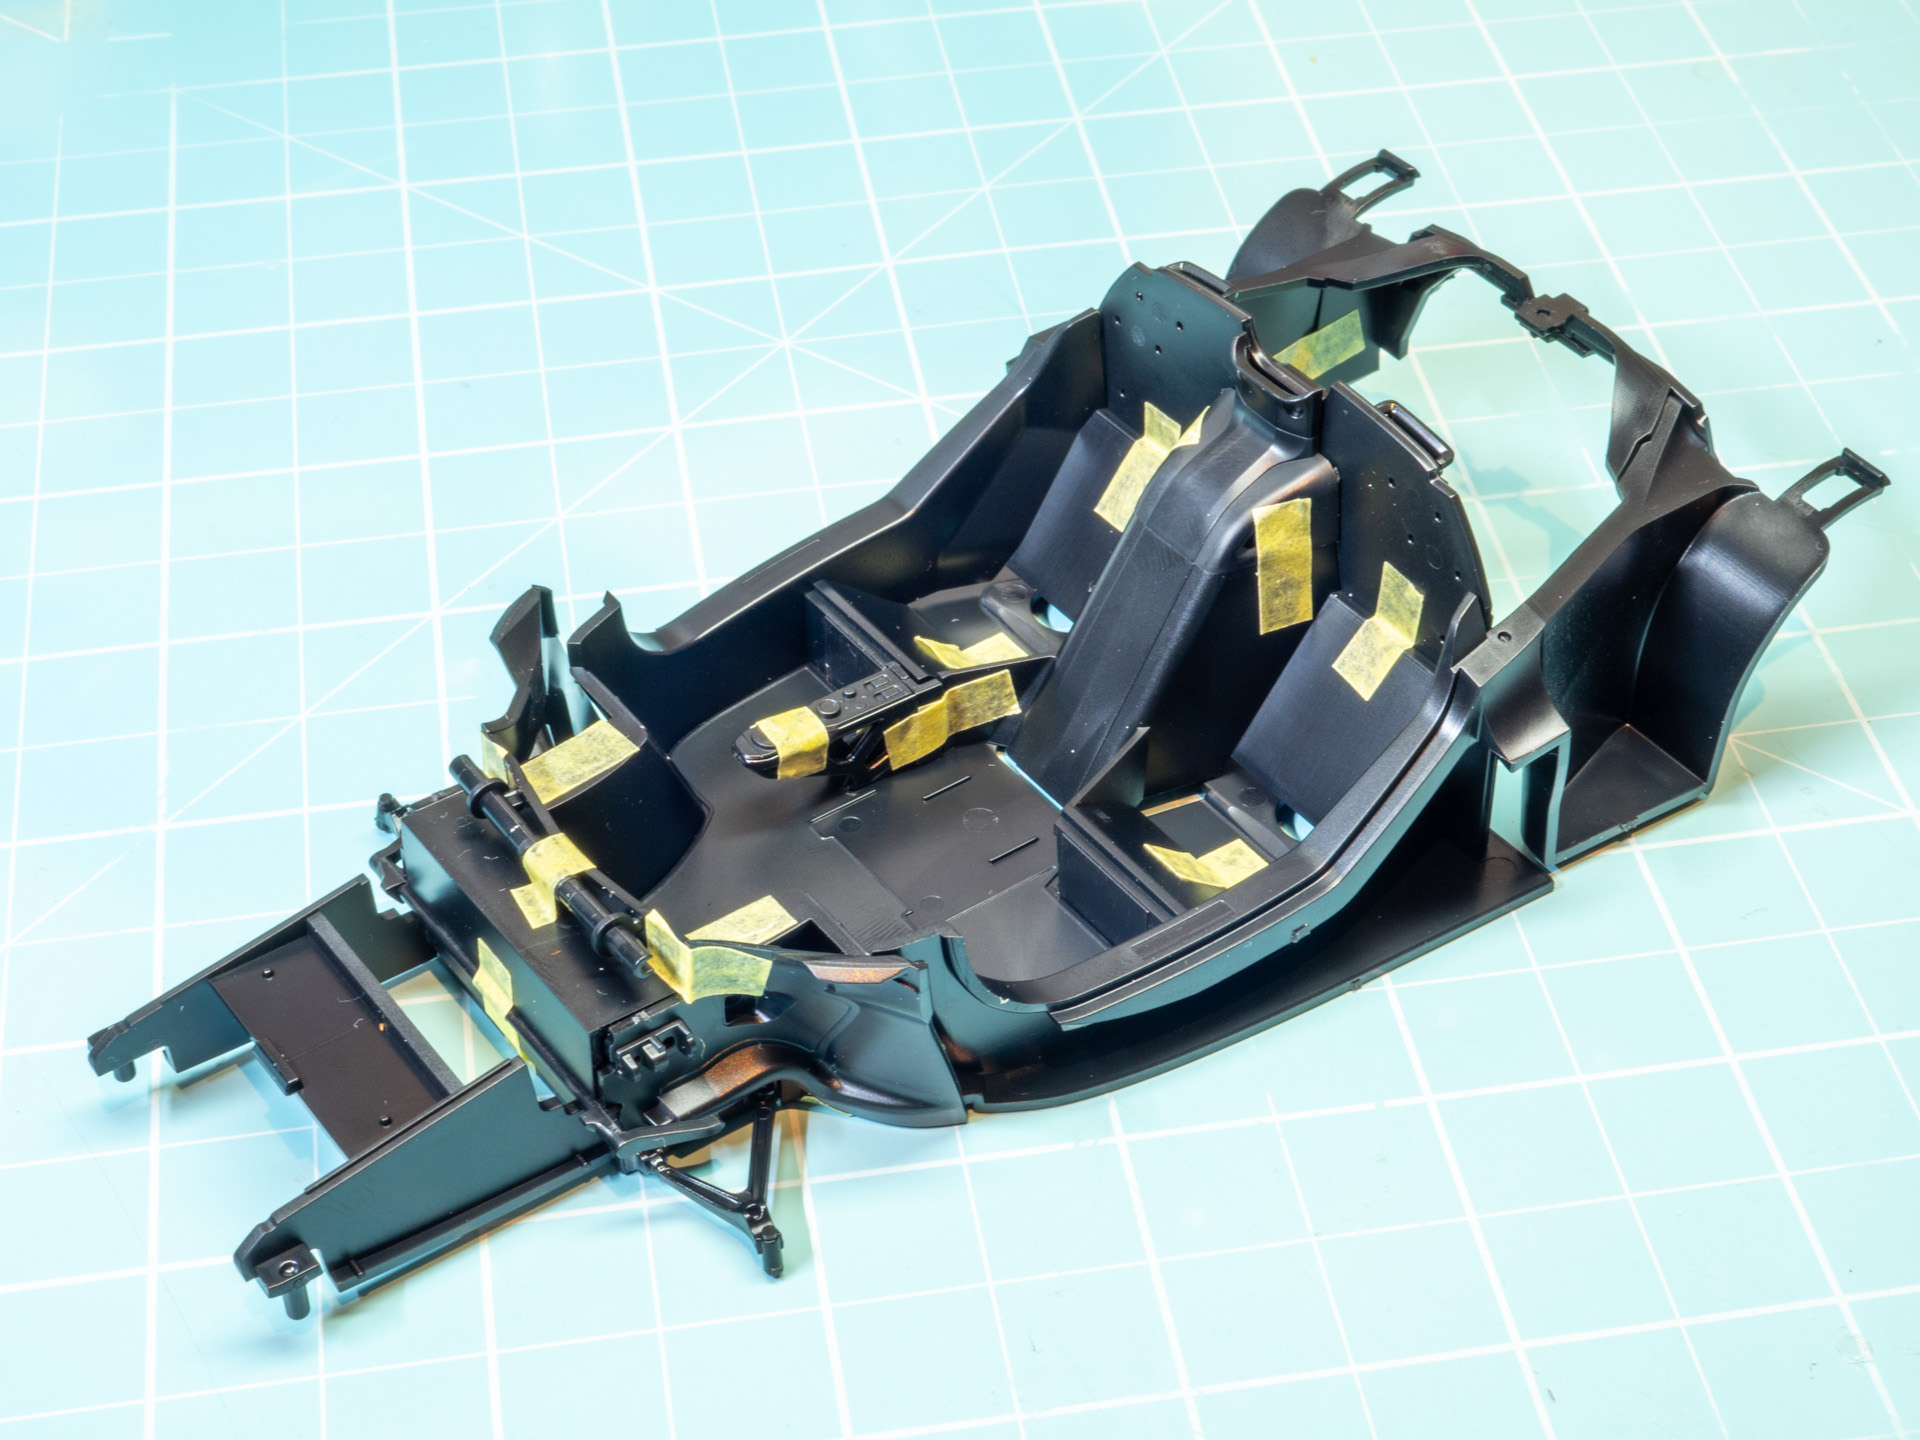
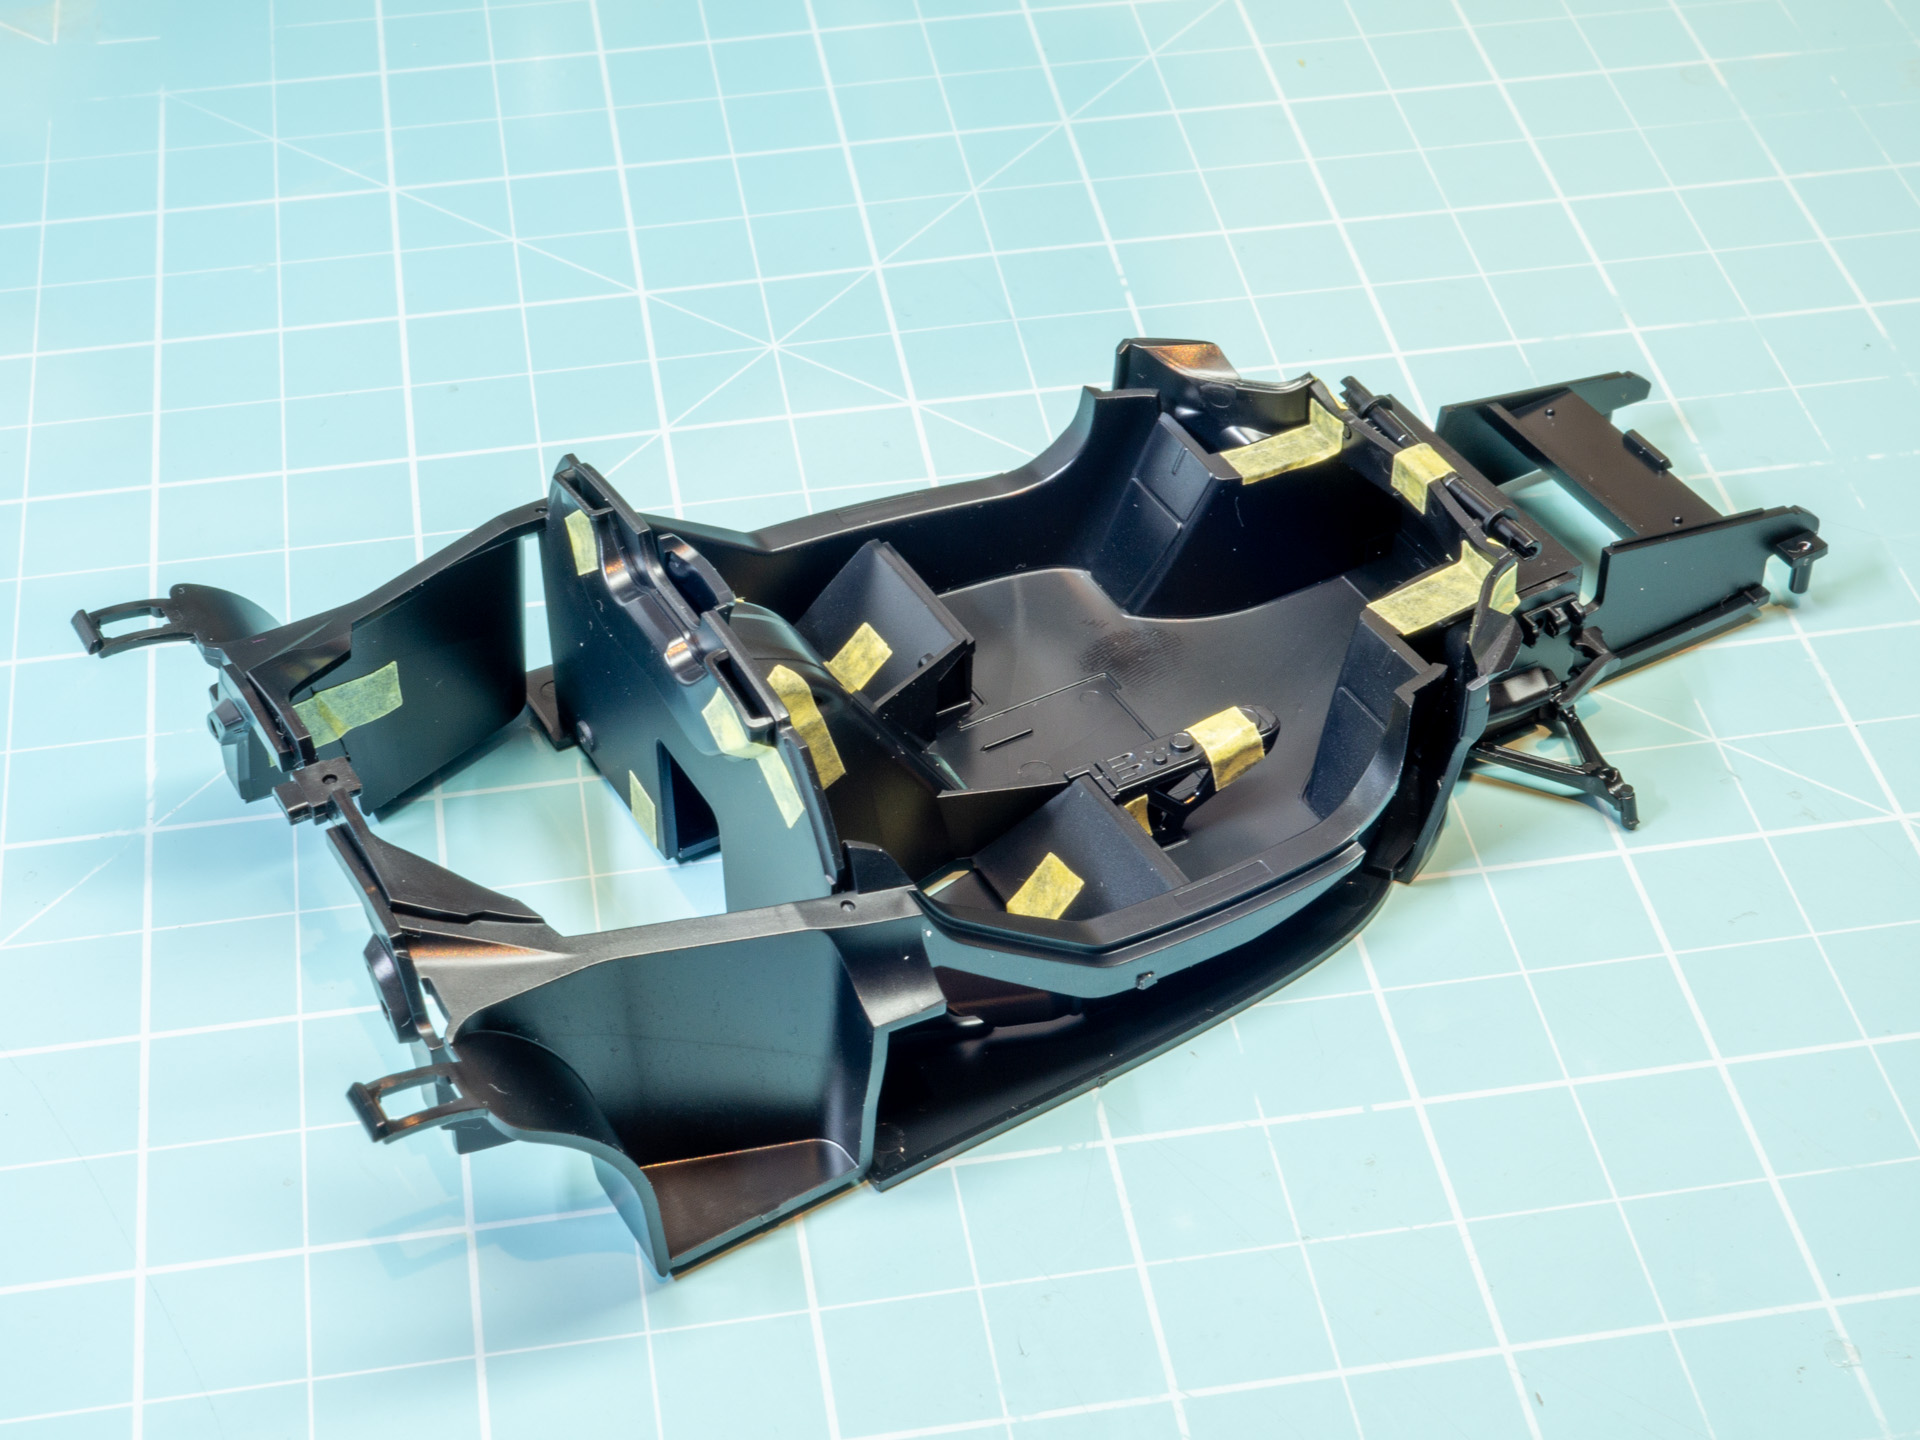
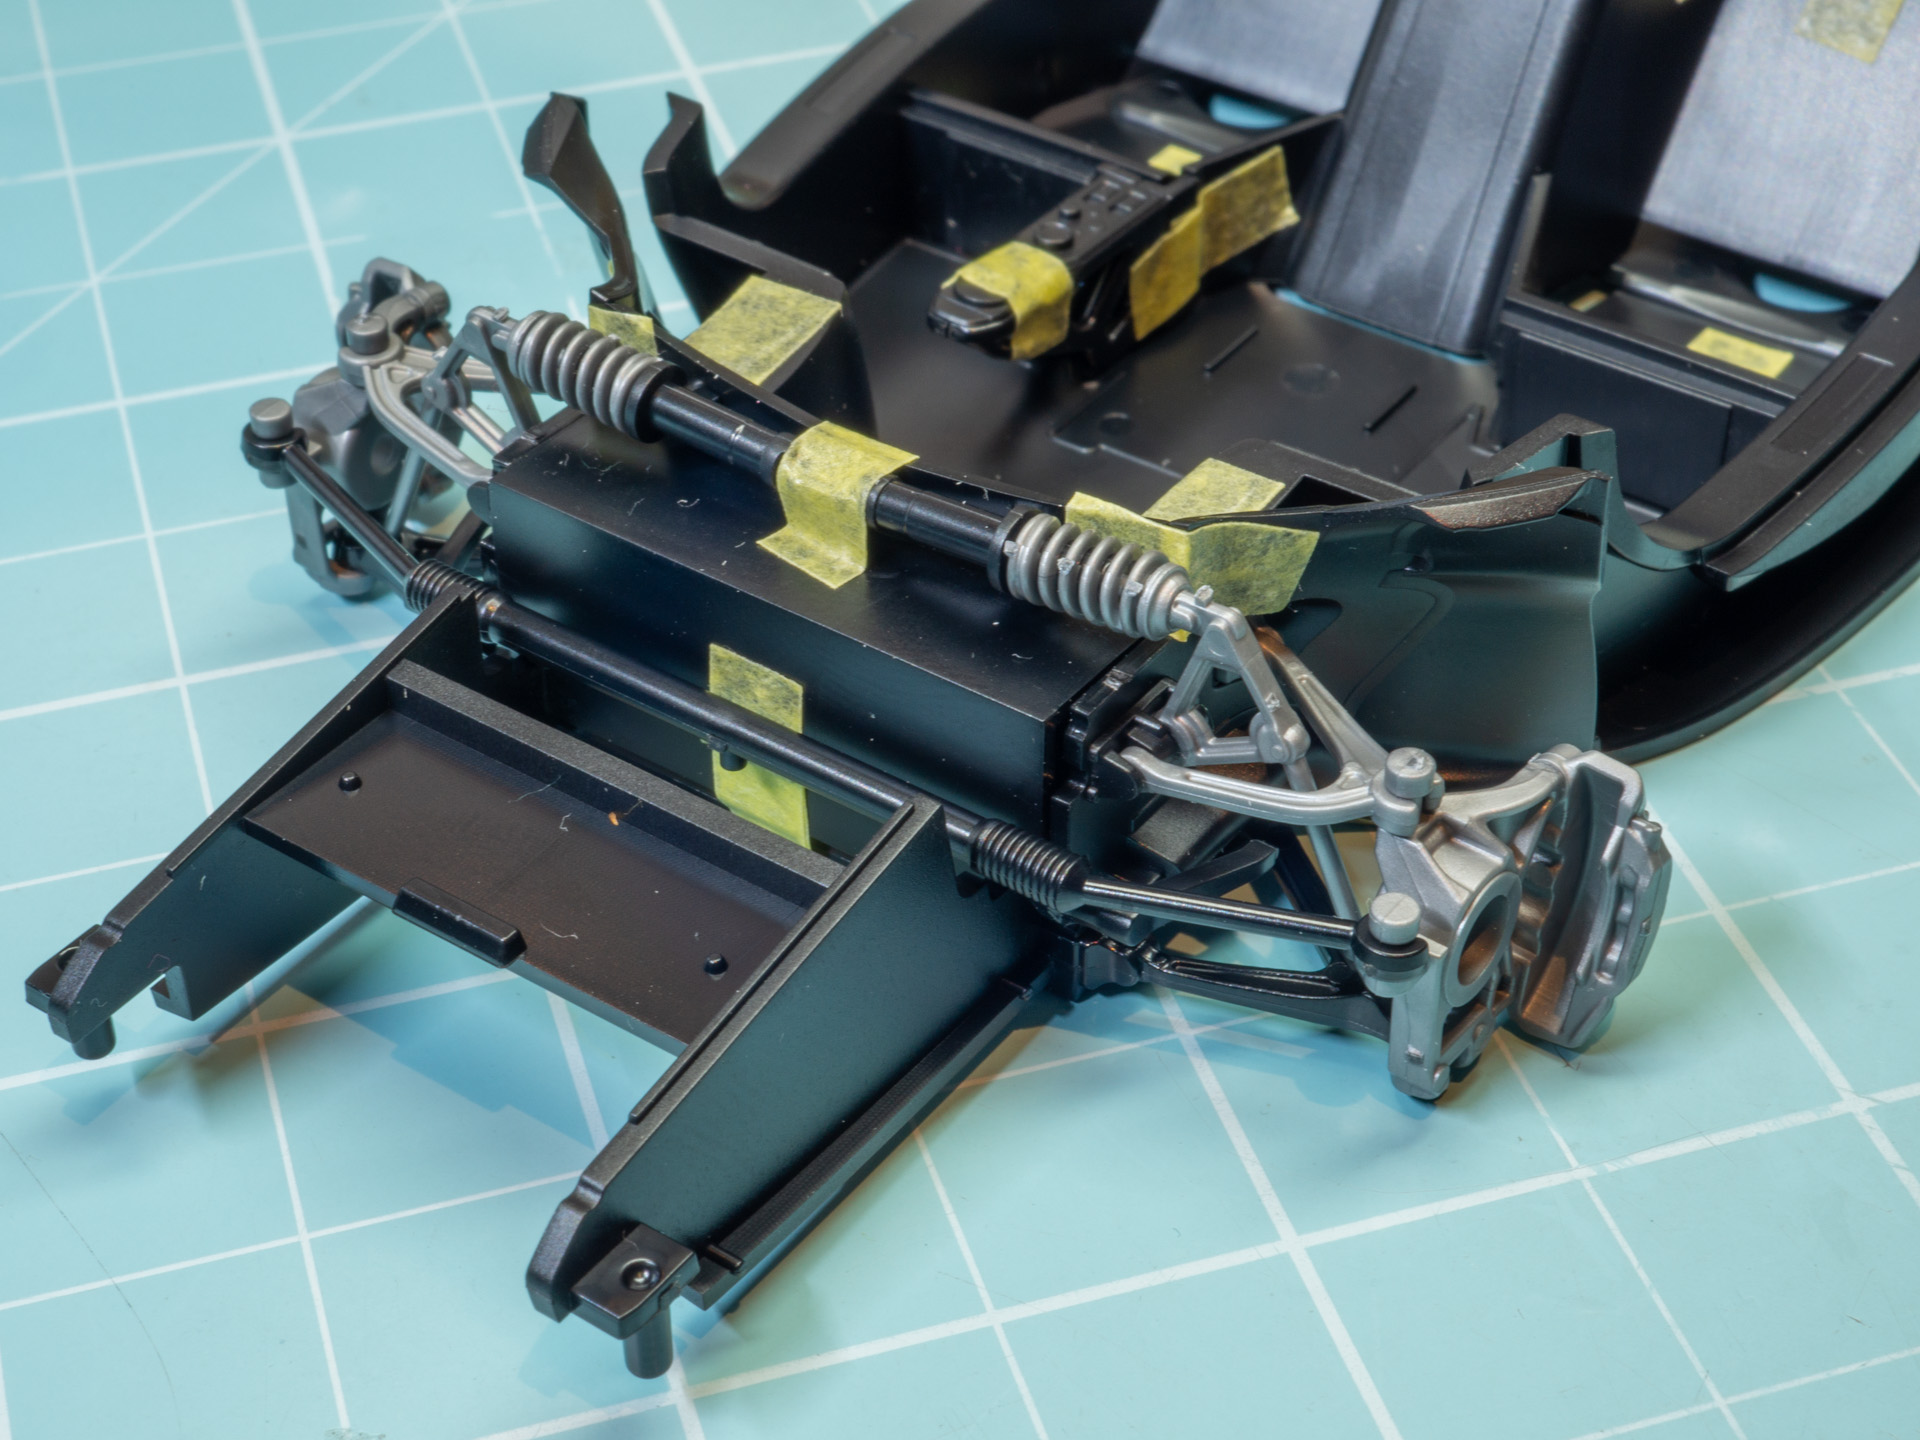
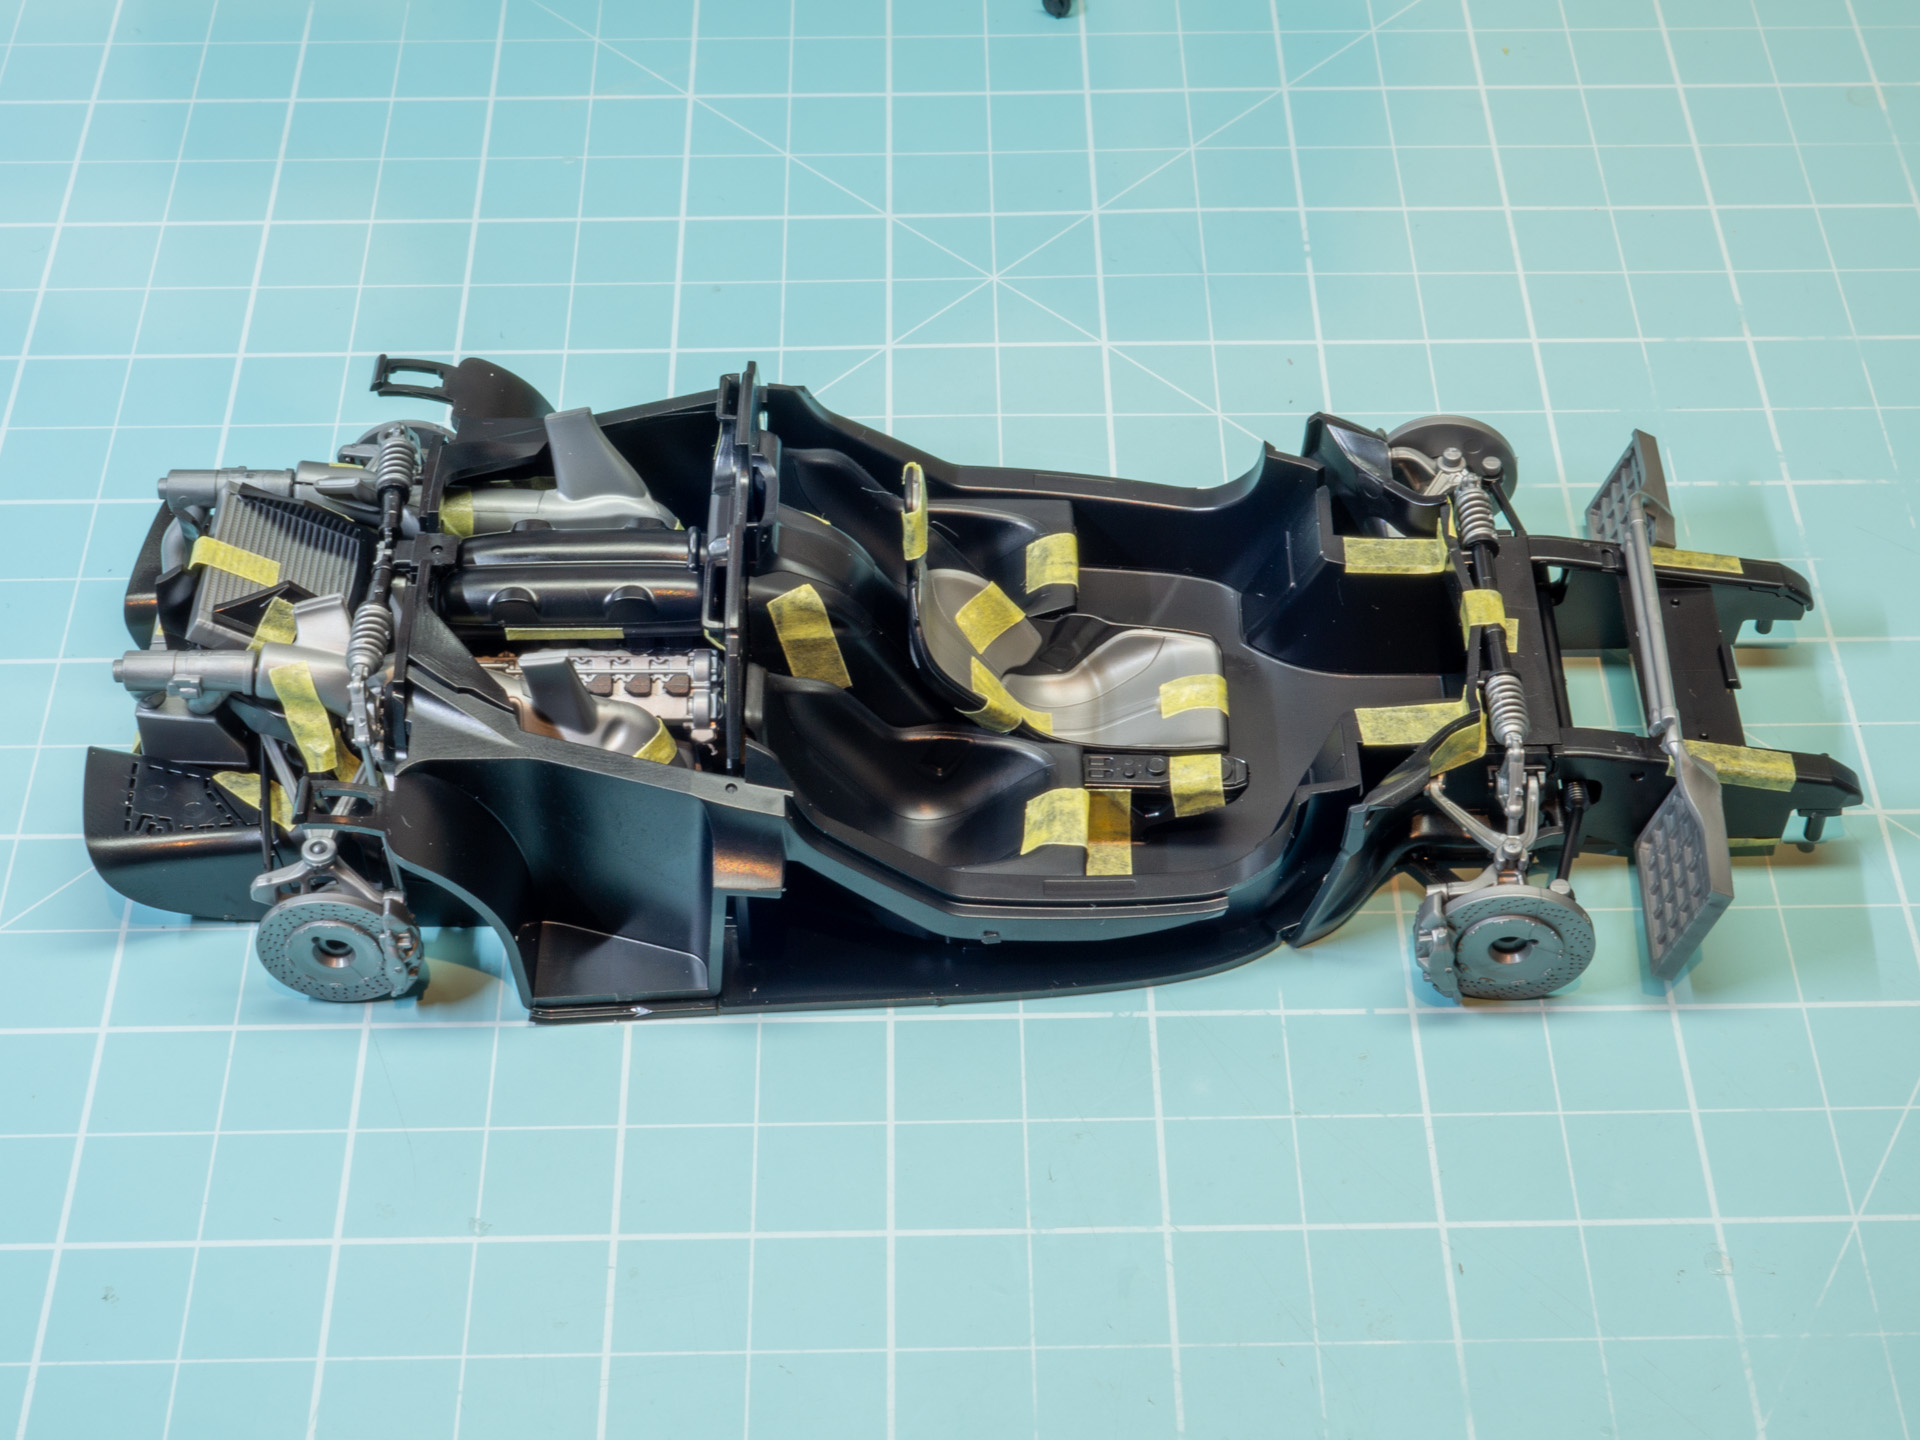
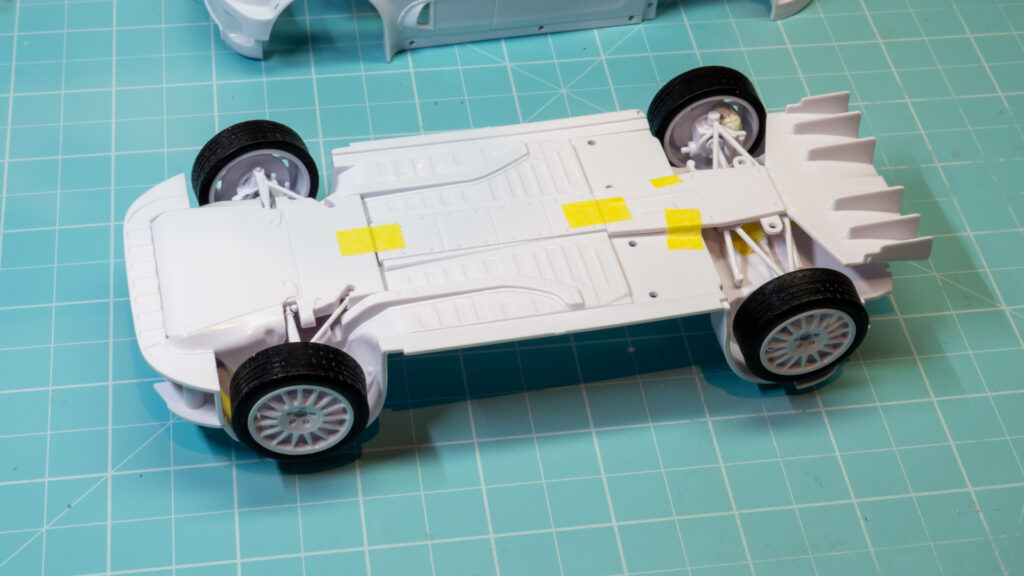
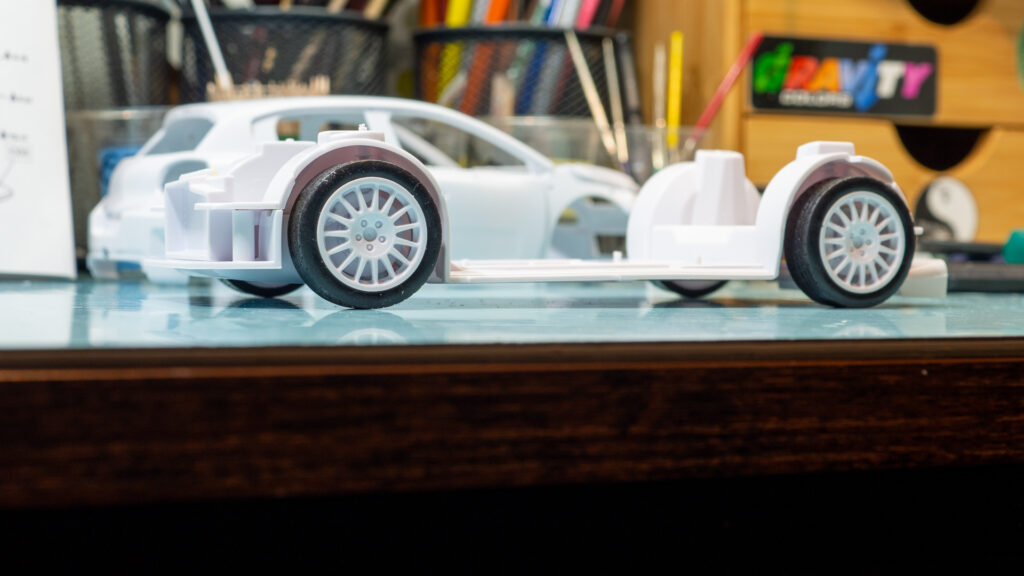
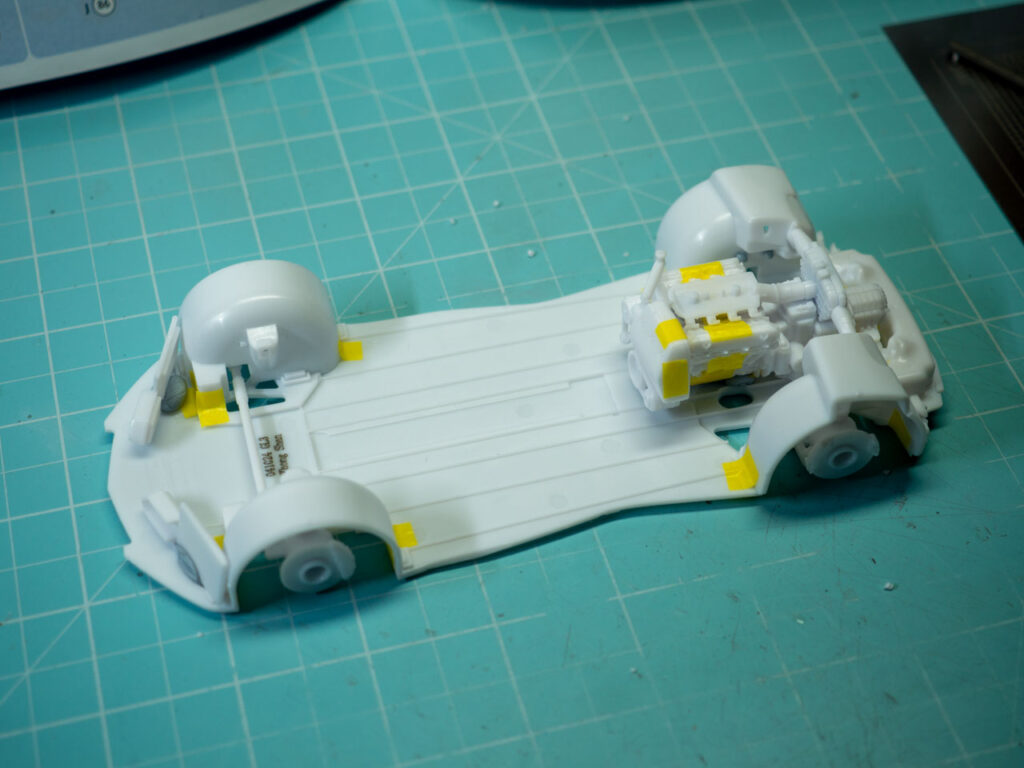
And now quick build on the tape. Assembled the lower part. Typical Revell scheme of bottom part + arches.
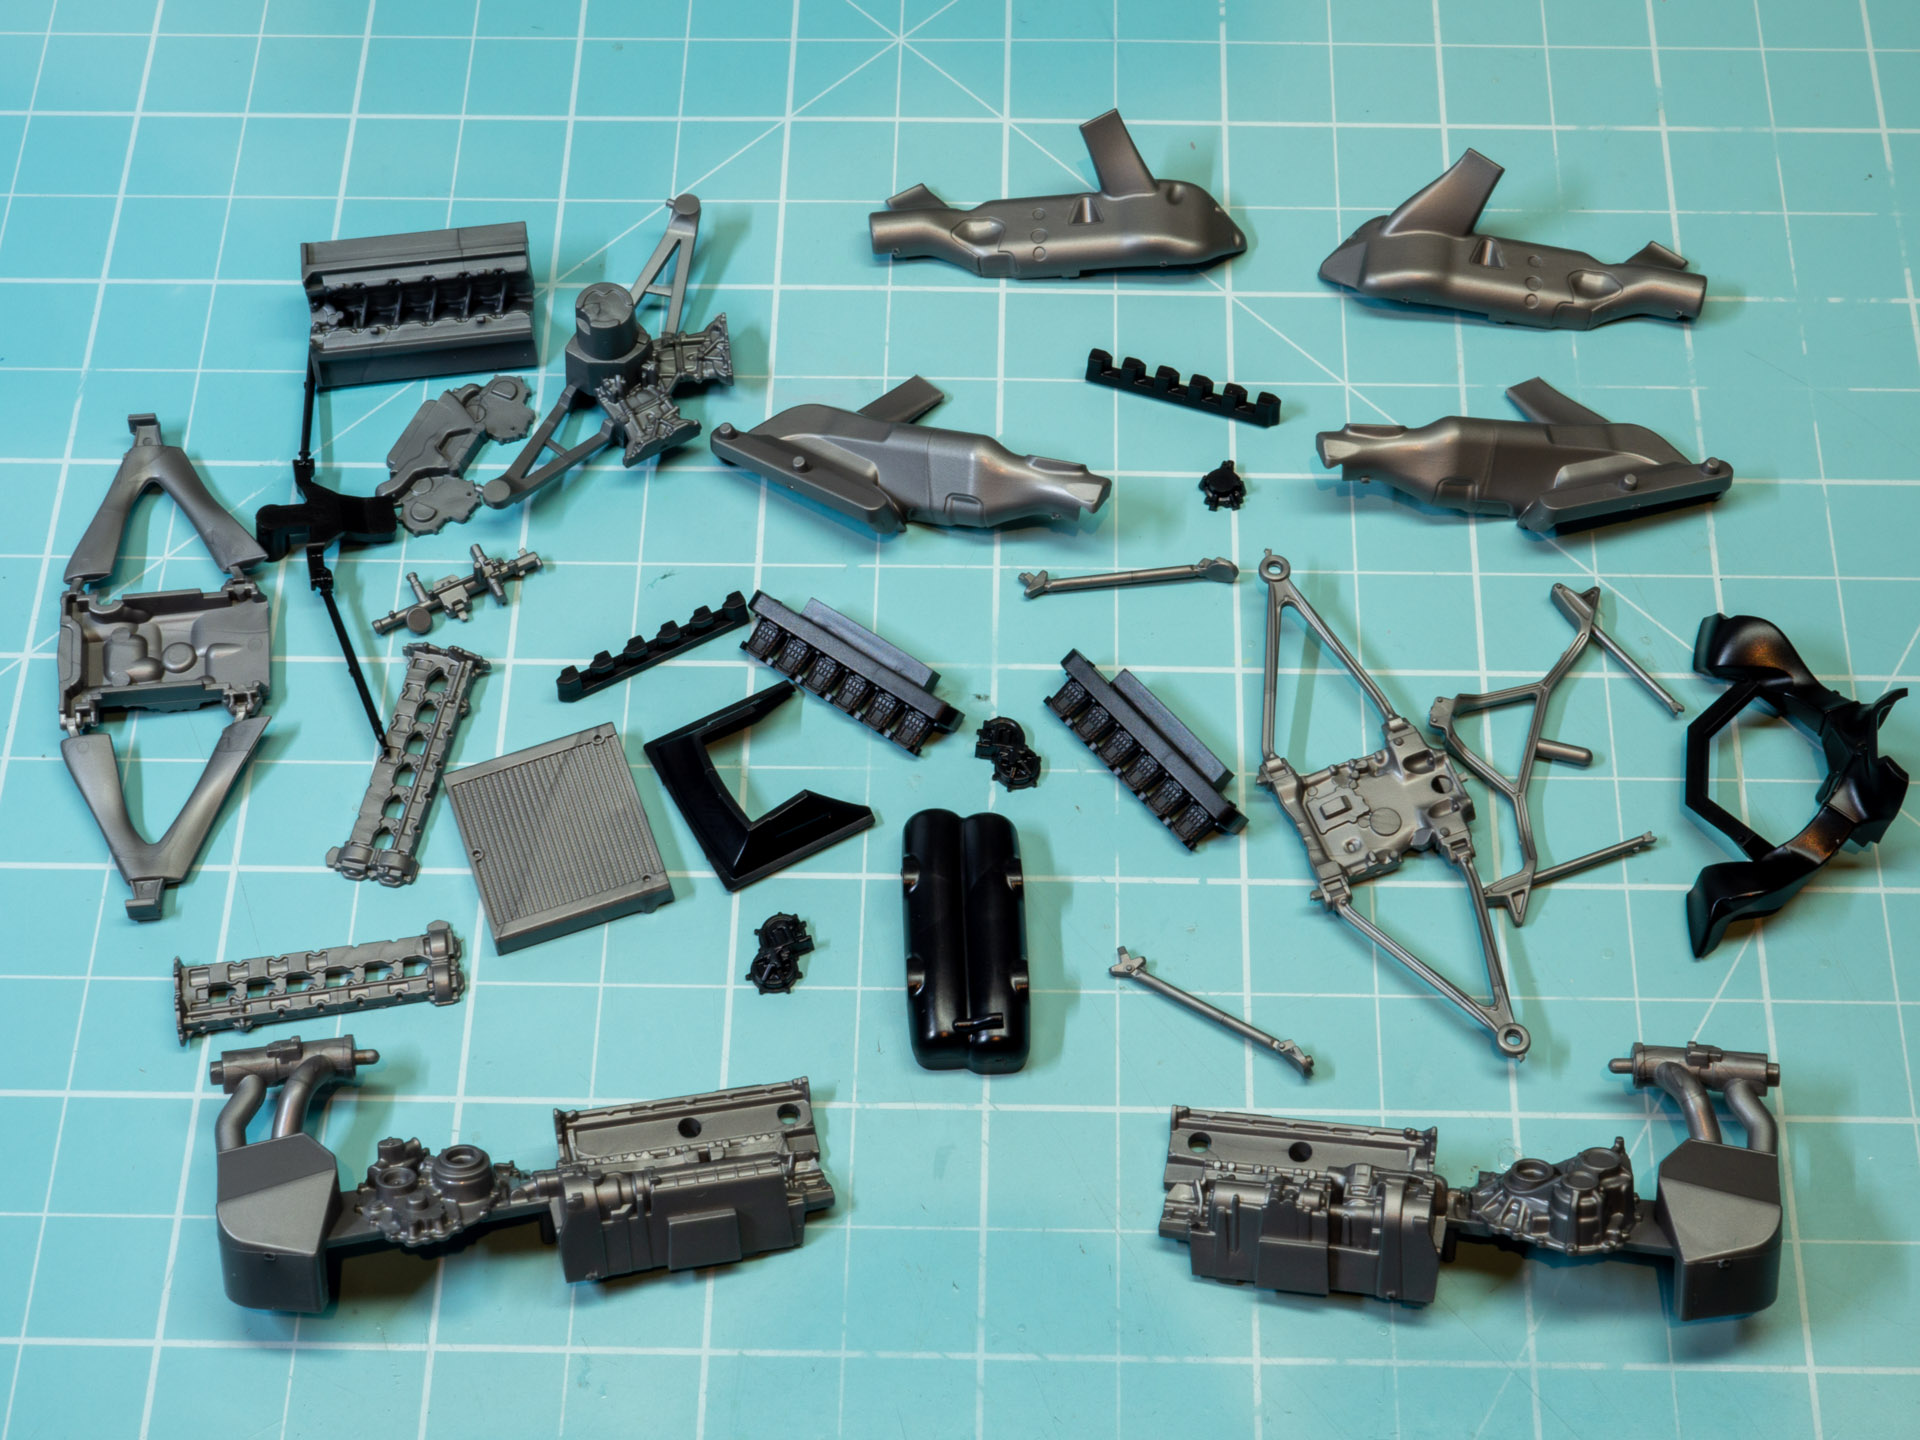
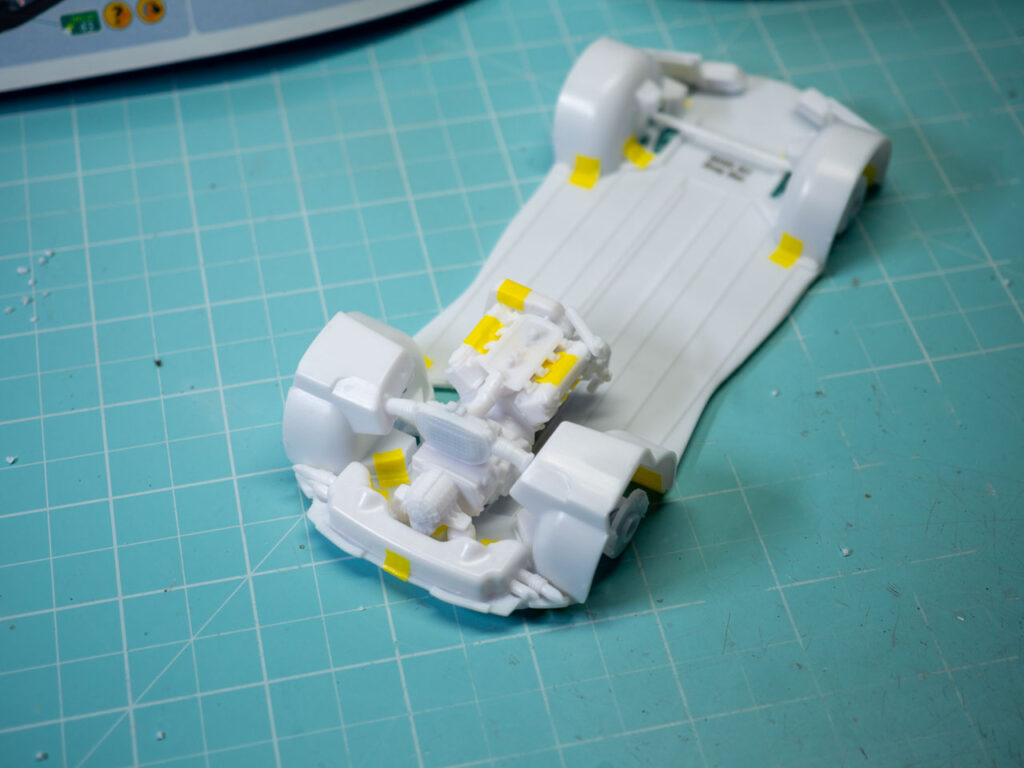
Of course, not all the parts are on the engine here. But it is clear visible what is where.
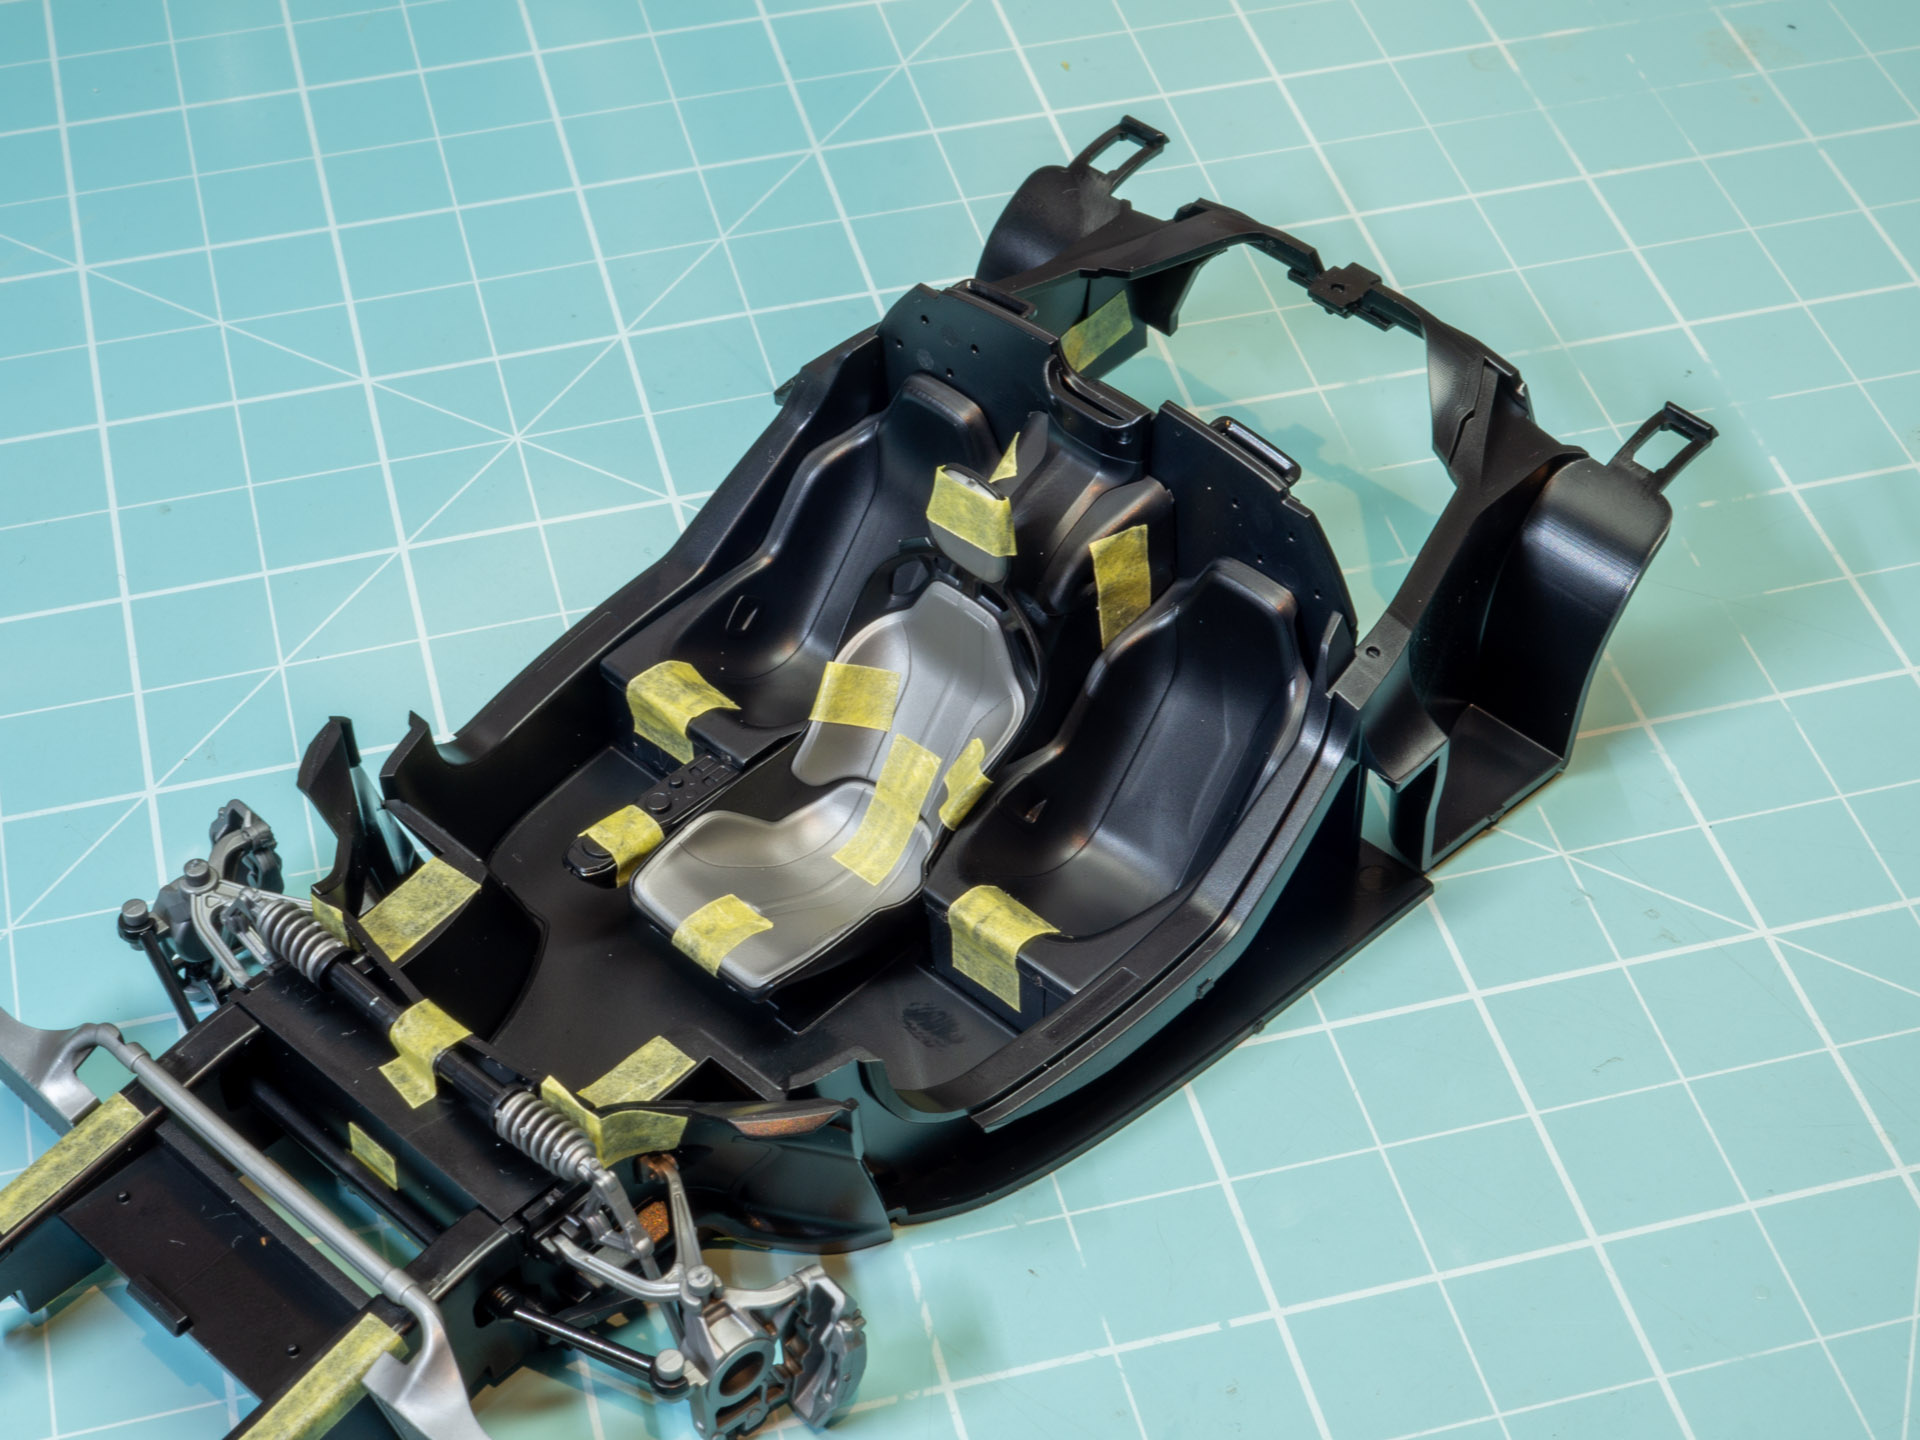
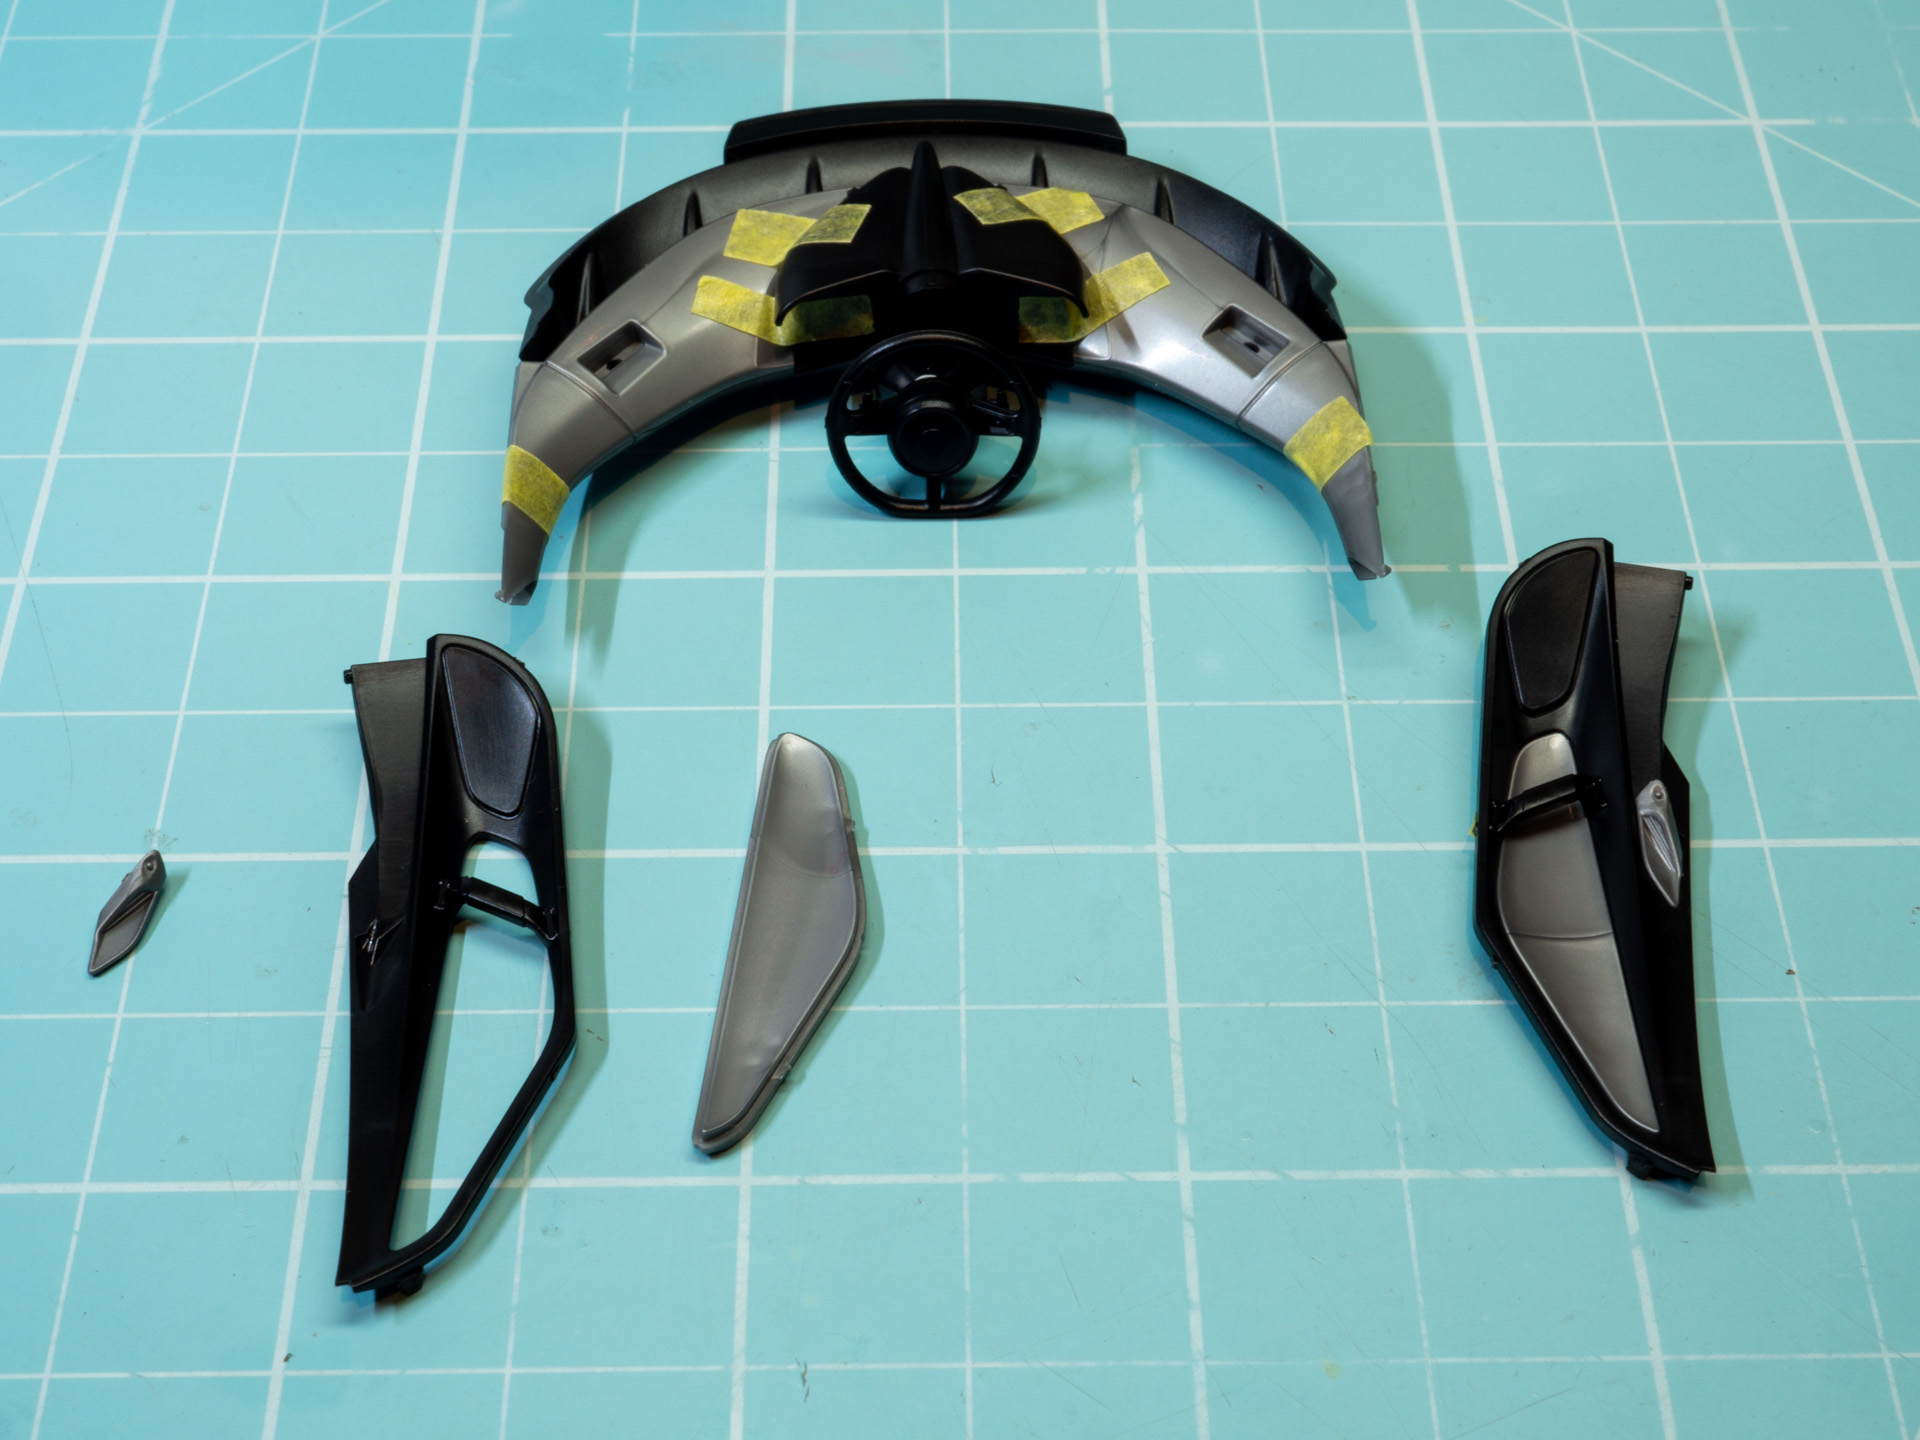
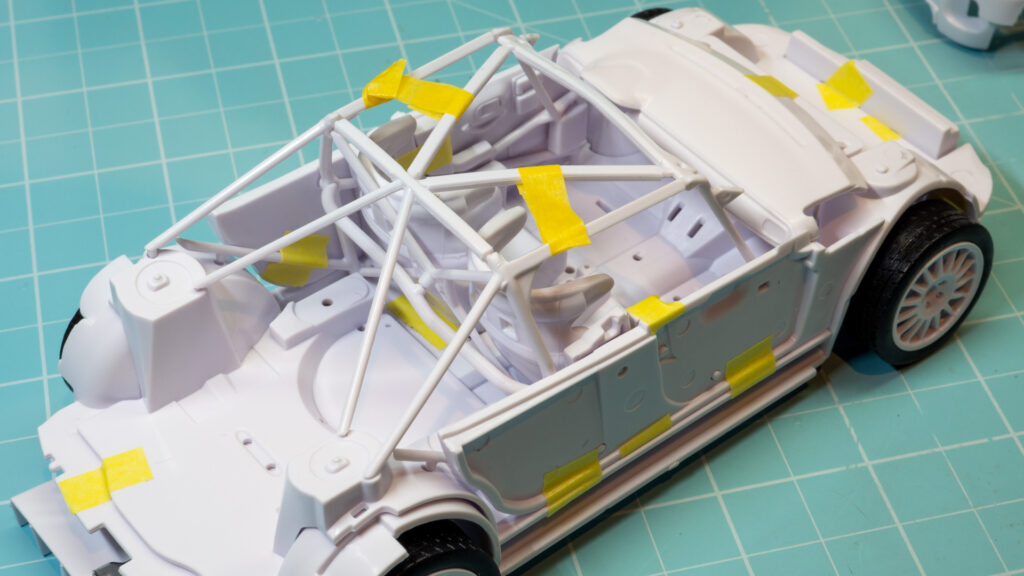
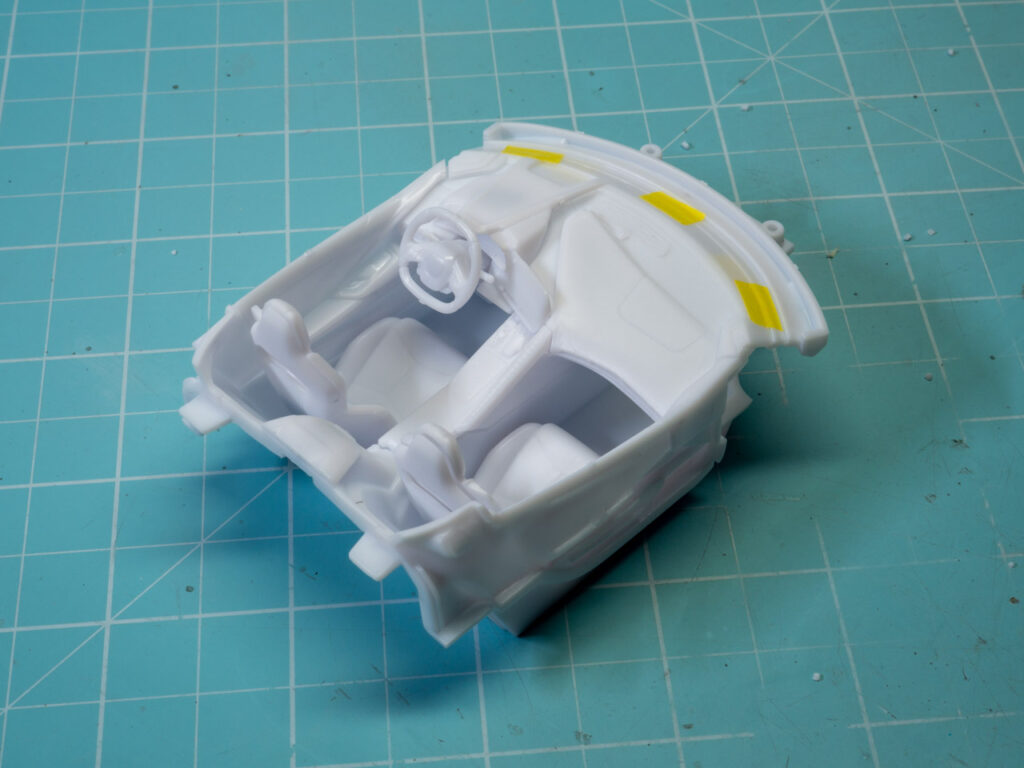
Interior made from some parts.
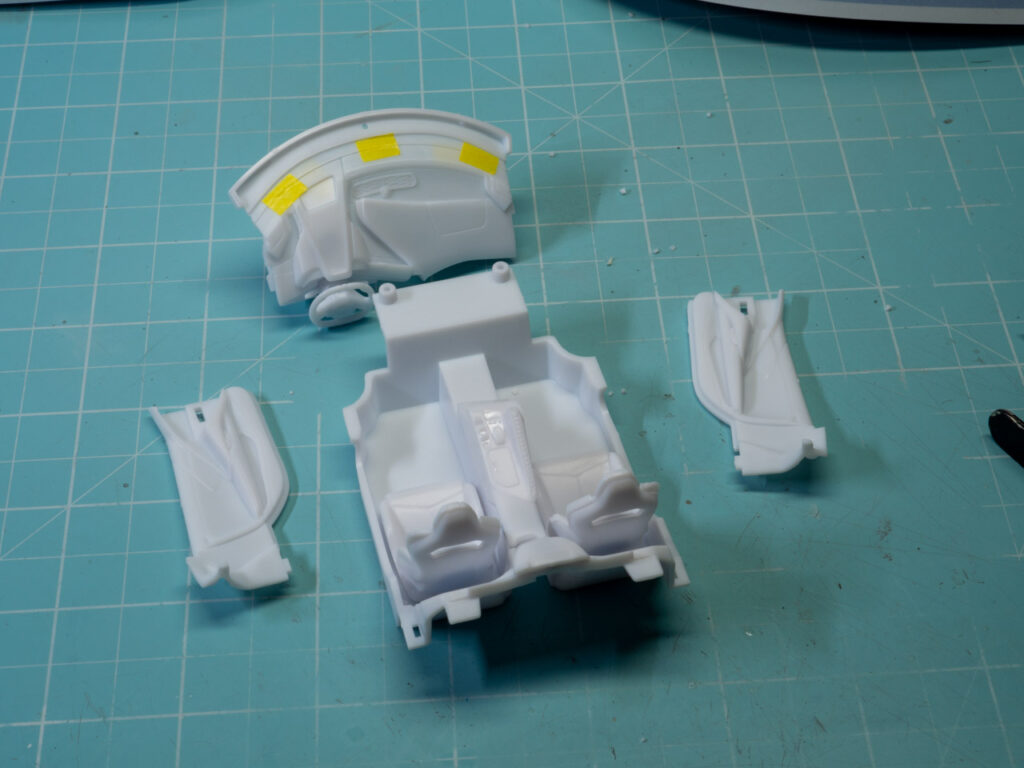
Assembled into one unit.
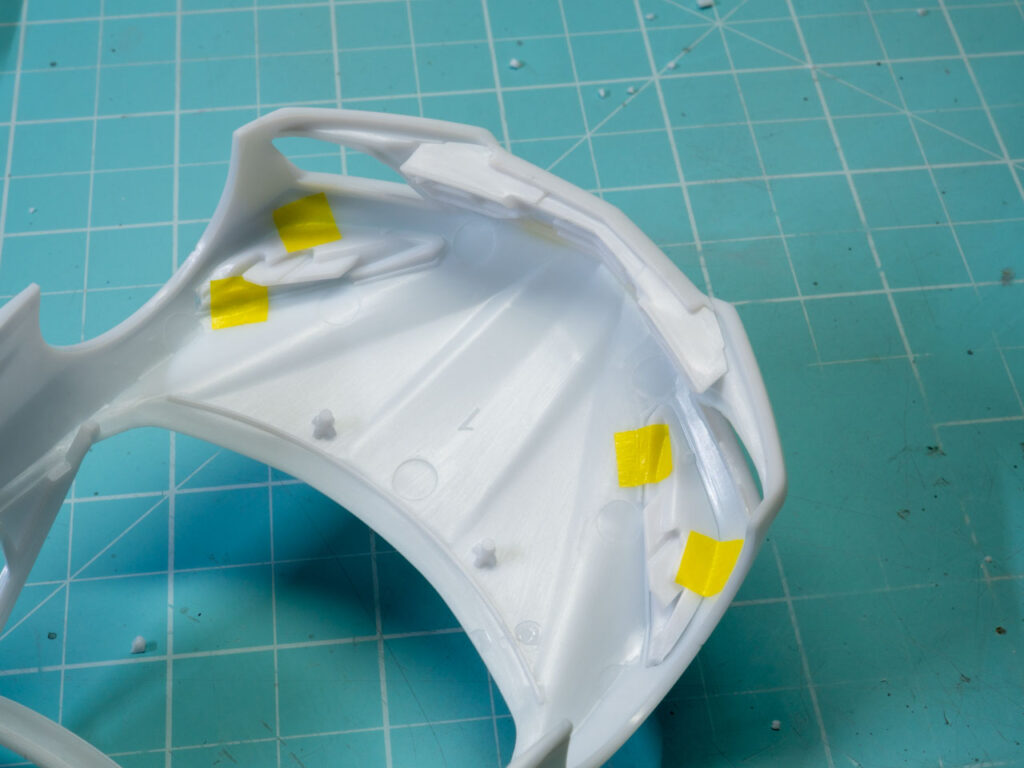
The headlight reflectors attached and positioned without problems. It is very convenient – there are guides with sides. You can glue it and not be afraid that the glue will leak out and ruin everything there.
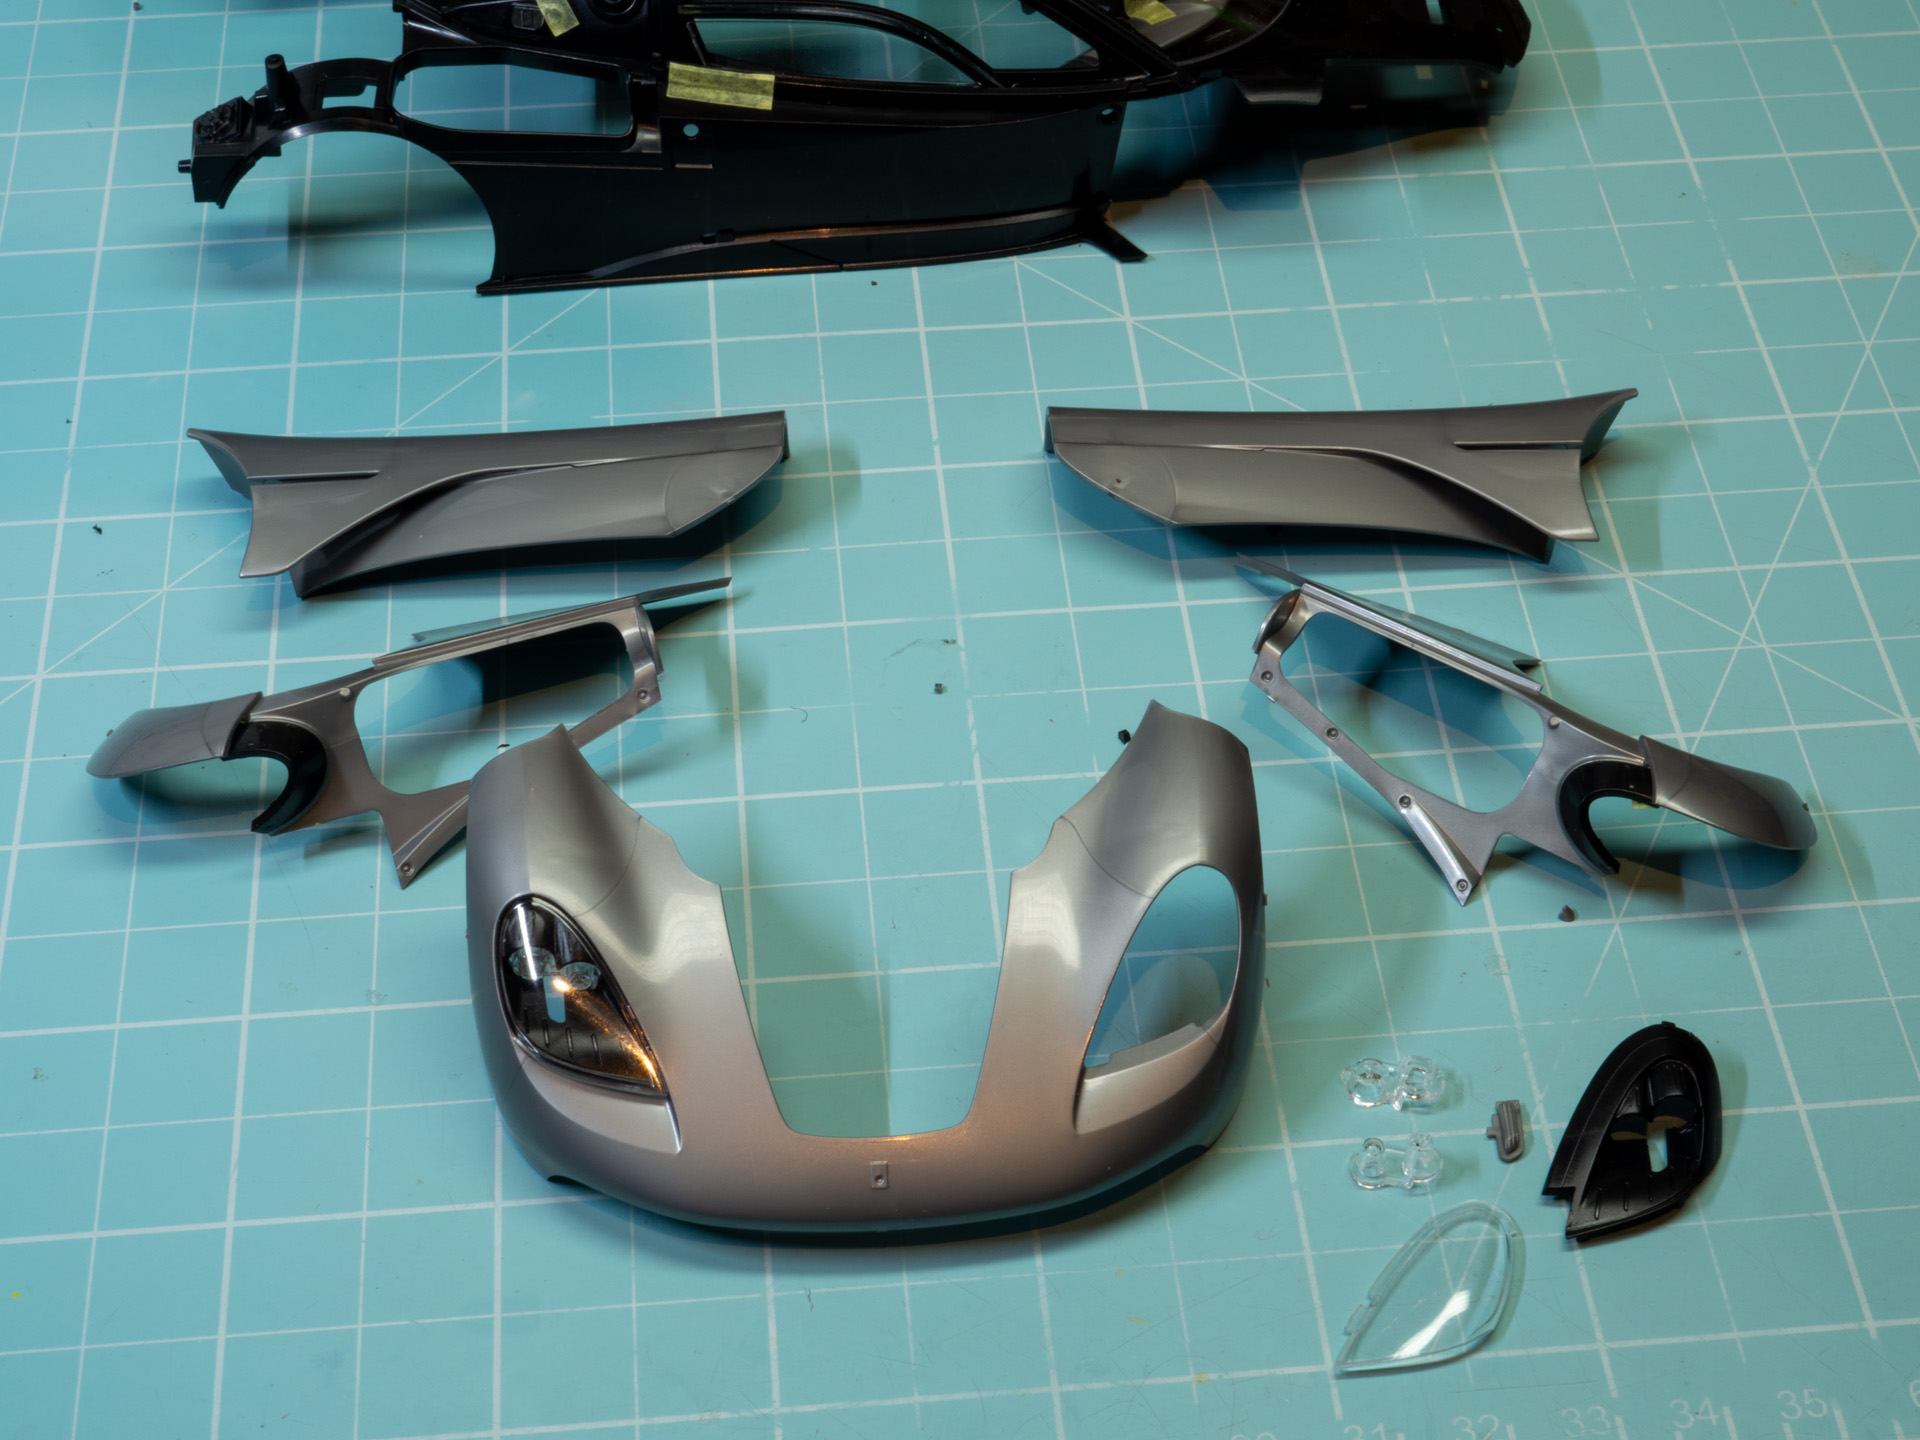
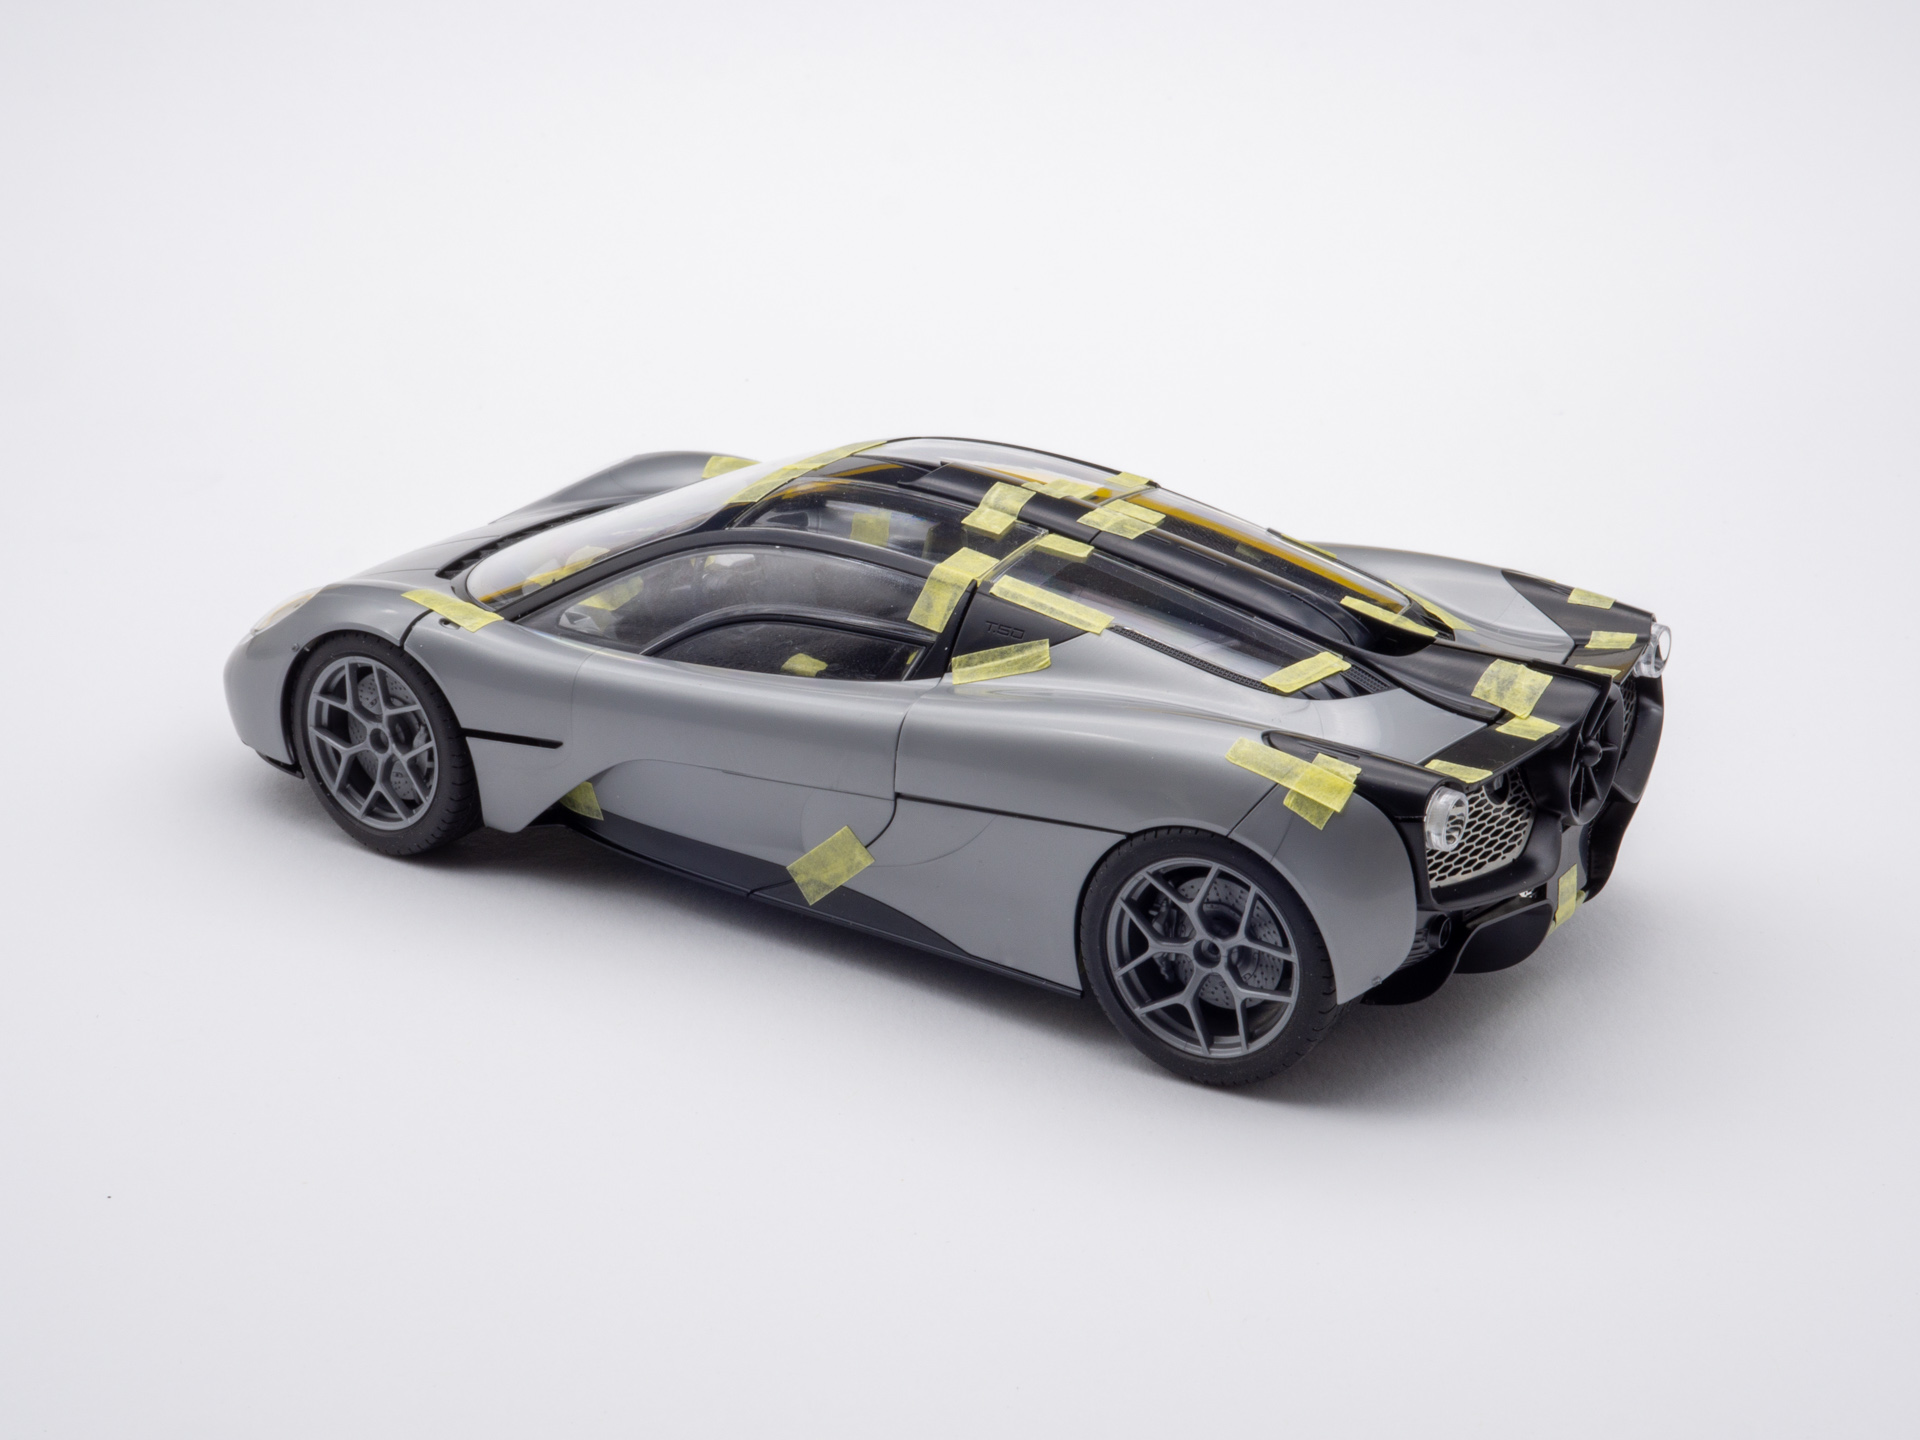
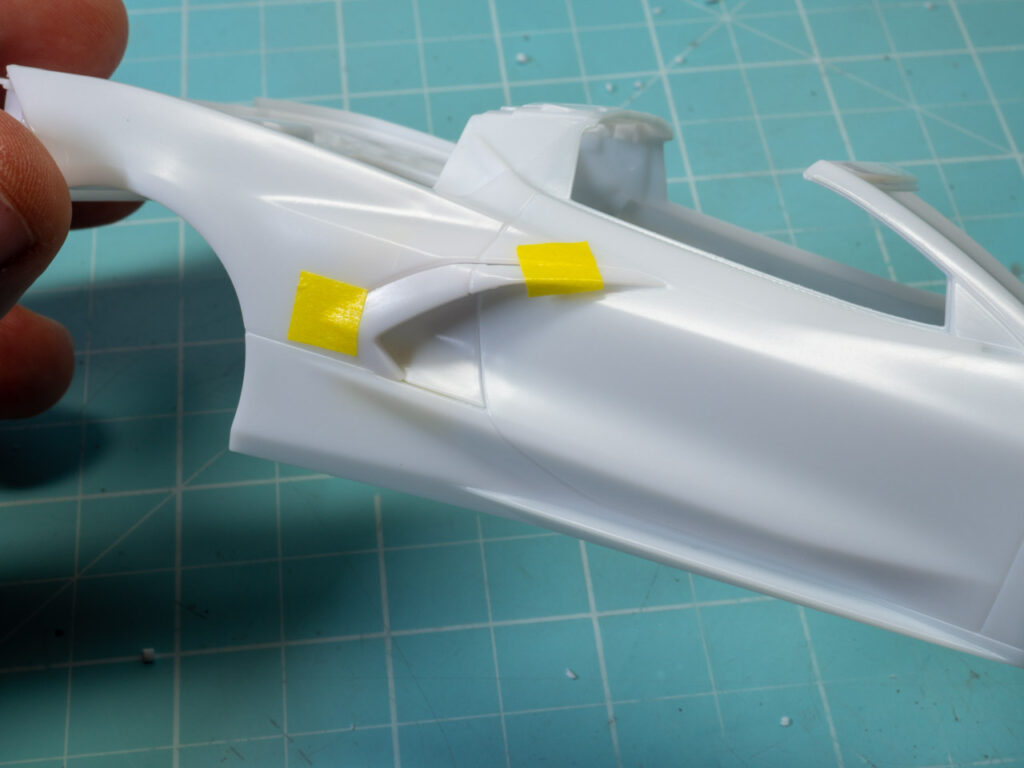
Lateral aero elements. It also seems to fit together, although the shape of the joint is complex.
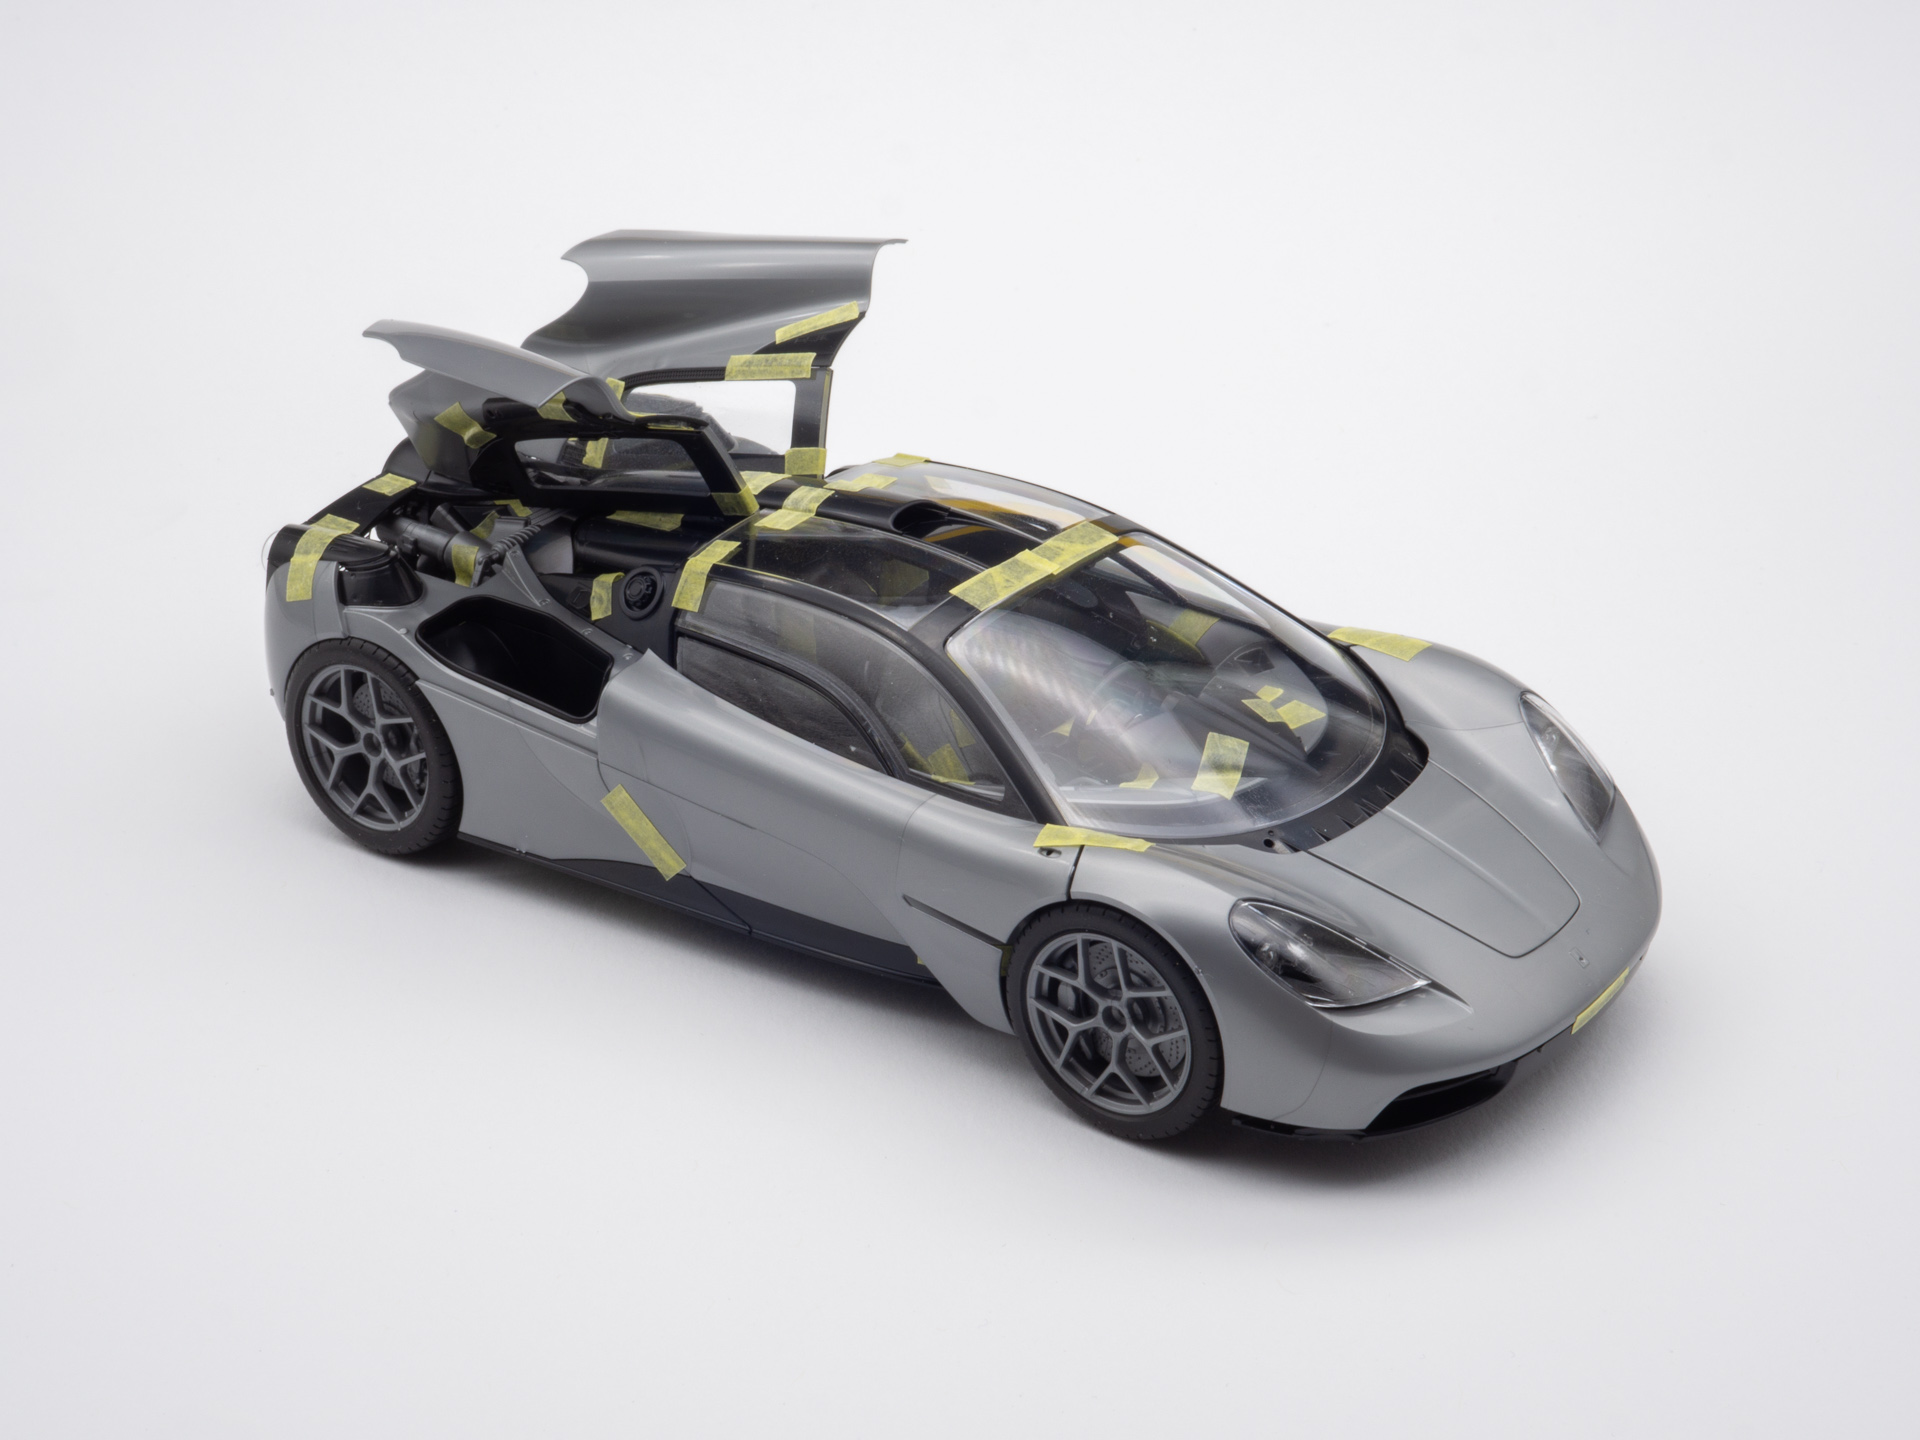
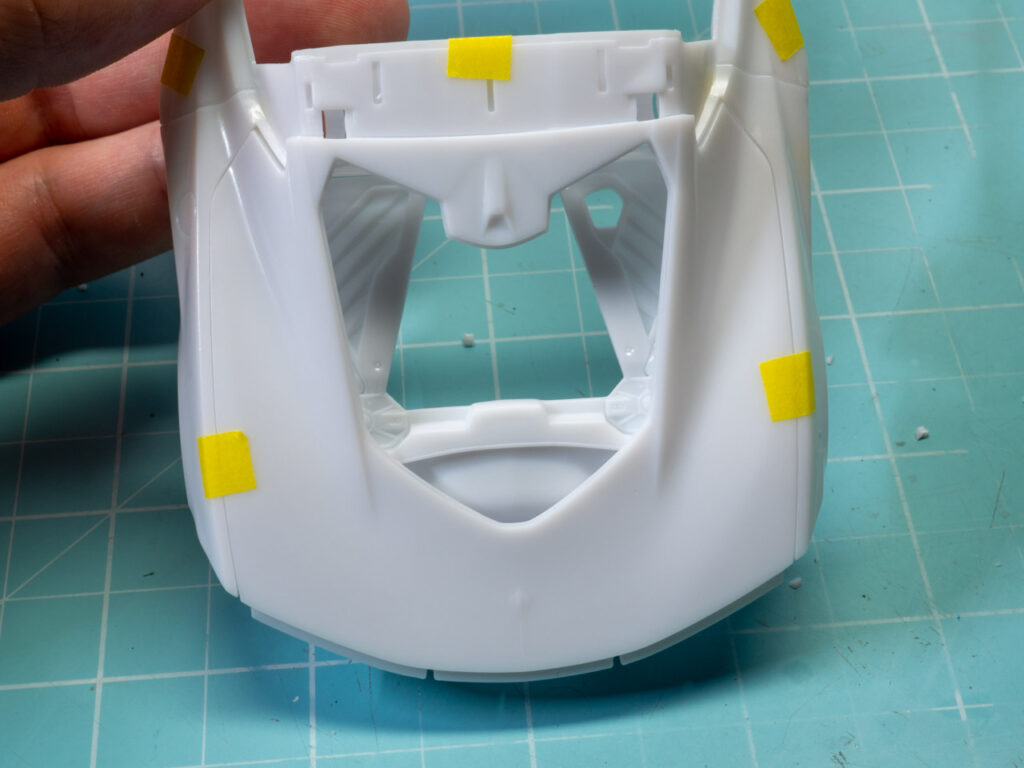
Wow, the motor cover fits smoothly and without gaps !
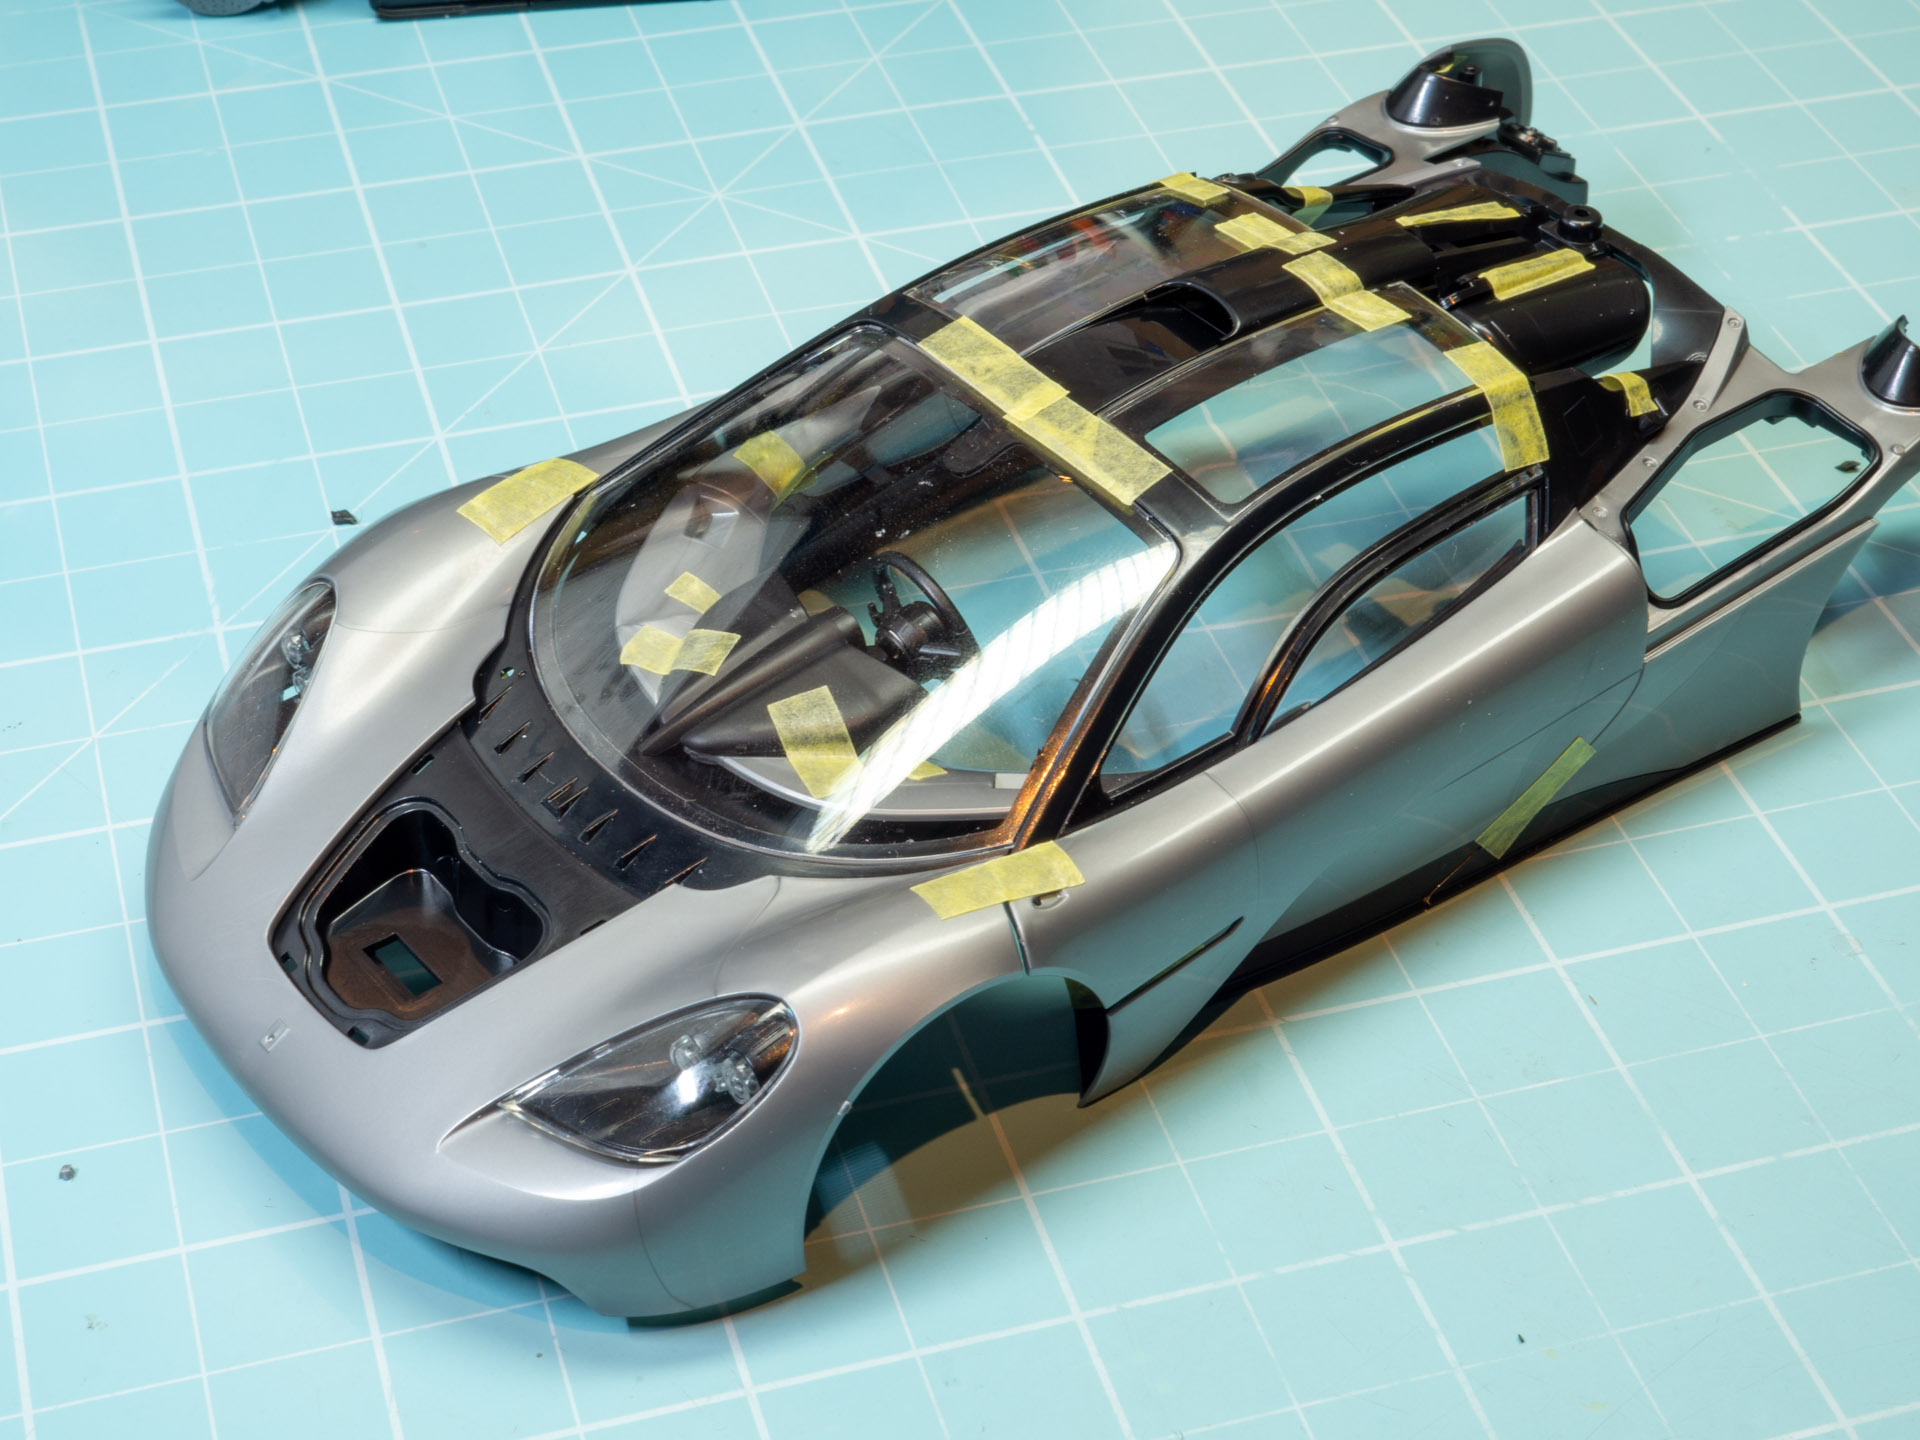
So I attached the interior to the body. There are no gaps in the interior-body joint.
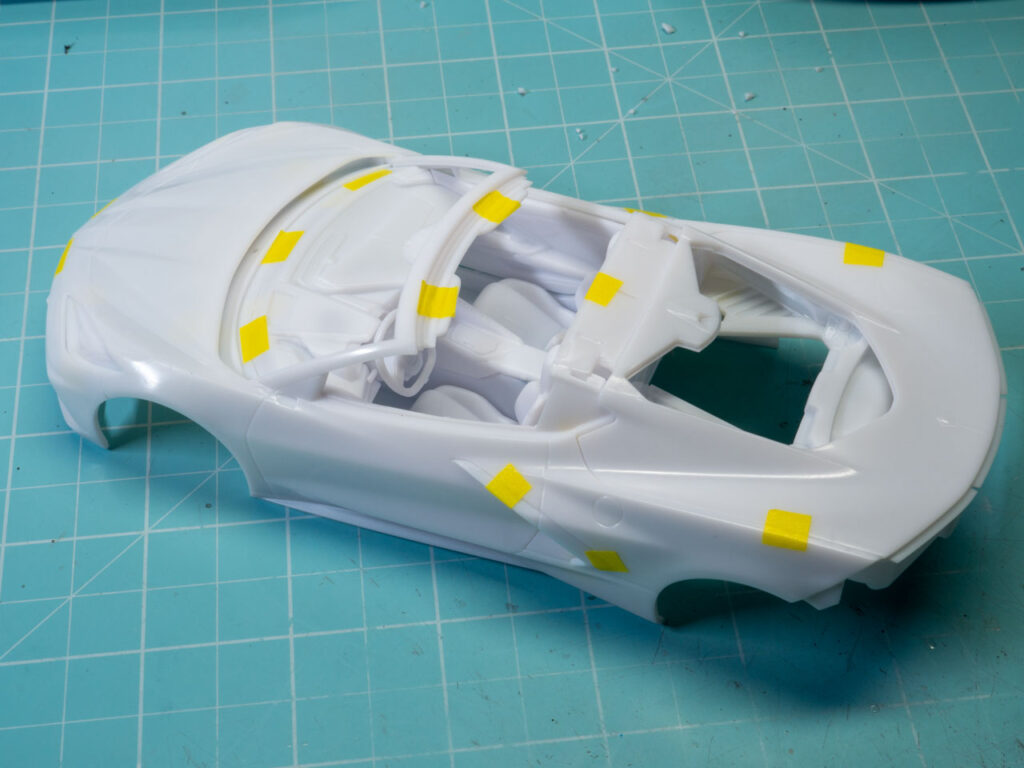
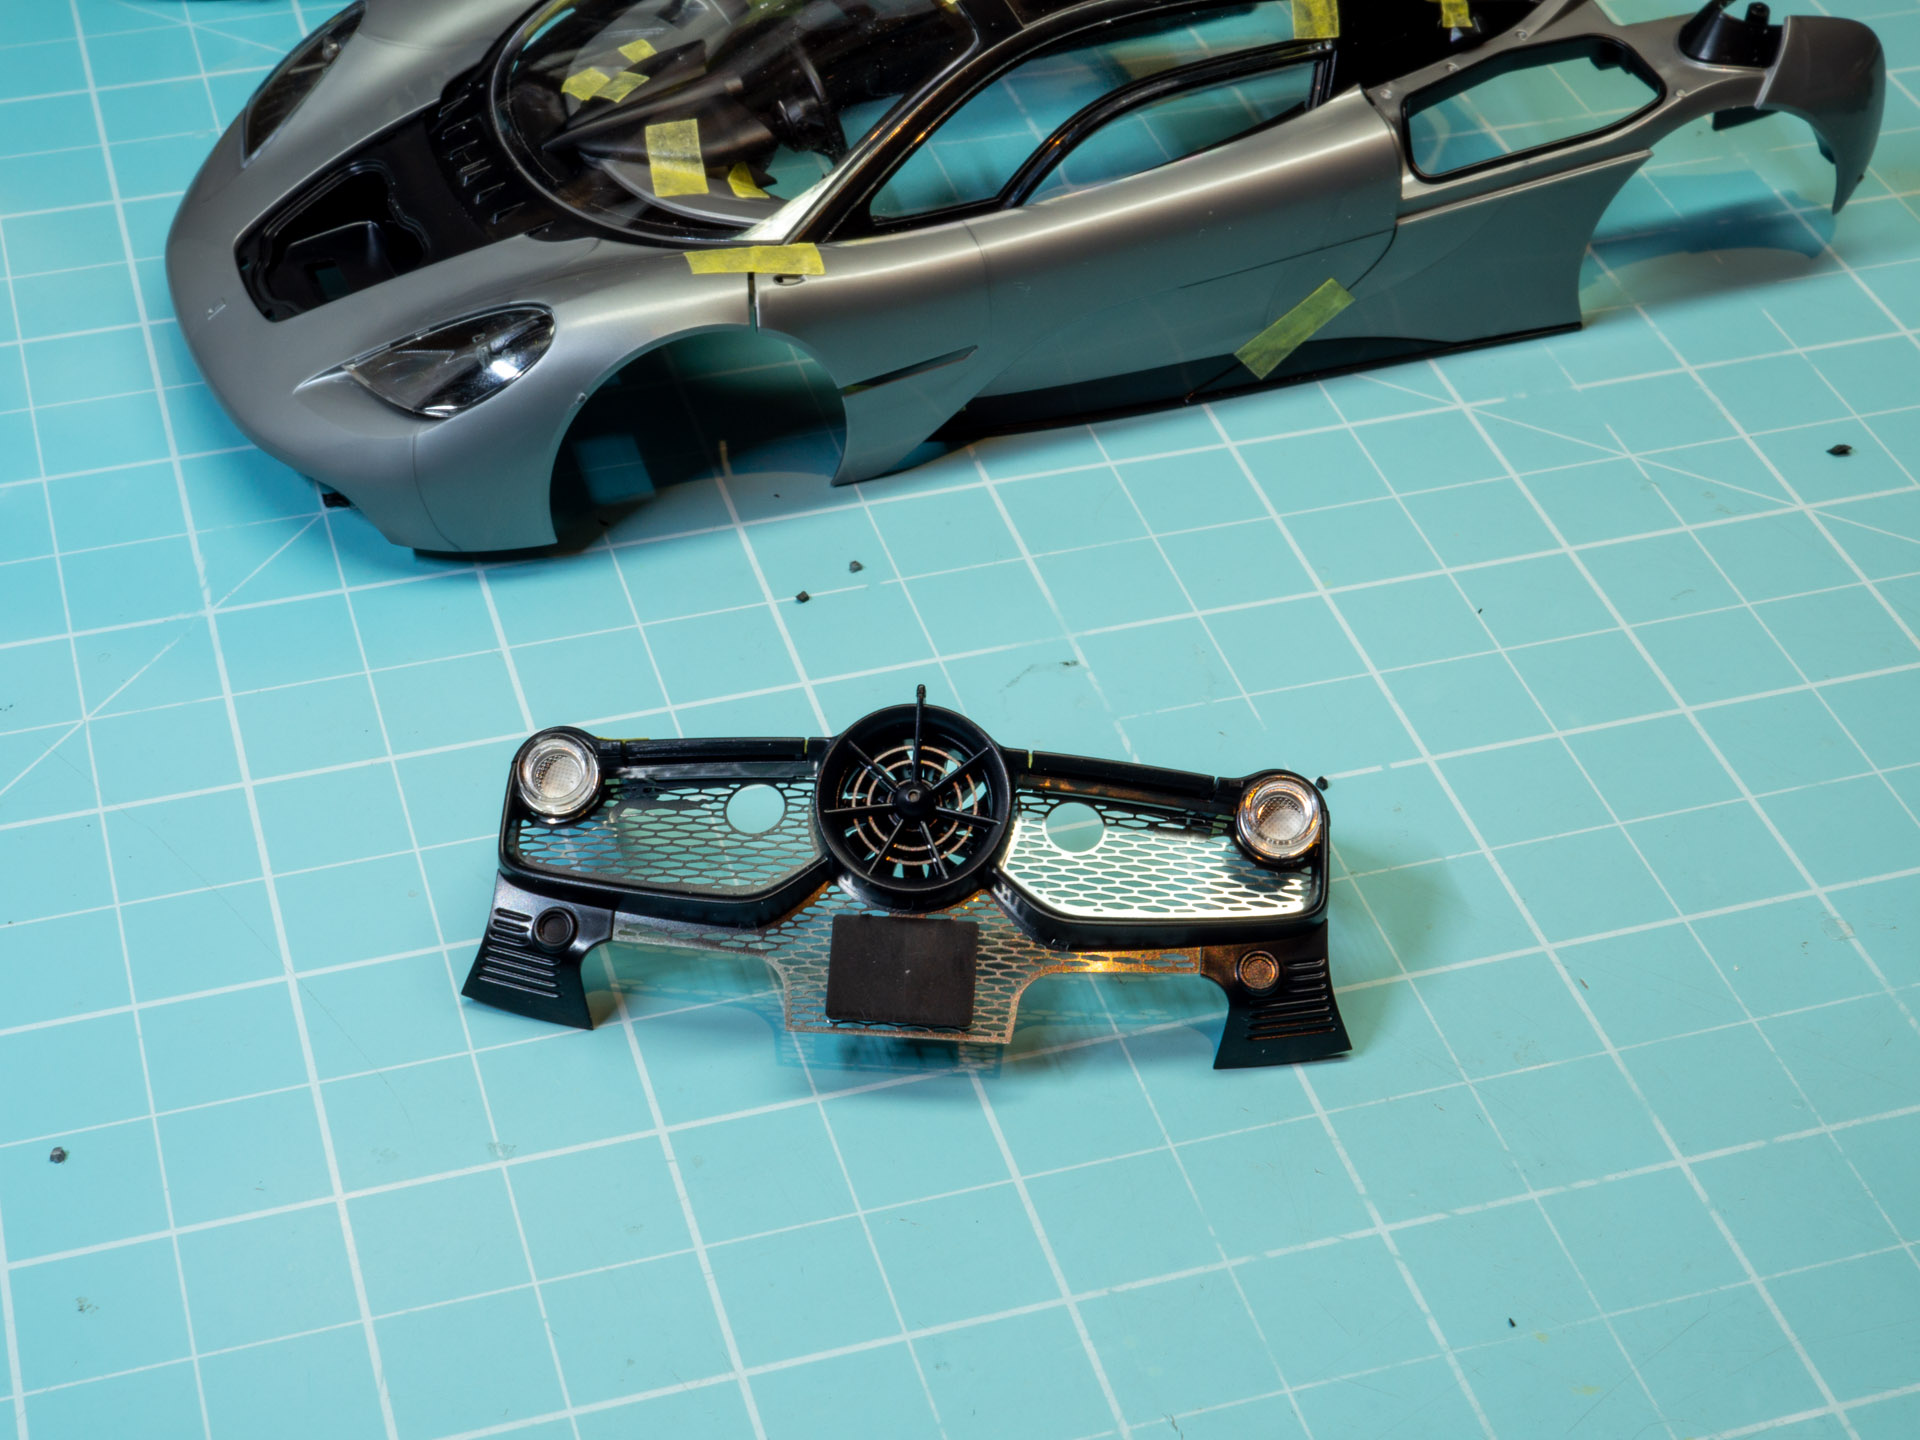
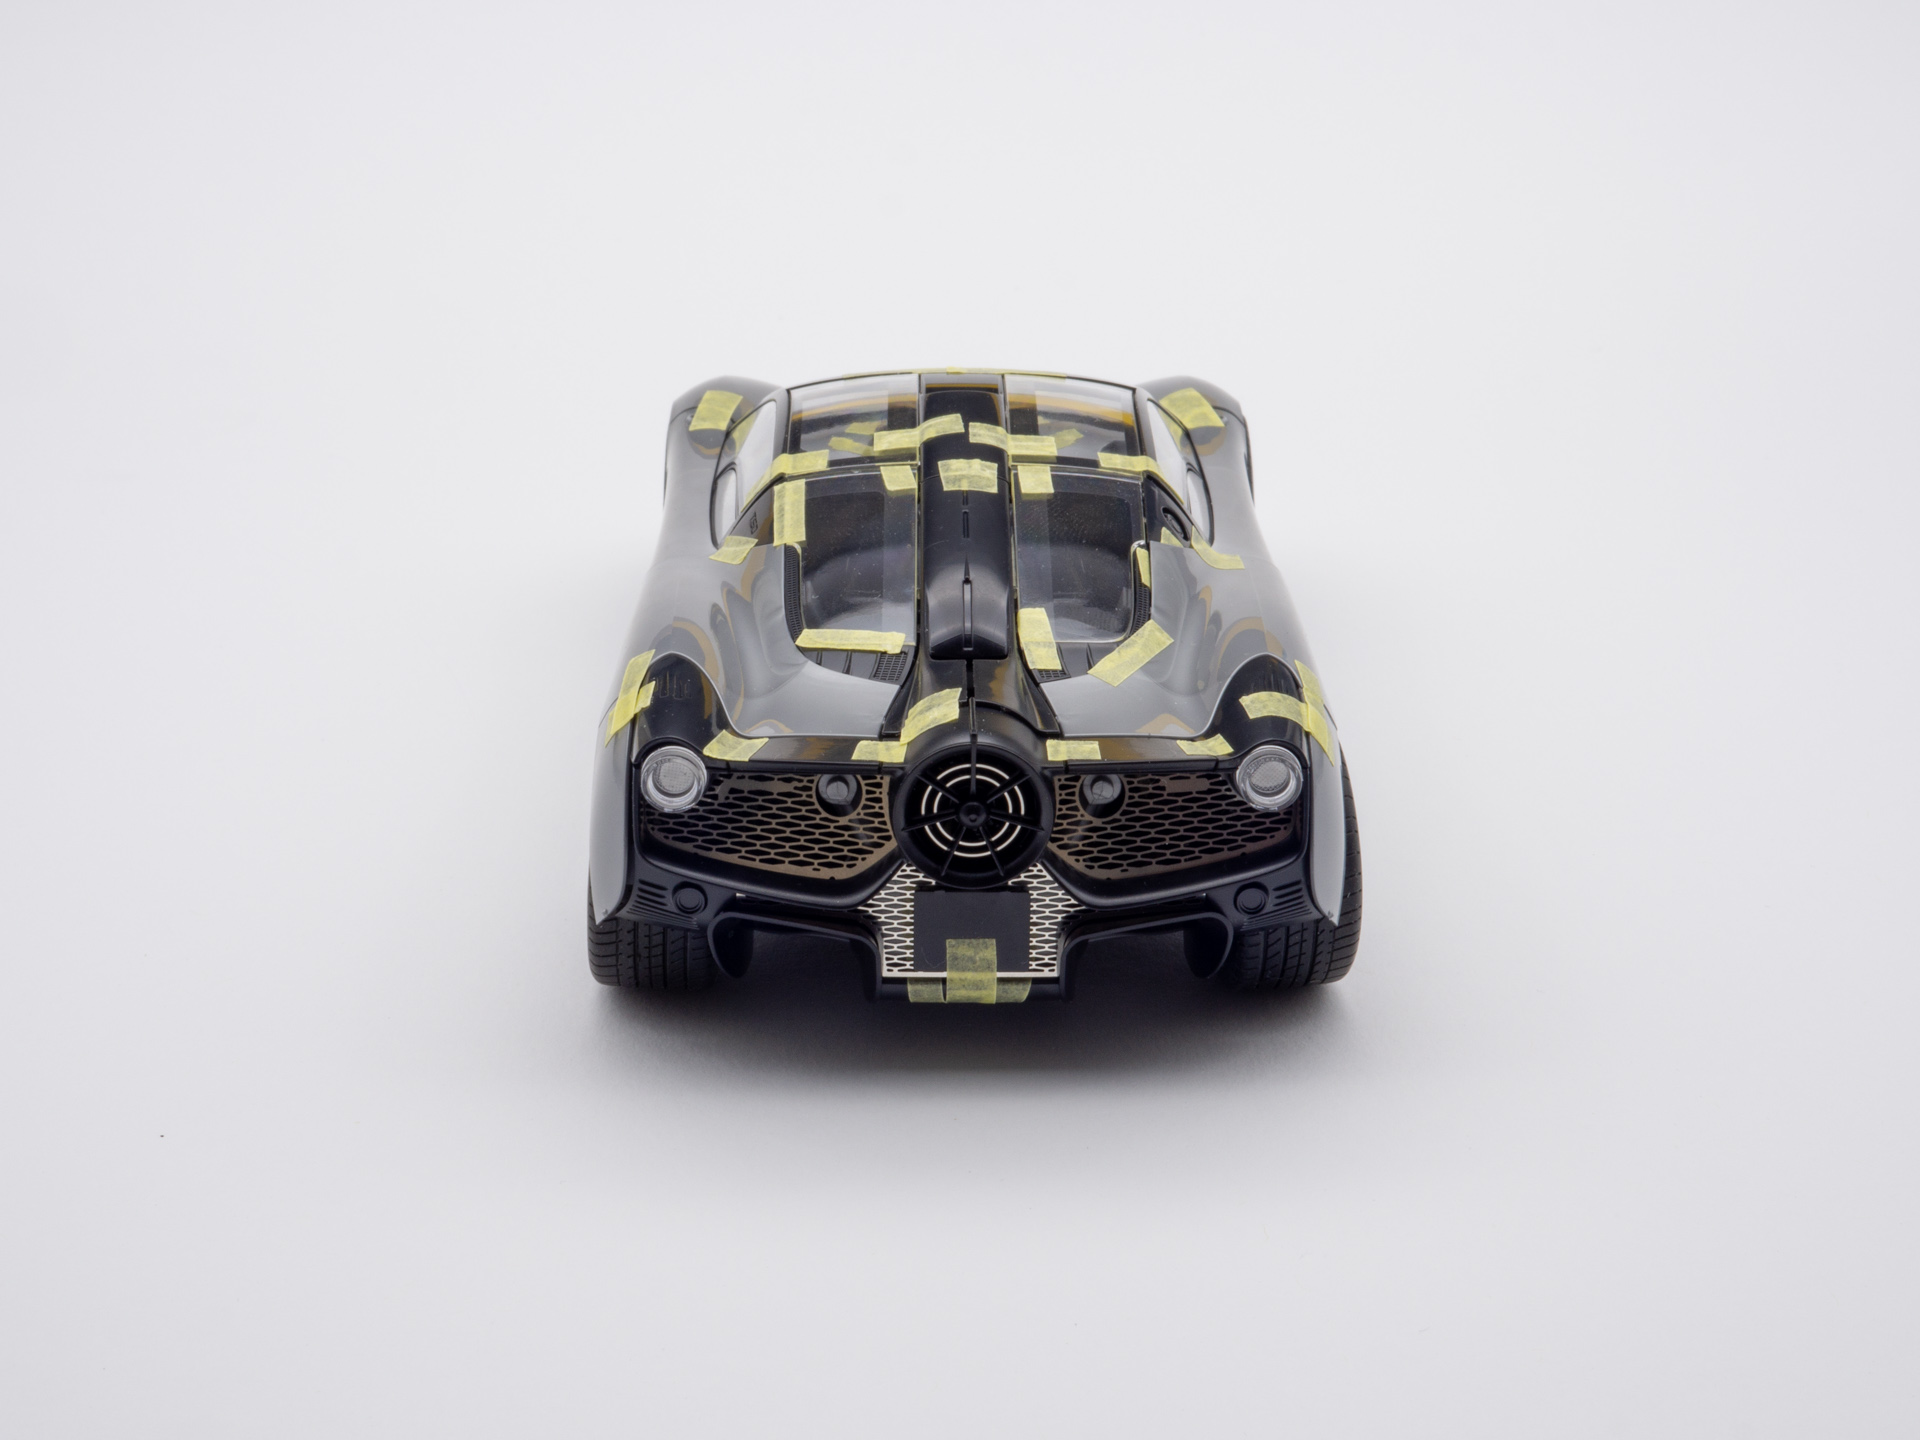
Tail. The light reflectors and clear parts fit very smoothly. Without the back part, by the way, you can clearly see what’s inside – a resonator with a gearbox.
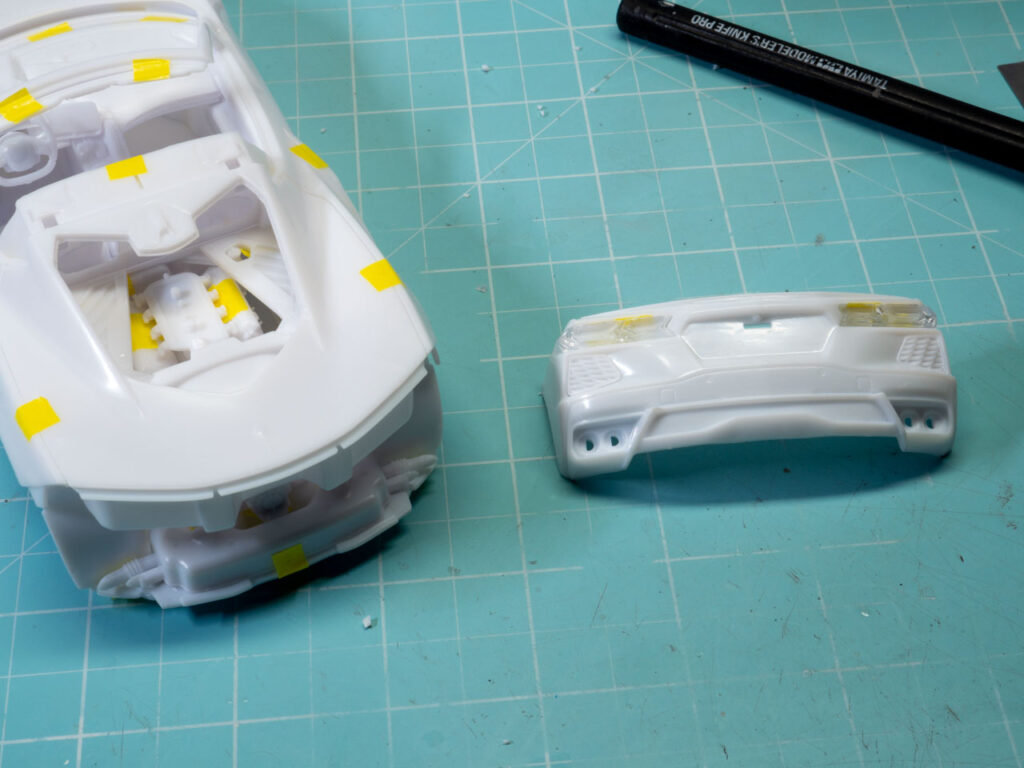
Here the joint is smooth. But anyway, need to fit it more precise.
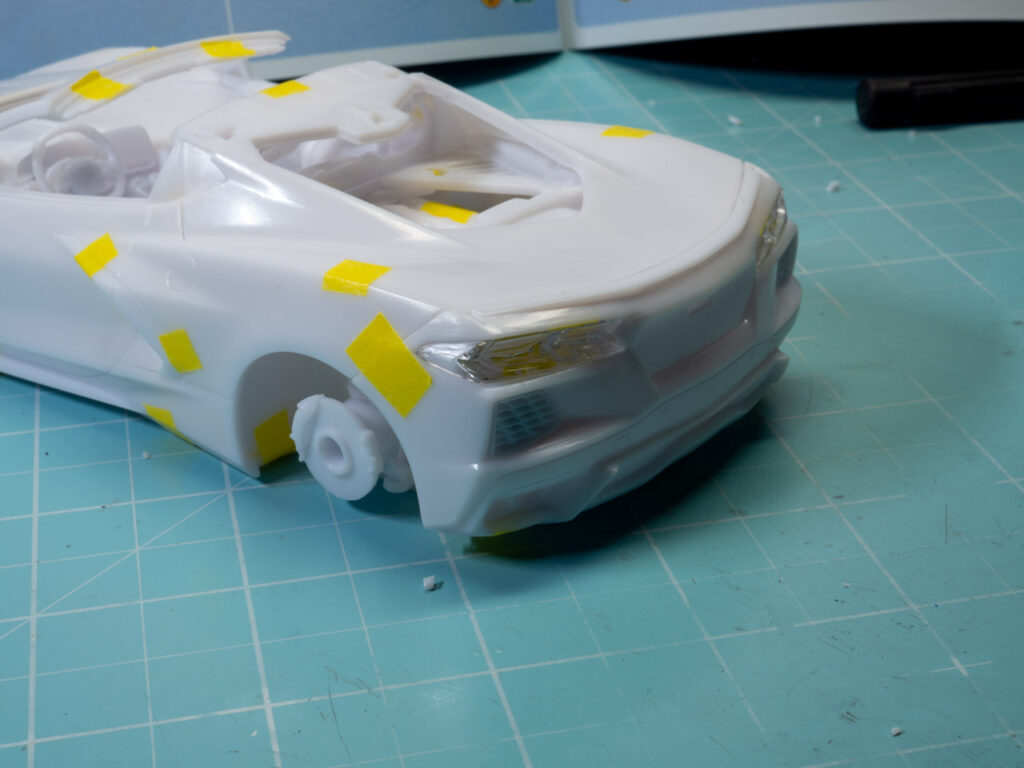
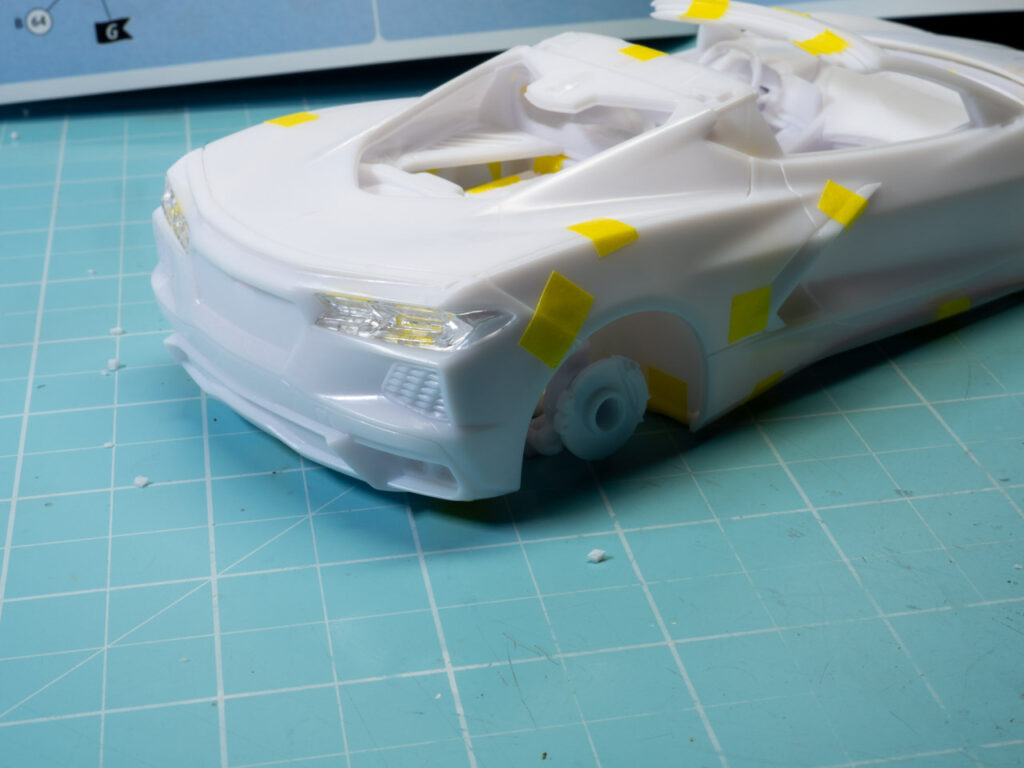
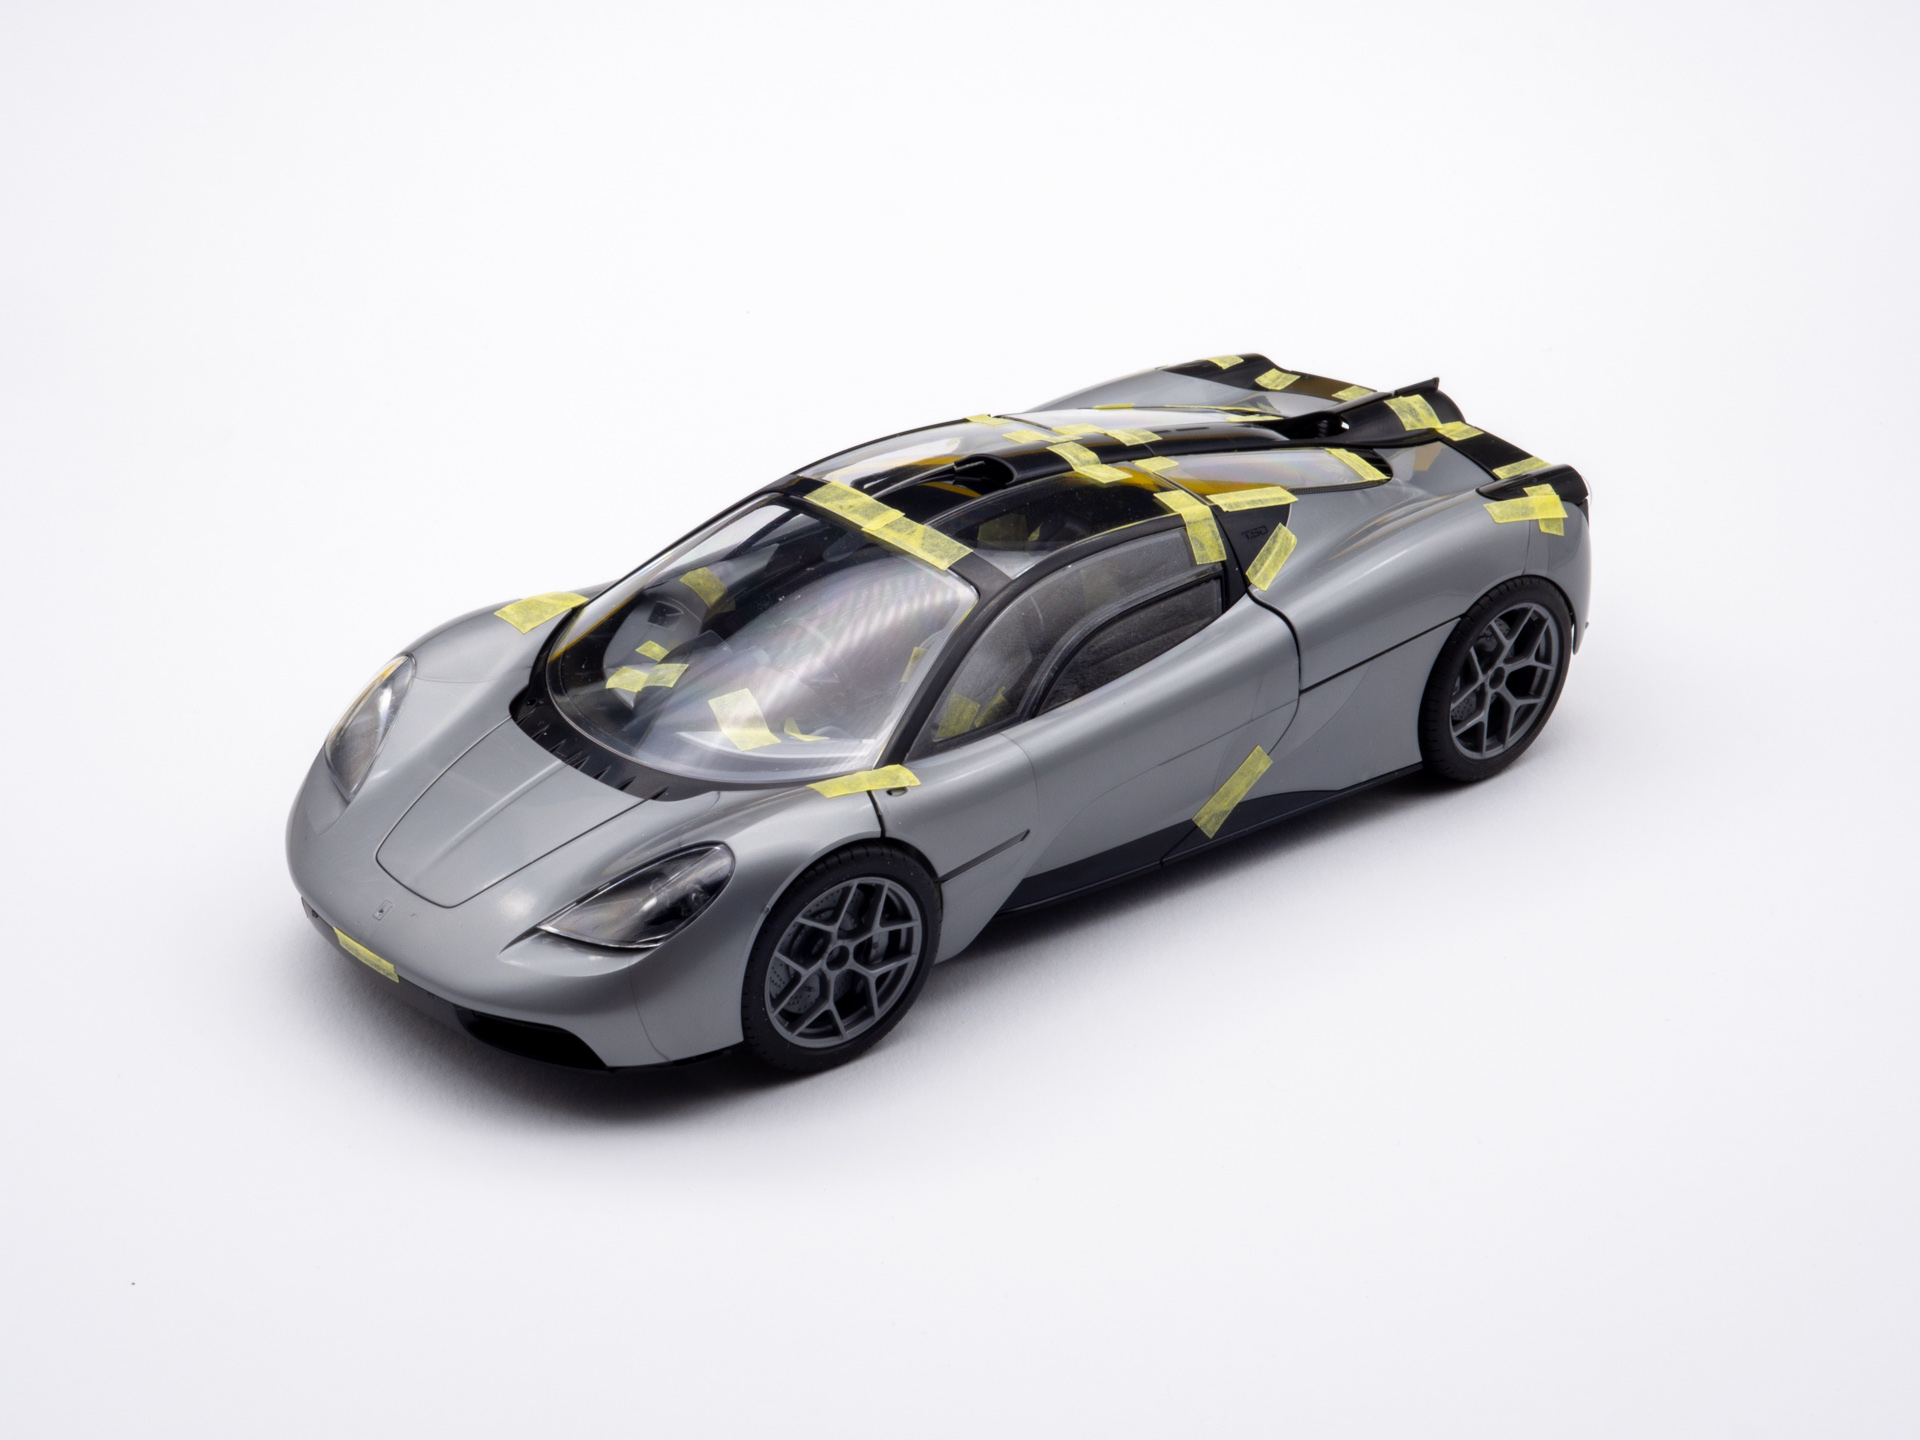
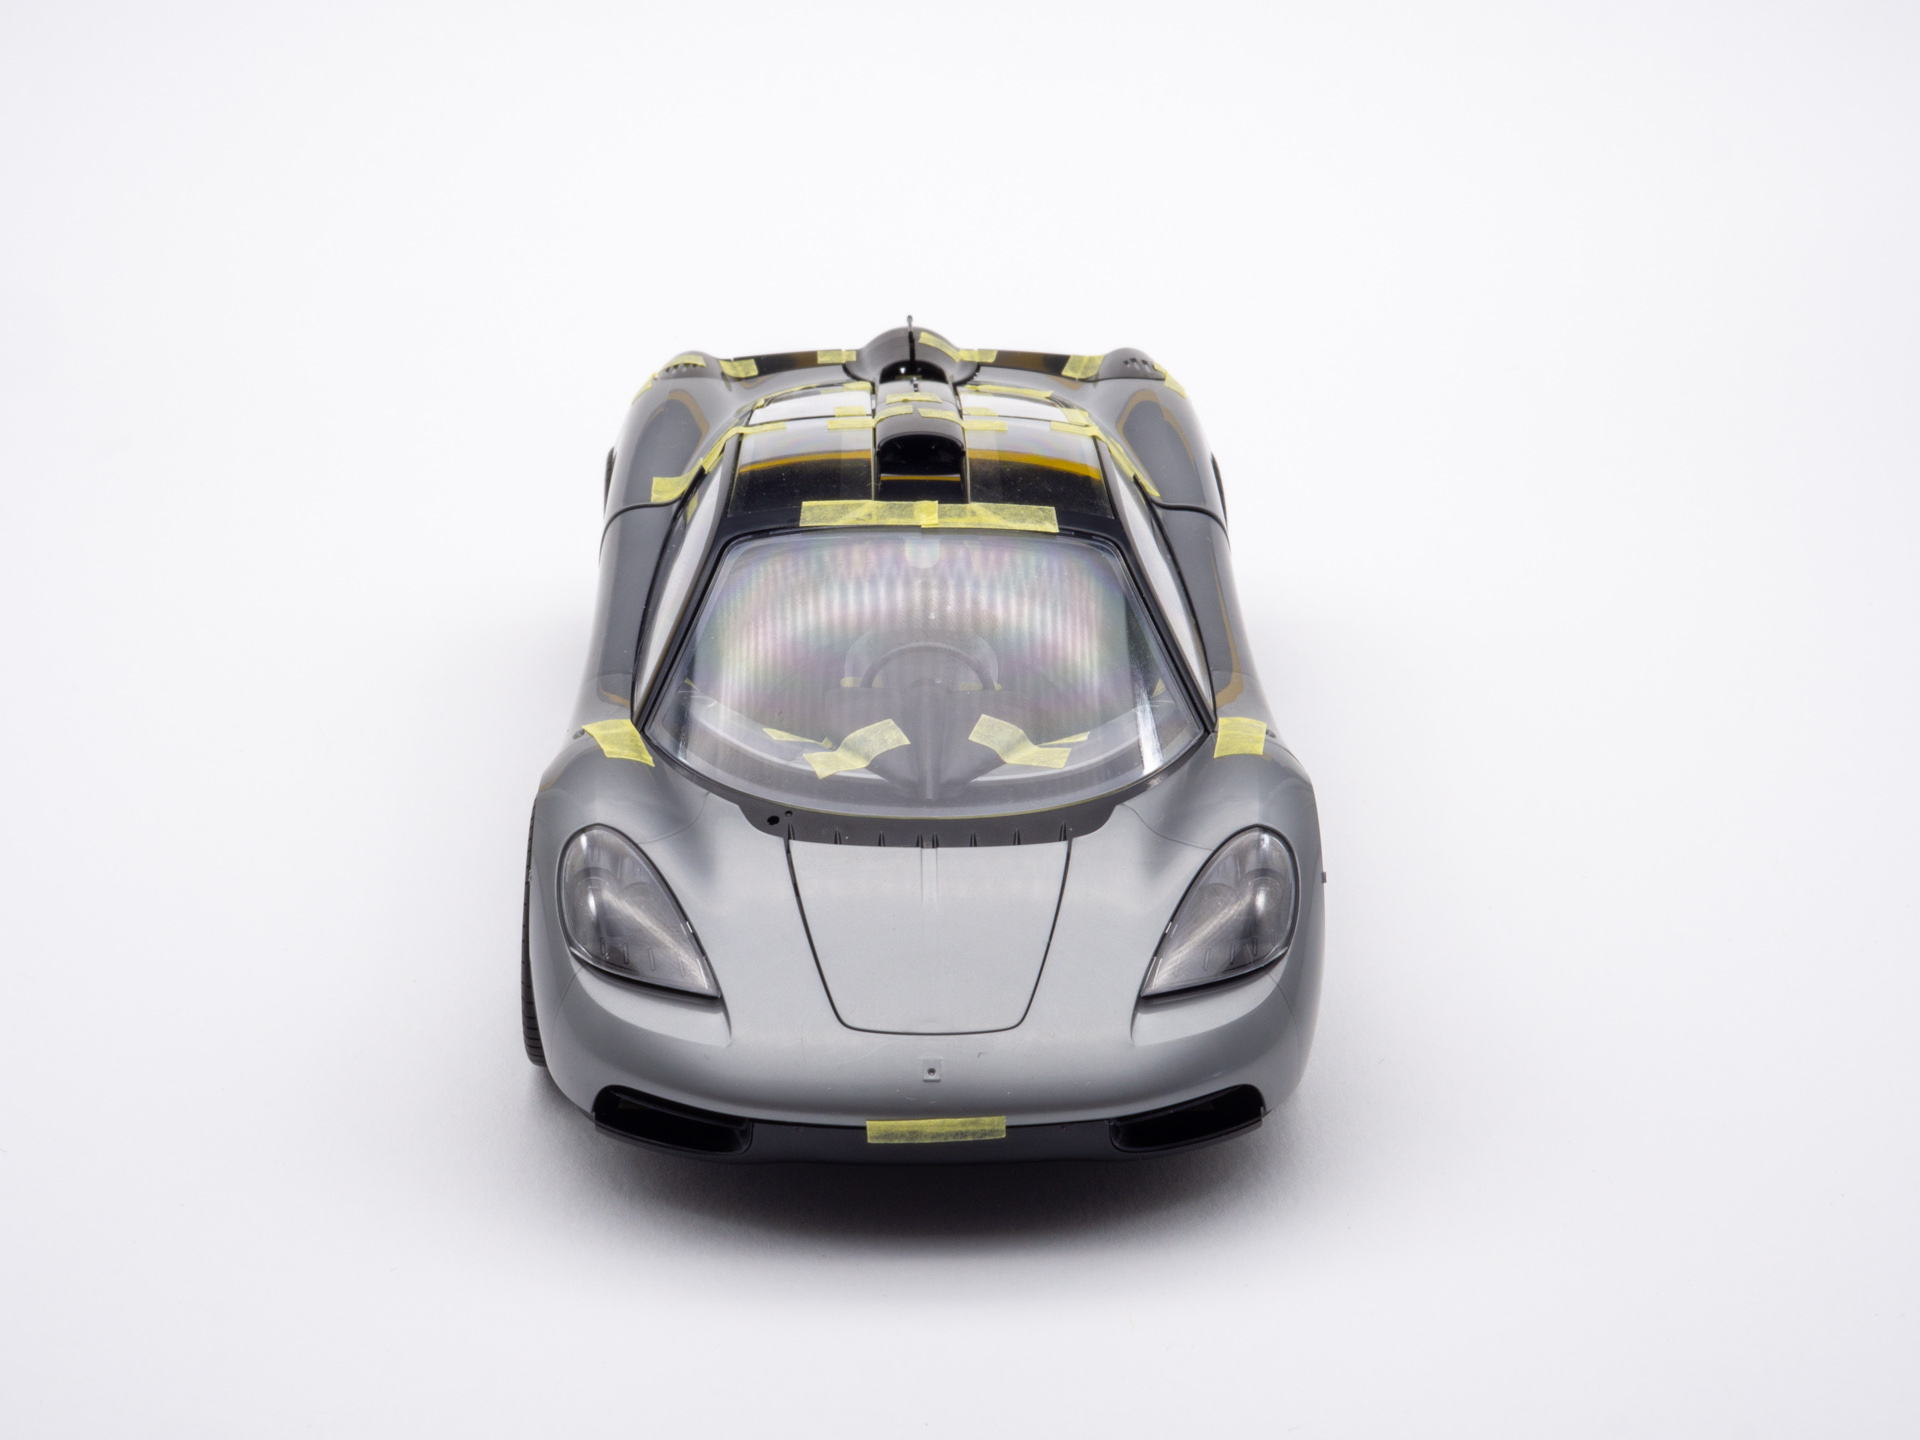
Transparent headlight covers fit without a single gap. Fine details, fitted perfectly.
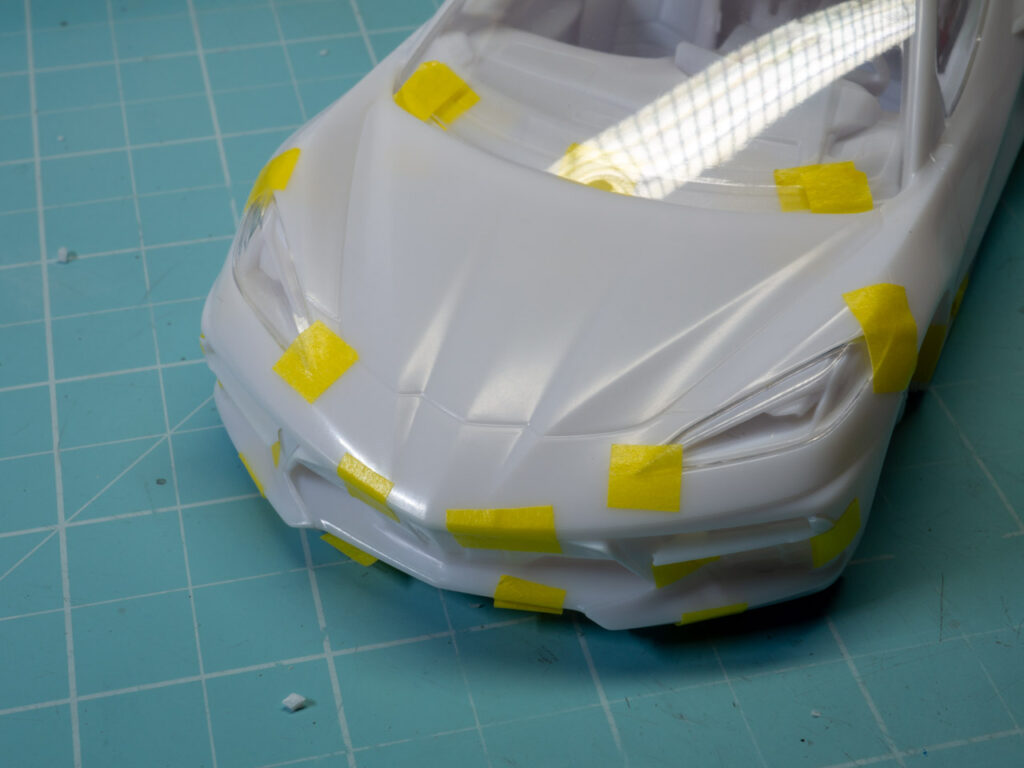
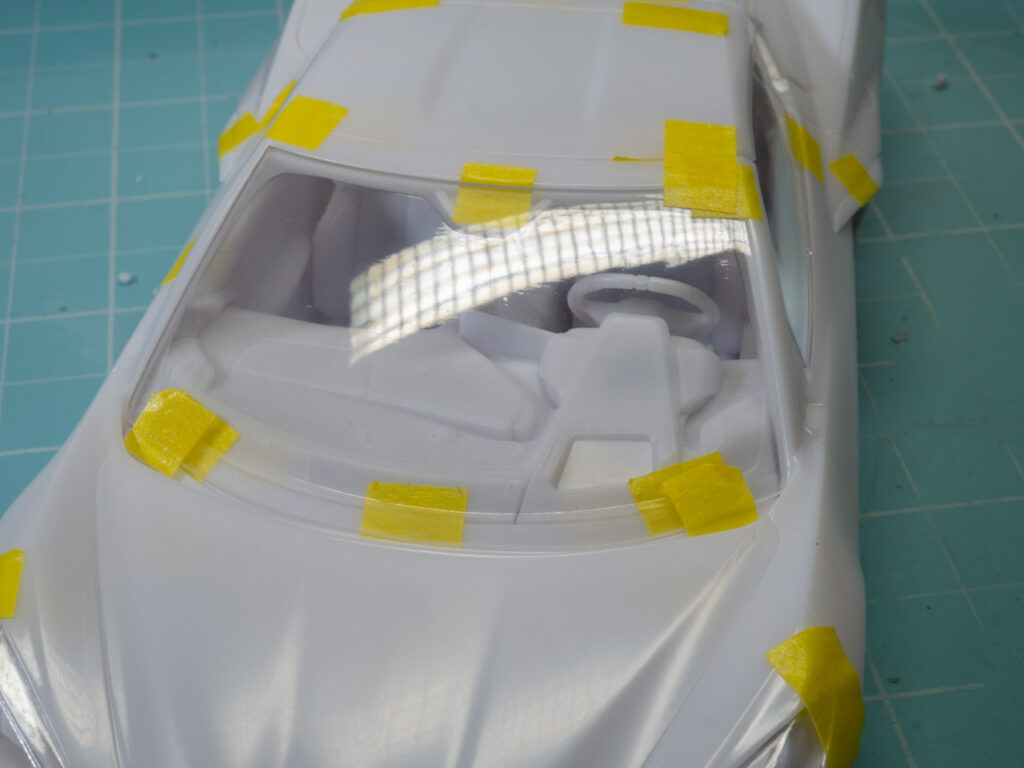
The windshield also fits without a single gap or tension.
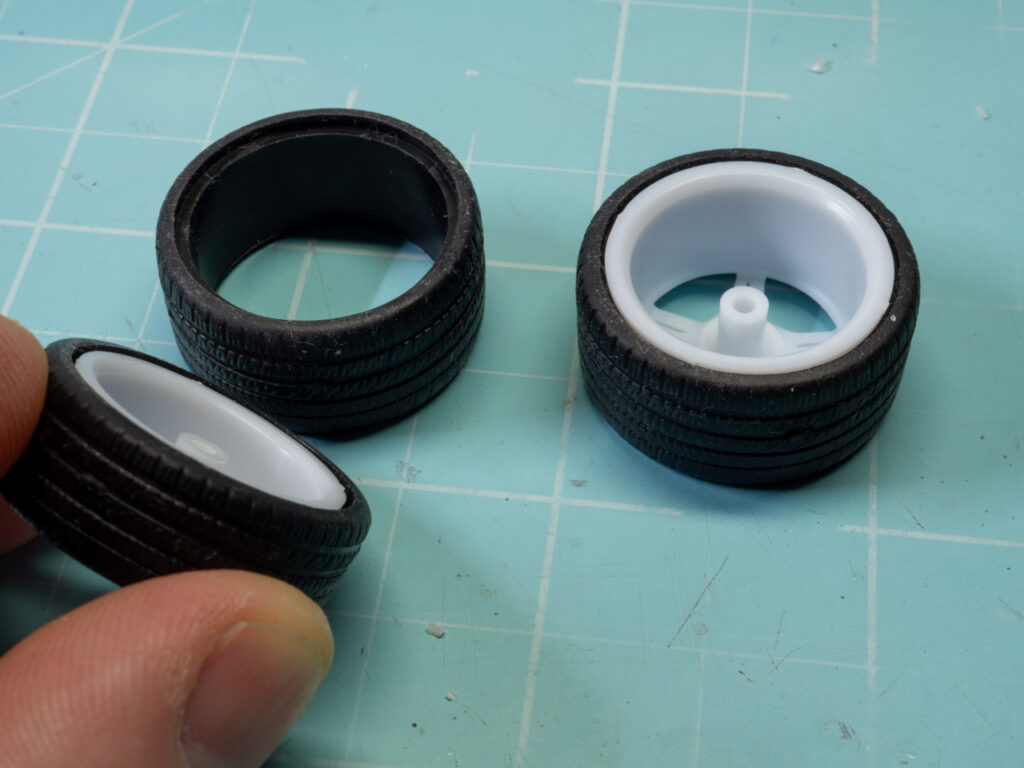
By the way, the rubber has a groove for the rim. It’s a good solution to hide it. No need to cut off that ring on the back side. The wheels themselves do not use a rubber bushing; due to the frictional force, they sit in the hub and even rotates.
This is the preliminary assembly. I like. I’ll probably make this Corvette in the near future, although I didn’t plan to 🤗


